Muggzy
Well-known member
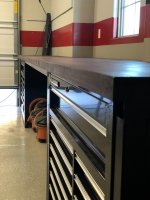
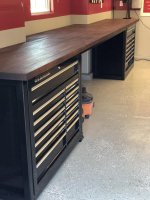
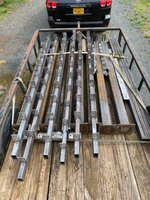
That's an idea I hadn't considered. Can you share some pics with the atv loaded up. Looks awesome!Boxes are bolted to the floor.
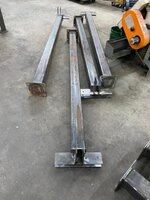
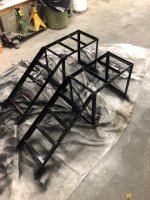
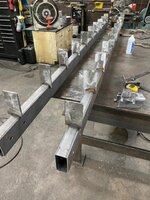
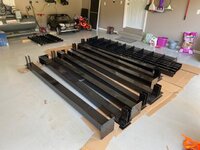
All mounted up and aluminum ramps slid in perfectly.
I got a short bed chevy that "measured" ok before I bought it, but in reality, it's such a pita to load that I still use my trailer.
Sent from my Pixel XL using Tapatalk
Last edited:


")