GLTHFJ60
Well-known member
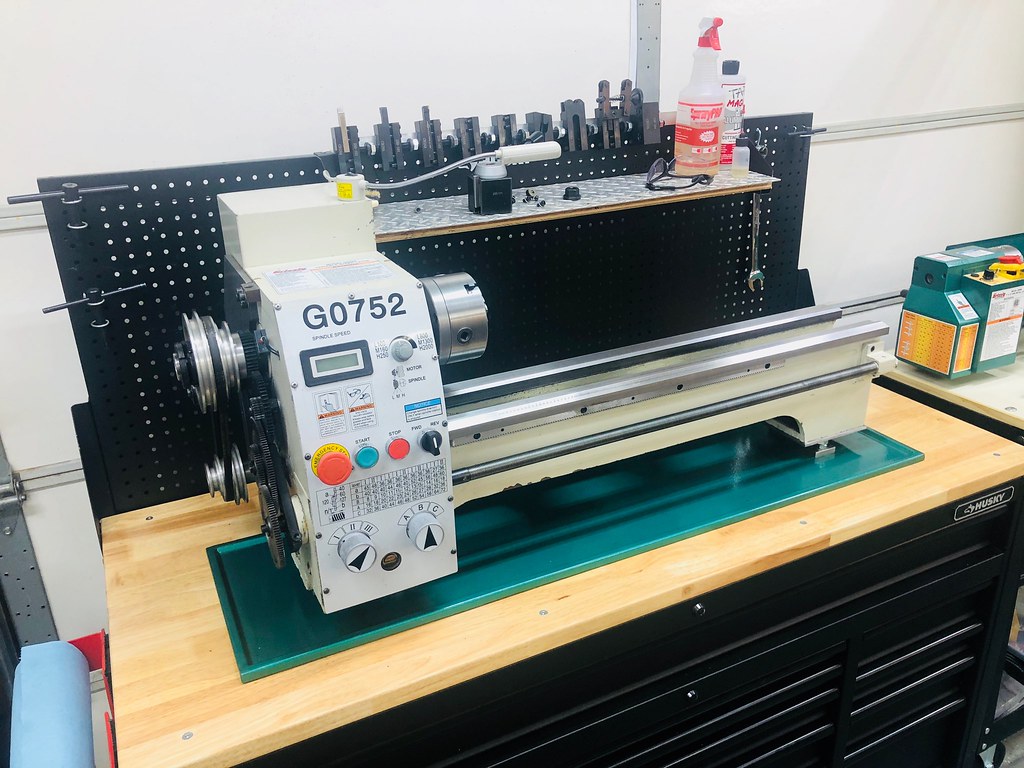
Starting to play with my bridgeport!!


Starting to play with my bridgeport!!

I whipped out the above in the last 15 years... I don't work so fast, plus life sometimes gets in the way.
lg
no neat sig line
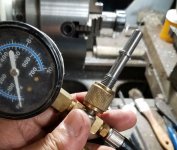
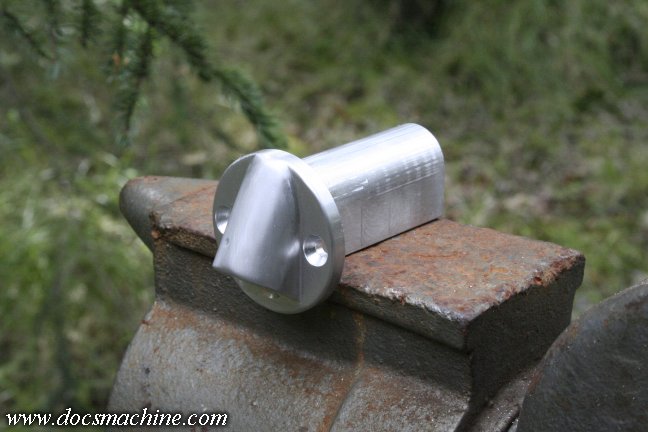
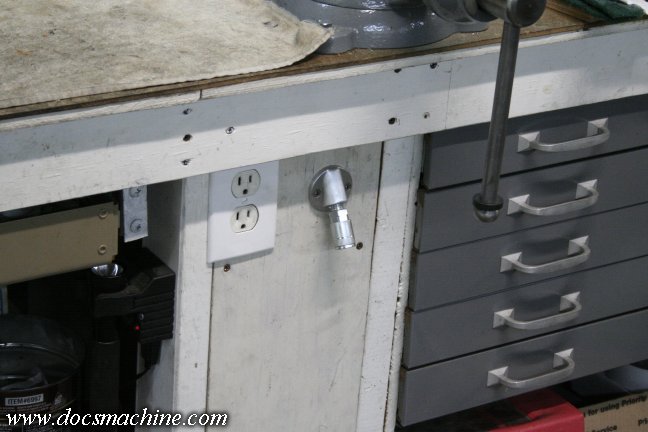
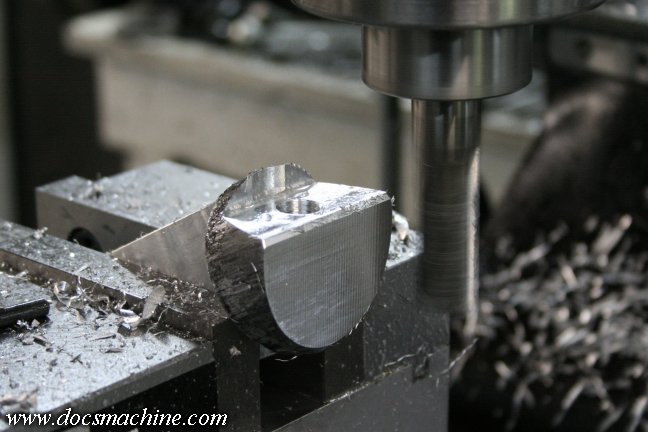
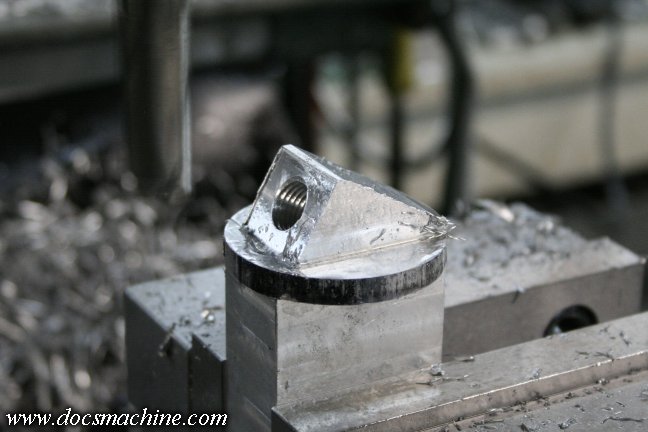
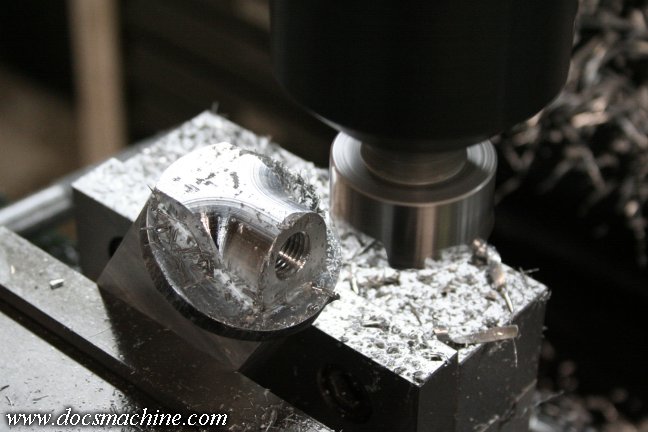
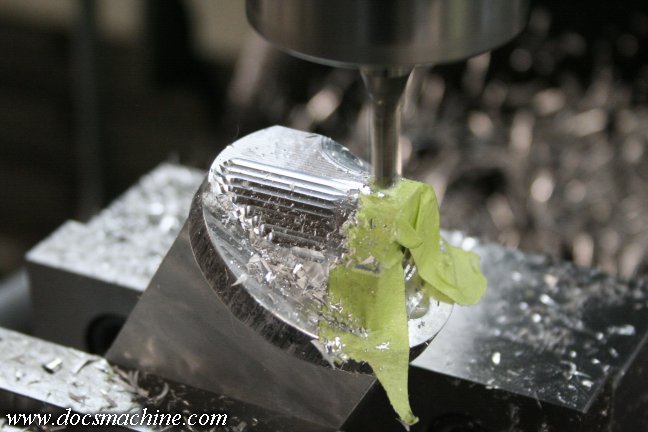
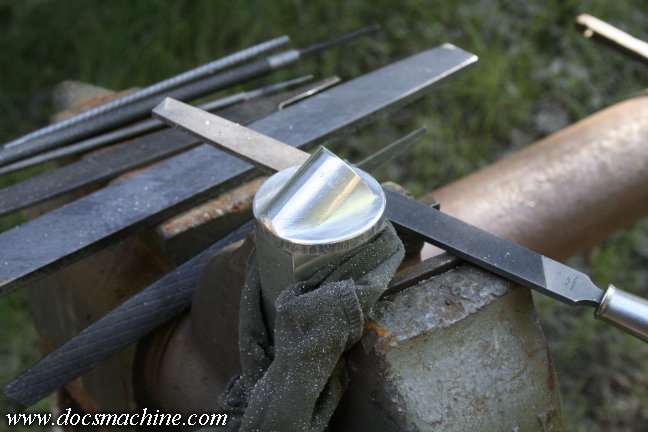
So, with the lack of fuel pressure test ports on modern vehicles, I had to find a way. I didn't get the one done to fit between the fuel line and the fuel rail, but this one will fit directly on the end of the fuel line. It has a male 3/8" flare fitting that fits the hose end.
Made it out of some HRS I had laying around, so the surface finish isn't great. The end that goes into the fuel line looks pretty good because I filed and sanded it.
Dave


Just finished a little Engine Turning Project.
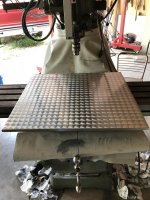
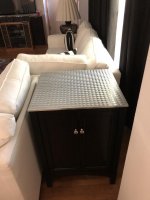
It’s a top for an end table, I still need to finish attaching it, but other than that it’s pretty much done. It took 575 spots for the pattern, 23 rows of 25.
Very nice work. Can you explain how you use it. I can see a couple of uses but what is your intended use?
lg
no neat sig line
Very nice work. Can you explain how you use it. I can see a couple of uses but what is your intended use?
lg
no neat sig line


I can see a router struggling with that. Deep slotting can be a pain, but removing all that material with a router would take a while too. I just turn everything to chips. Roughed out with a 1/2" 3FL rougher and then came back and finished with a 1/4" finisher. CNC, if you're gonna make one, might as well make more I guess...


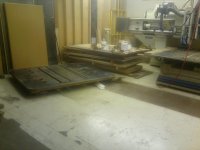
I had these plates to engrave for a customer. Plates came off a water jet, 6ft x 7ft, 1/4" thick. They wanted words engraved next to most of the small holes. Material handling and dealing with the wavy plates was the hardest part.
Don't typically do any ferrous metal on the router, but they talked me into it....