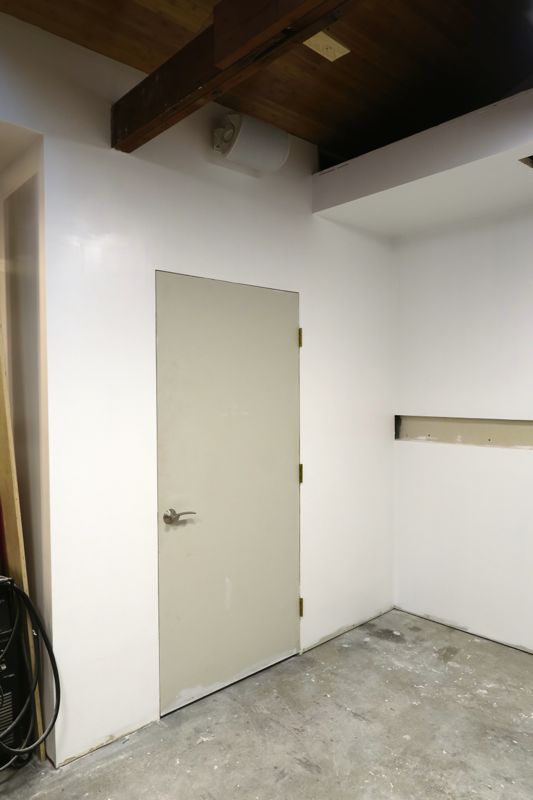
This weekend, I was able to make some progress on the compressor closet. I've intended all along to make the most of the closet, given how much precious floor space I permanently carved out of the shop. Initially, the closet was only intended to hold a compressor, and nothing else. I had some issues figuring out how to not have the door to the closet interfere with everything else, though, and the surprising solution was to make it bigger. This allows the door to open in a spot where it doesn't interfere with anything, while also giving me some extra wall space (both interior and exterior).
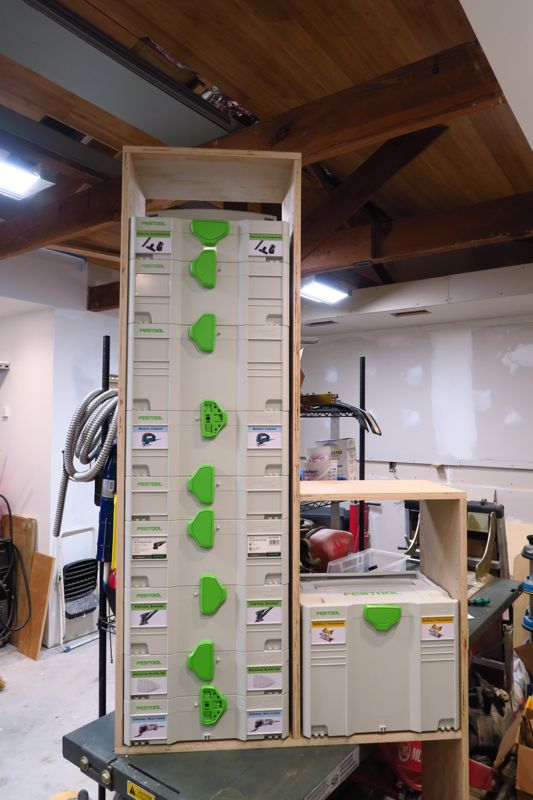
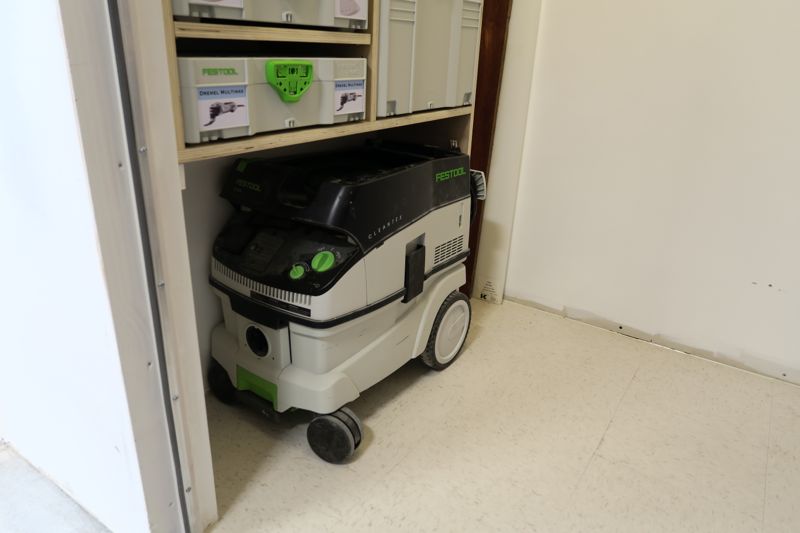
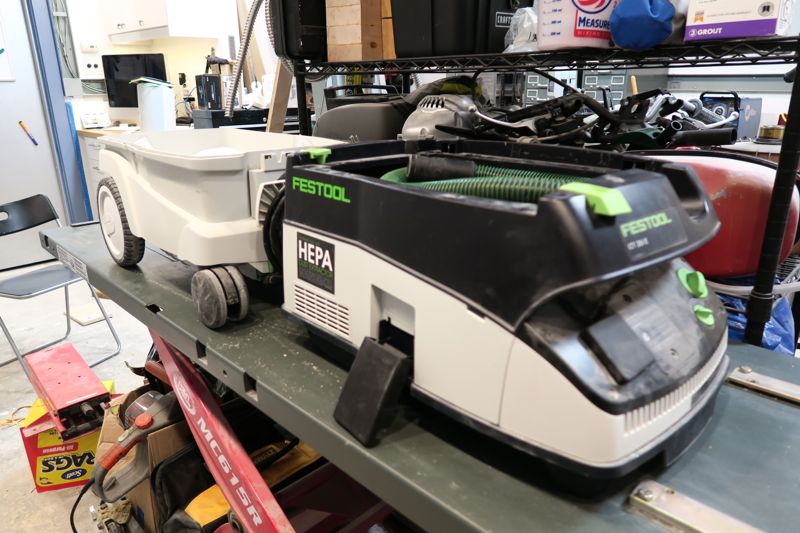
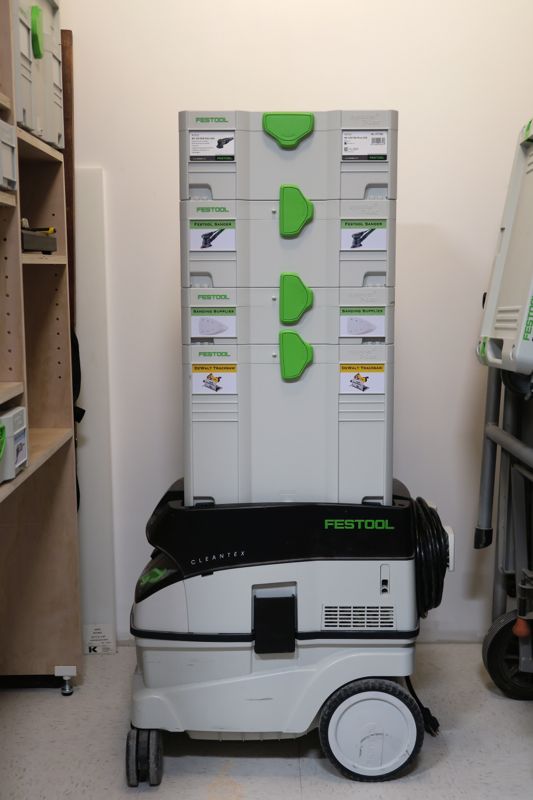
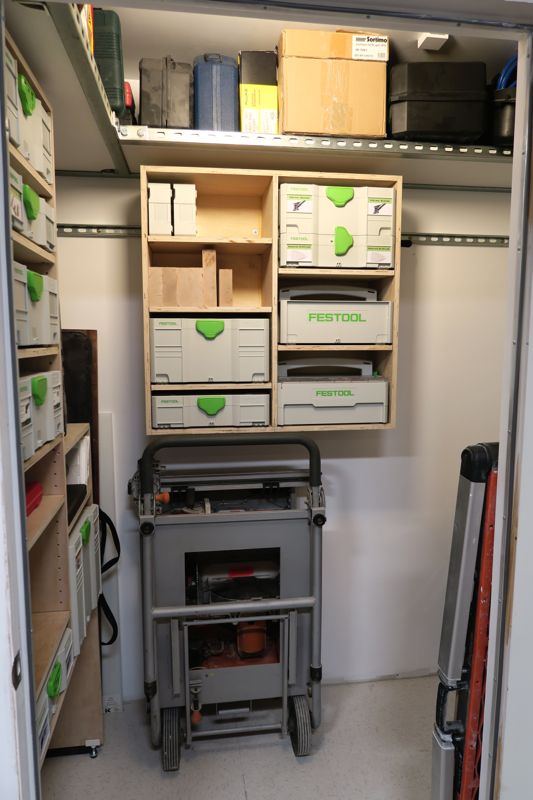
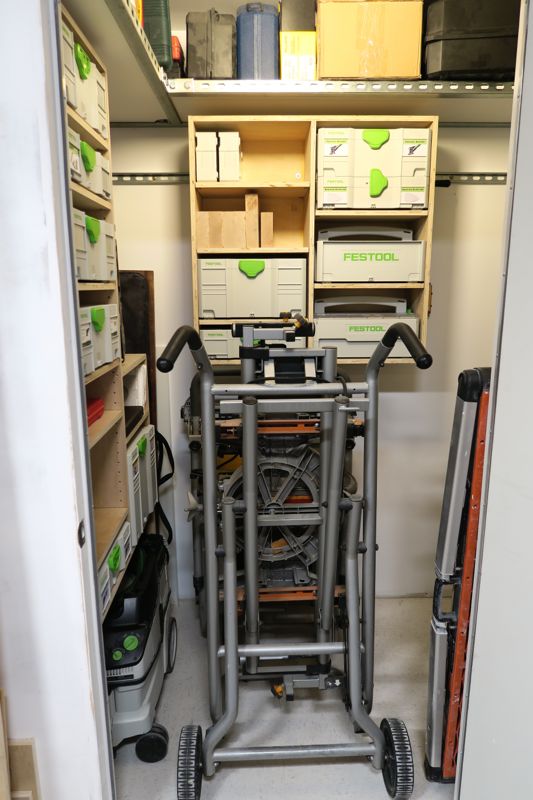
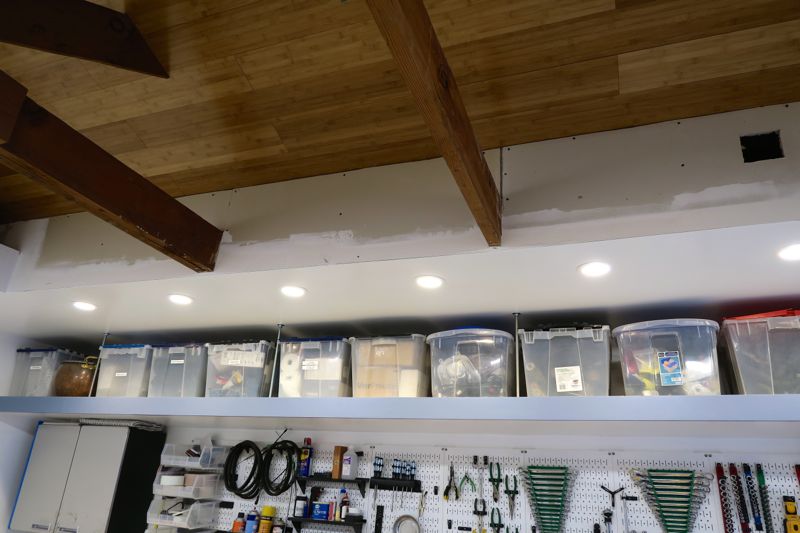
Somewhat accidentally, the alcove inside the closet ended up being just about perfectly sized for the standard Festool systainer box. This shelf holds
almost all of my systainers, plus makes a space for the CT26 vacuum. I should also point out (full disclosure) that most of these do not actually hold Festool tools -- I like Festool, but I like the systainers even more, and use them to store most of my oft-used woodworking tools.
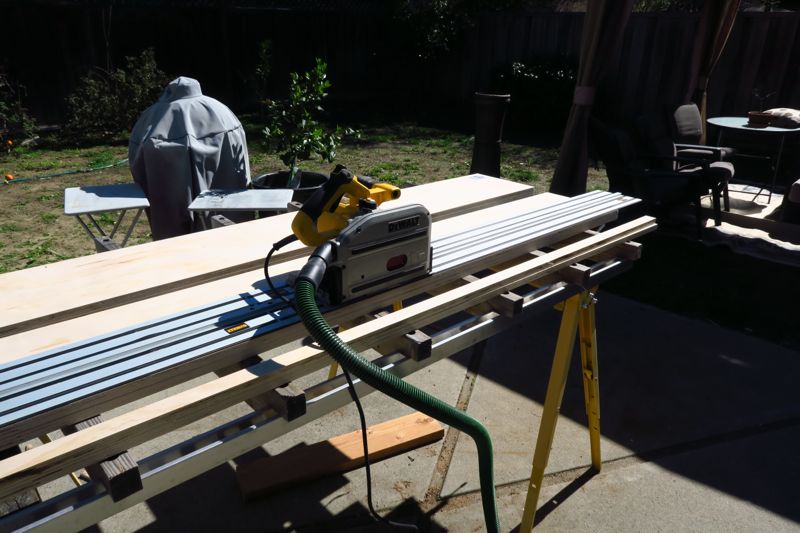
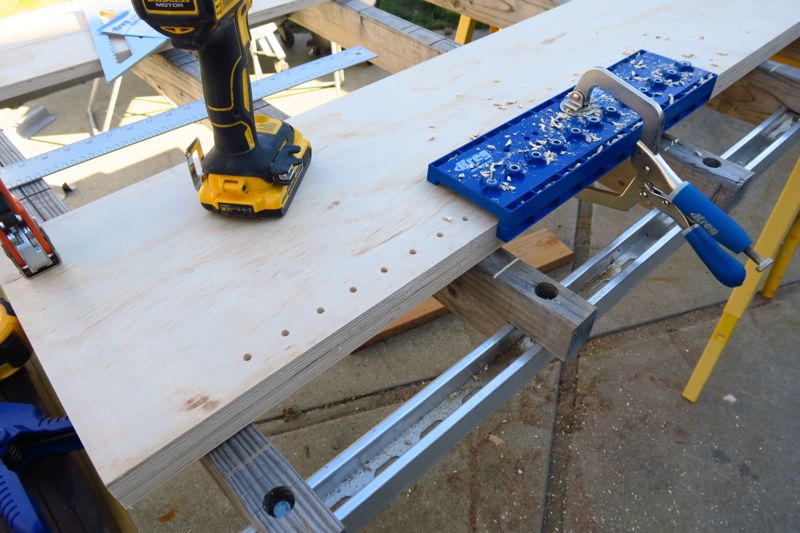
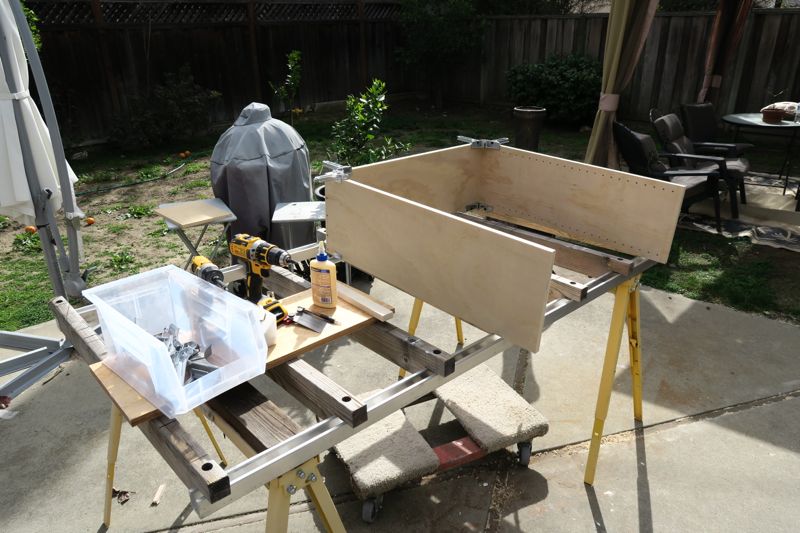
Here's the starting point, using my DeWalt tracksaw to break down a sheet of plywood. I ripped one sheet into four perfectly matched 11.25" x 8' pieces.
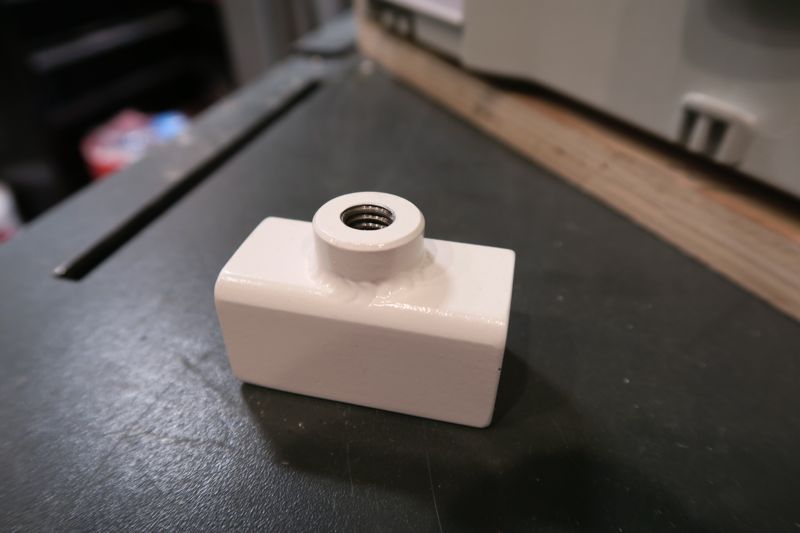
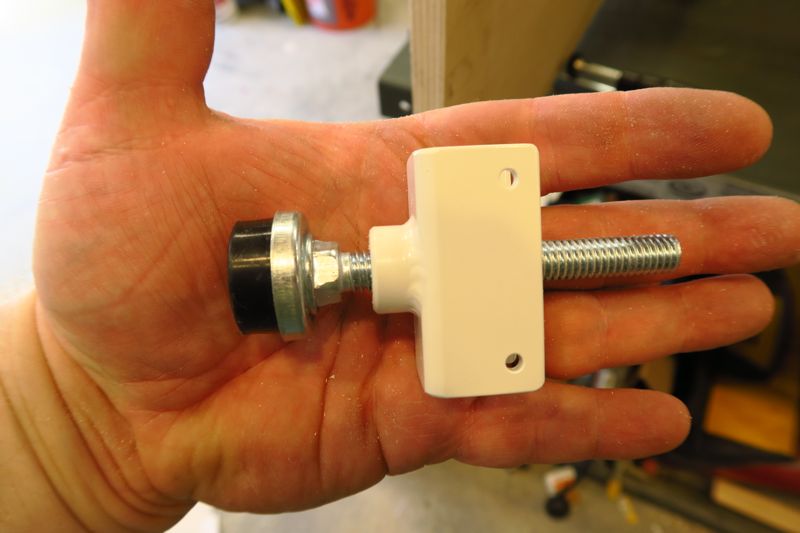
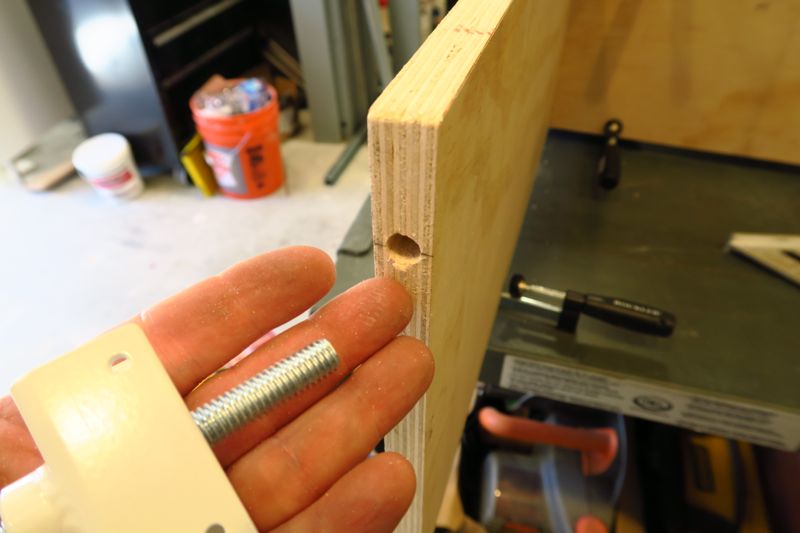
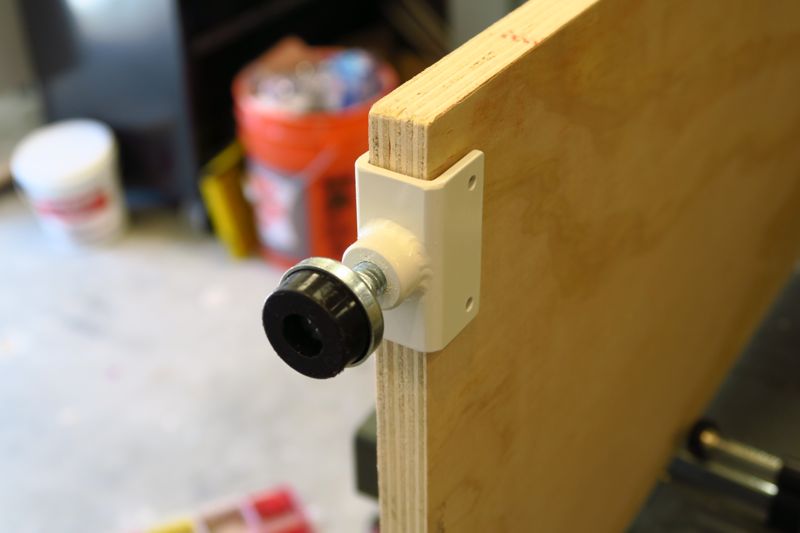
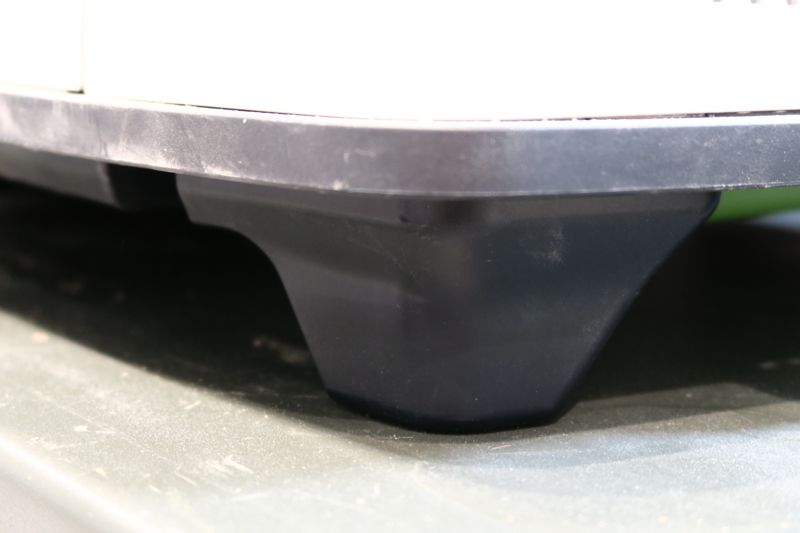
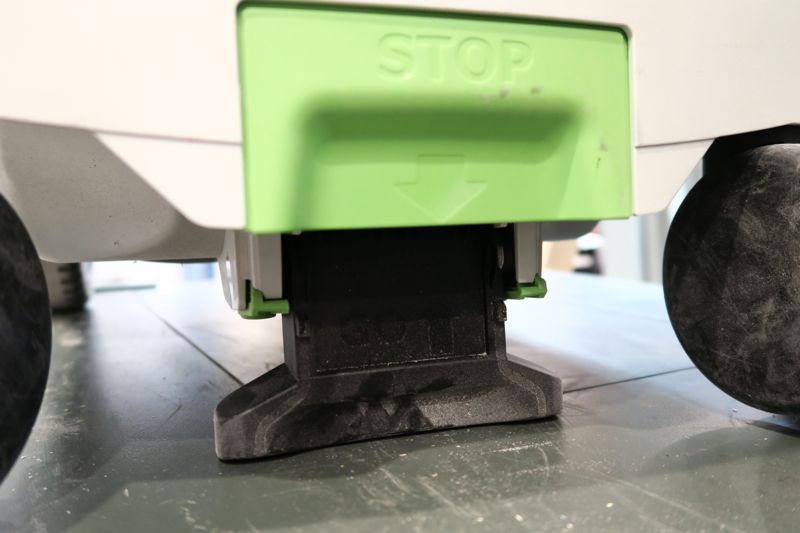
One of the problems I had to solve was how to keep the edge of the shelf off the floor. I went to talk to my machinist friend to ask him for ideas, and he ended up making these awesome foot adapters for a panel edge. Clearly, he's a much better welder than I am. And he painted them, too! I am going to owe him for this.
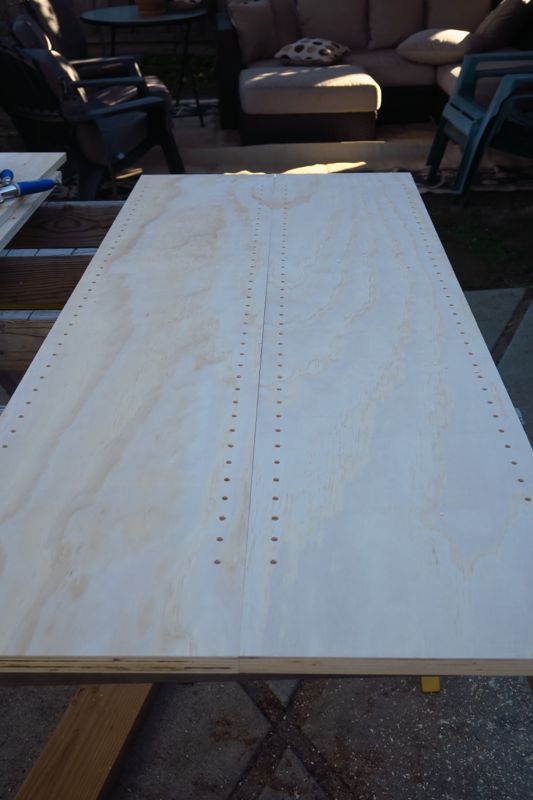
Next up was drilling all the shelf pin support holes:
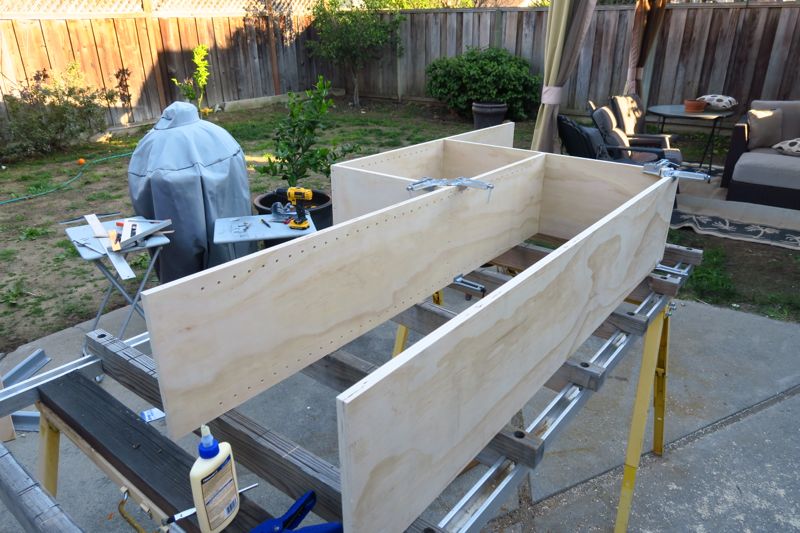
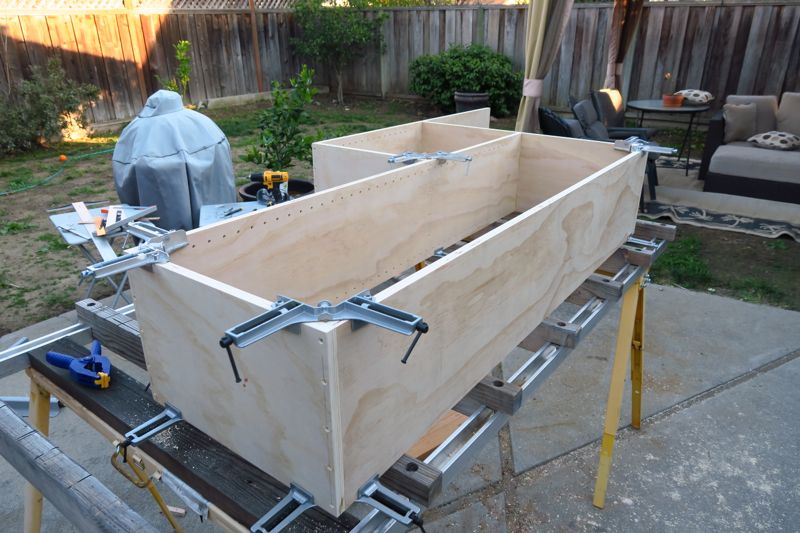
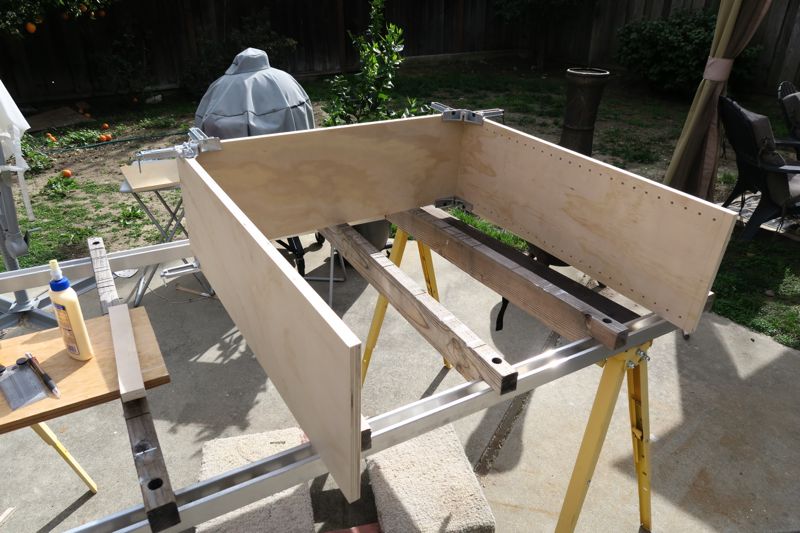
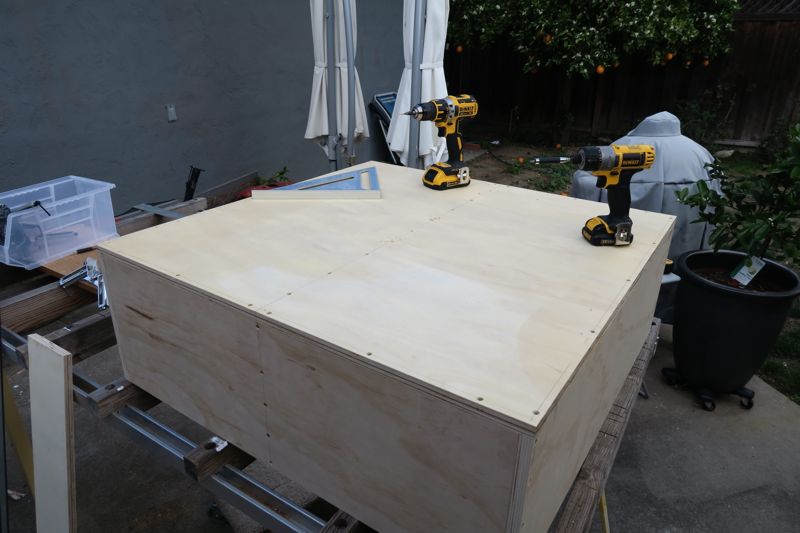
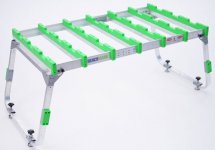
Assembly begins:
I swear I used every corner clamp I had. The construction is screwed and glued, so I didn't use any bar clamps.
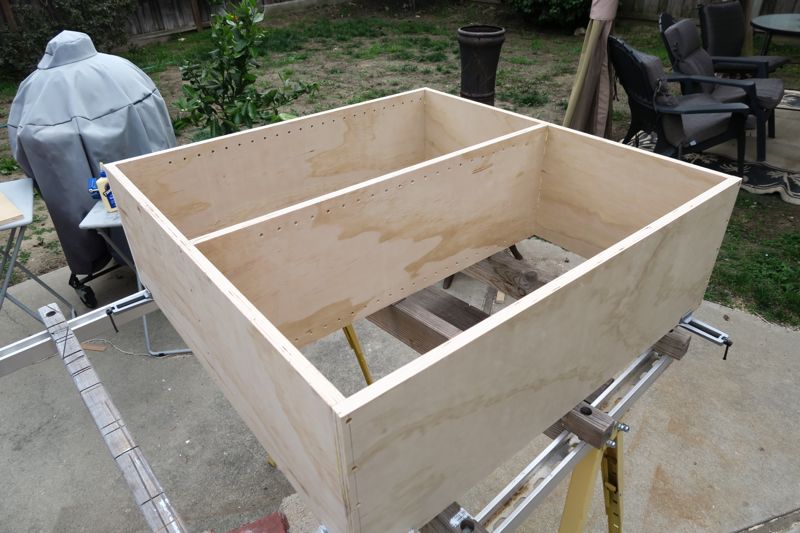
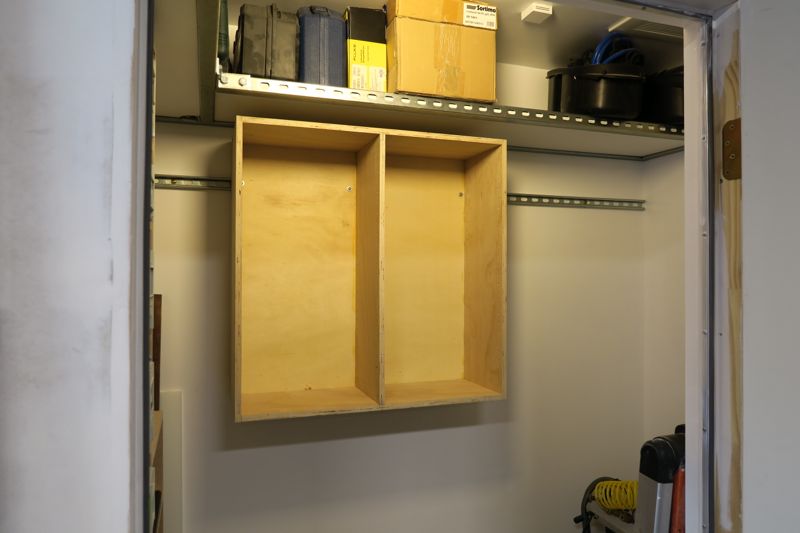
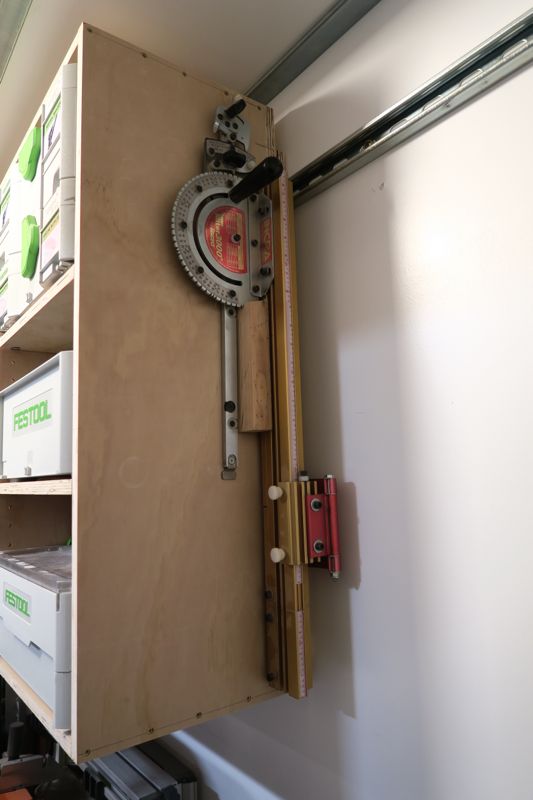
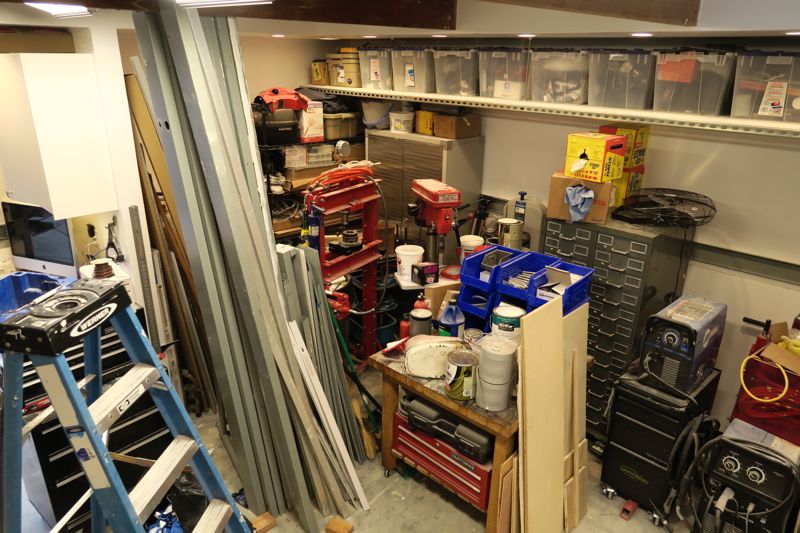
A bit of test fitting to see how much stuff I actually had:
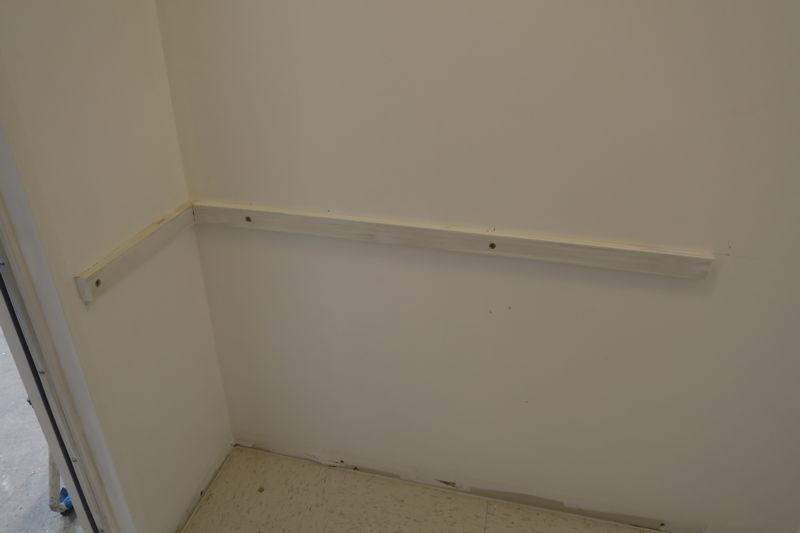
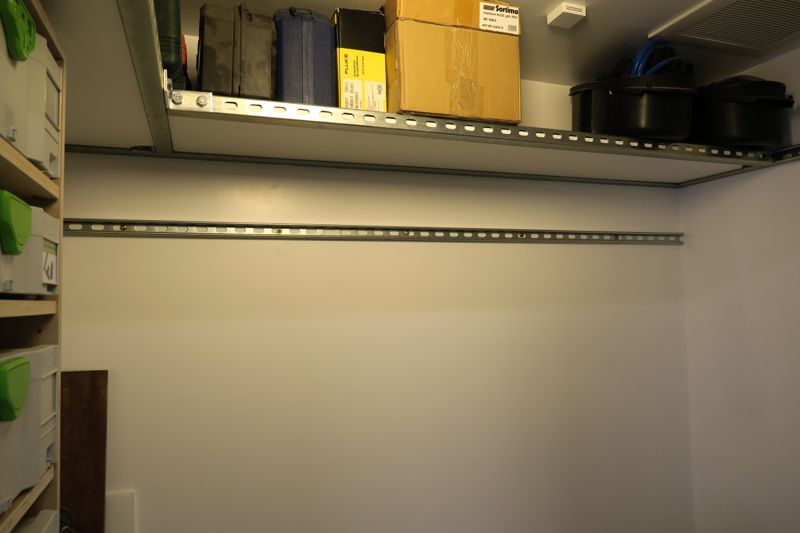
Preparing the wall in the closet for installation -- here's the cleat that supports some of the weight:
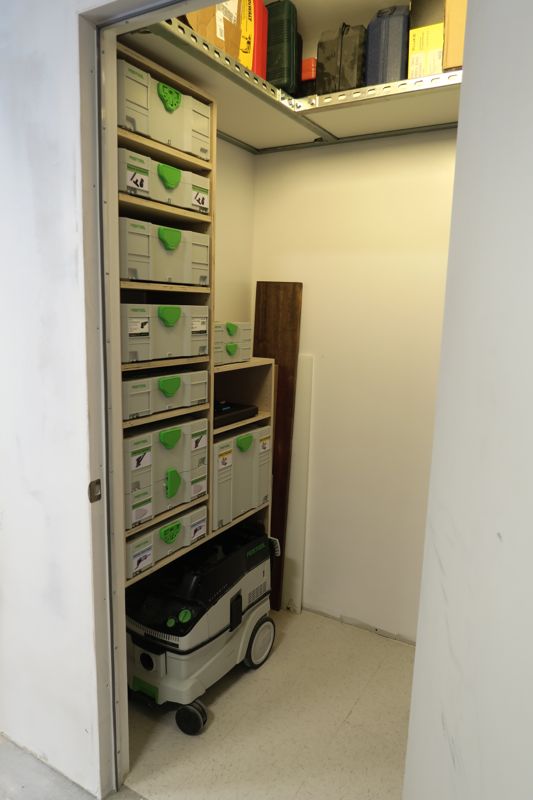
And here's the end result:
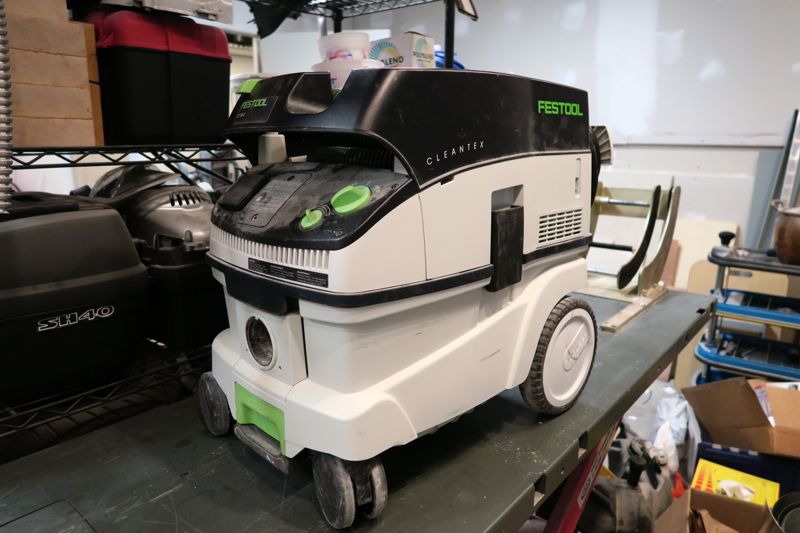
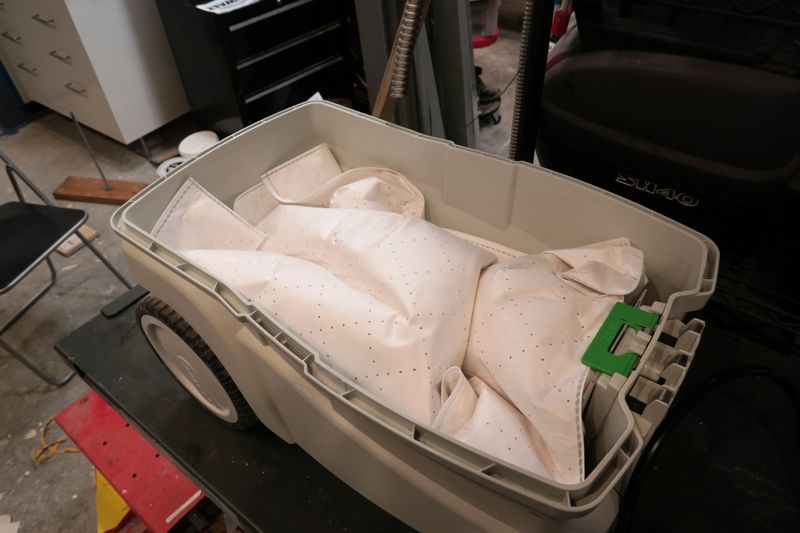
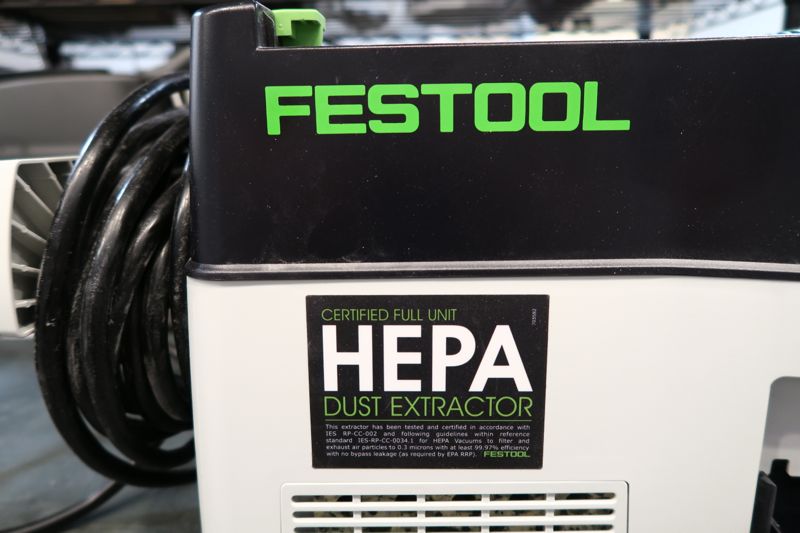
And of course there's a spot for my beloved vacuum:
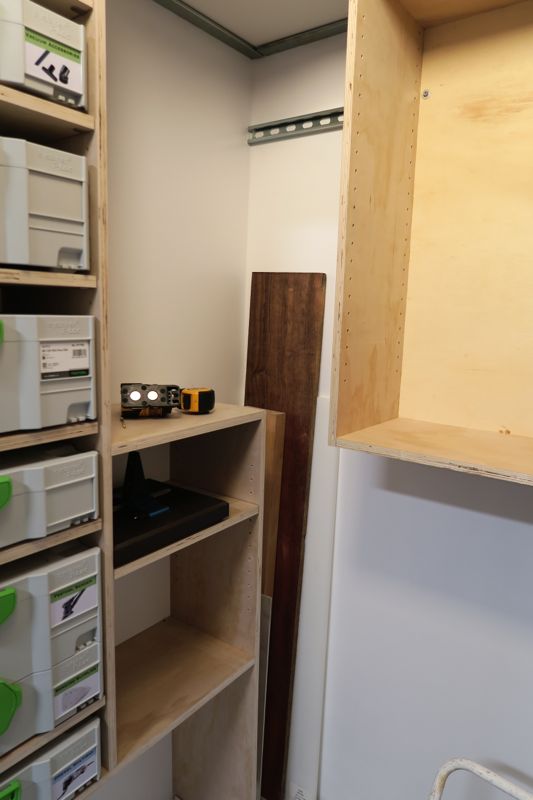
After I got the shelf installed (and after I bought my machinist friend lunch) I broke down another sheet of plywood into the pieces necessary for the
next cabinet. But that's another post for a different day.