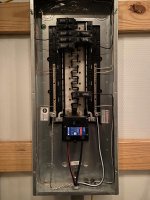
I made a quick stop on the way home to finish the main wiring connect in Alex's shop:

He is now ready for the power company to connect him at the meter, looking forward to that as I'm sure he is too. It was about a year and a half ago when he first tried to get a shop built, and 6 months ago when they poured his concrete.
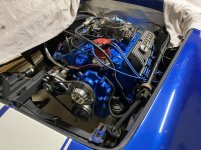
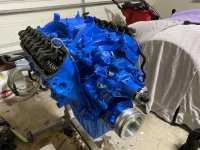
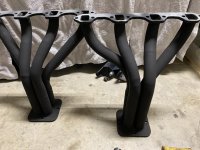
On the cobra engine rebuild front I masked off everything last night but ran out of time to paint. I covered the car today with some custom covers, and sprayed away:

I decided to spray the cast aluminum intake too, I think I like it this way better:

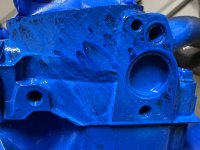
Sadly it looks like I missed a spot when using the mineral spirits before paint:

Cool look still so I might just leave it. I'll let it dry over the next couple of days and try to stuff the engine back in this weekend. I have to do some touch up painting in the engine bay before it goes back in as well though. Getting excited!
JB
He is now ready for the power company to connect him at the meter, looking forward to that as I'm sure he is too. It was about a year and a half ago when he first tried to get a shop built, and 6 months ago when they poured his concrete.
On the cobra engine rebuild front I masked off everything last night but ran out of time to paint. I covered the car today with some custom covers, and sprayed away:
I decided to spray the cast aluminum intake too, I think I like it this way better:
Sadly it looks like I missed a spot when using the mineral spirits before paint:
Cool look still so I might just leave it. I'll let it dry over the next couple of days and try to stuff the engine back in this weekend. I have to do some touch up painting in the engine bay before it goes back in as well though. Getting excited!
JB


")

 I normally use acetone too, but it was in the cold shop and I was in the warm garage with mineral spirits.


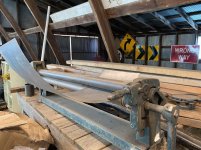
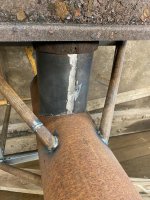
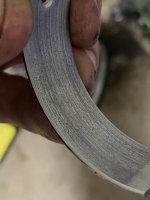
 As you can see I moved the stove into place to install the interconnecting pipe. That piece had to be 6" (152.4mm) diameter to fit in the stove, I used a piece of 16 ga steel and rolled it to size: