So I looked back for mill projects and ran across these pictures. About 3 years ago my son and I got in to the RC Rock Crawling thing. A couple of the local hobby stores would have rock races on Friday and Saturdays and we'd go down and complete. At the time people mostly bought kids and occasionally someone would try to fabricate one from scratch. Usually a function of saving money more than to really fab one themselves. In my case I figured I could make it exactly as I wanted and save money at the same time.
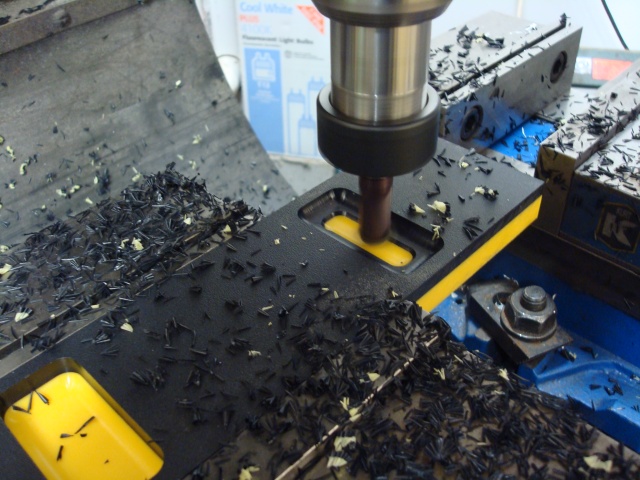
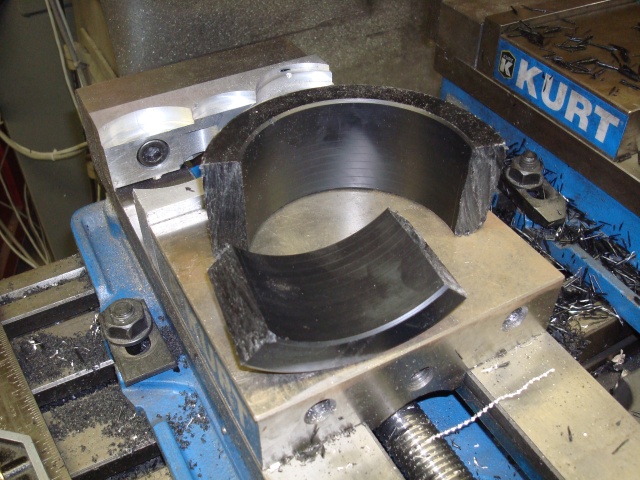
I started with the skid and by boring a piece of 12" delrin I had on the lathe.
I parted it off and then used a sawzall to cut in into chunks.
Chucked it up in the vise
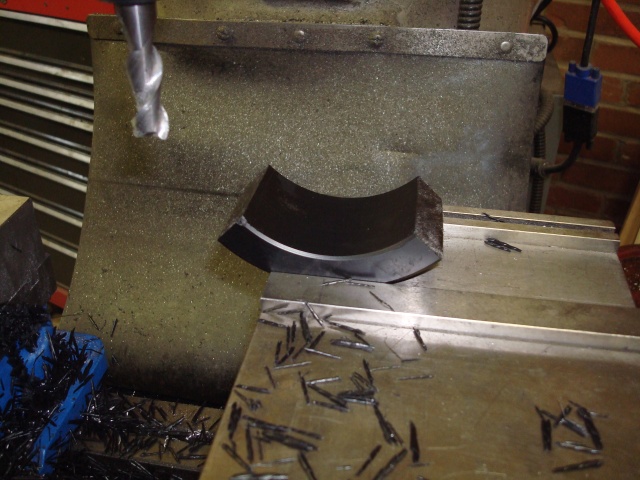
and machined the sides flat which I'd use for reliefs where I could attache the side plates.
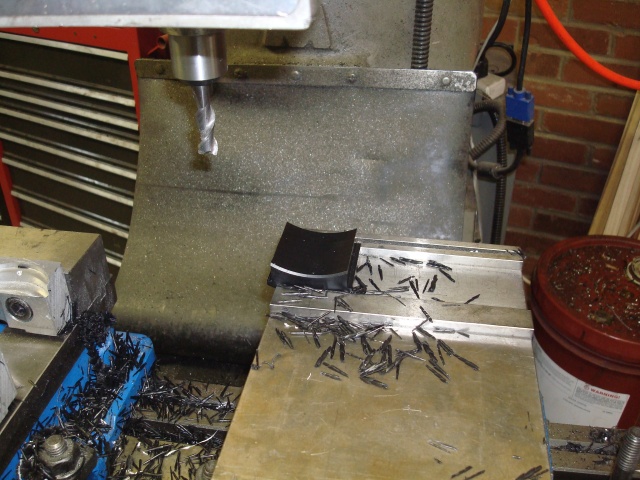
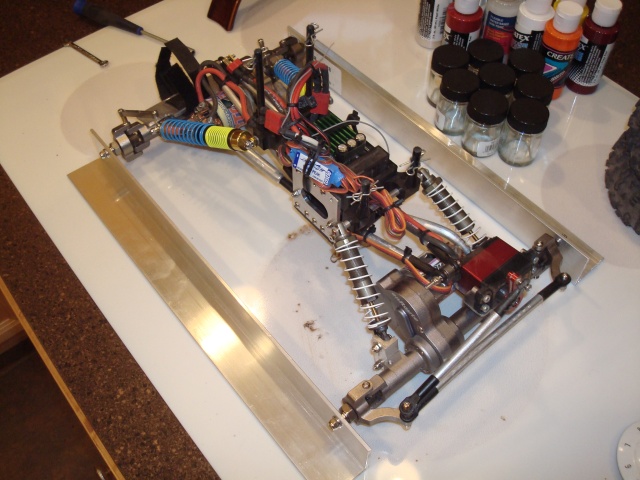
Then I machined the side plates out of 1/8-inch aluminum and drilled the holes to match on the skid. I machined a flat square piece of 1-inch thick delrin for the chassis itself and then sank some aluminum pieces of tubing in the holes where the shocks would mount to strengthen it up a little.
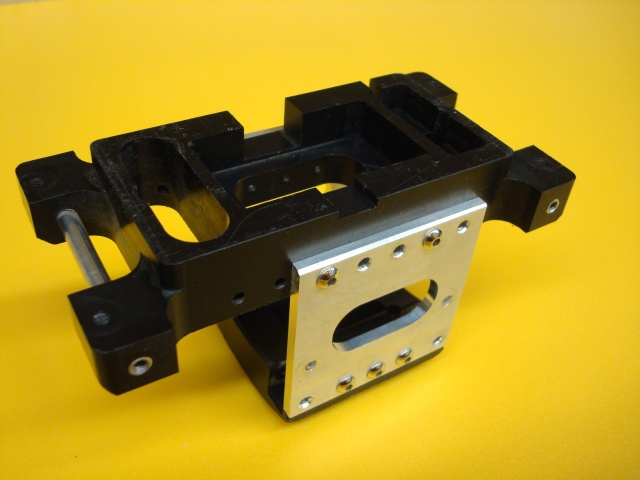
The bottom of the skid also had mounts front and rear that I attached control arms to. The natural curve of the skid, and the nature of plastic, allowed it to slide easily along rocks though it did hang down a little.
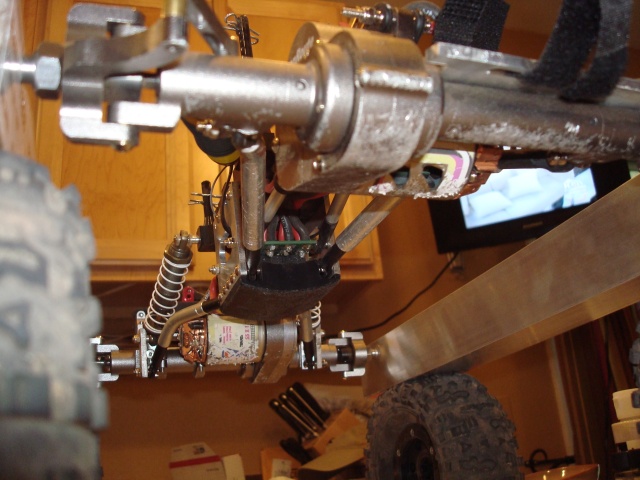
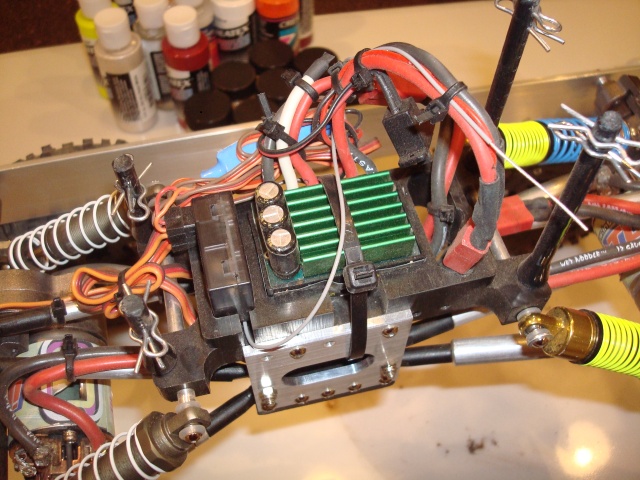
The top part of the chassis was machined to match the electronics that needed to be mounted into it. Everything had it's place and locked nicely to where it needed to be. This picture shows a zip-tie holding in the speed controller however I ended making some small clamps for it a little while later. The wires were a bigger hassle than the electronics themselves.
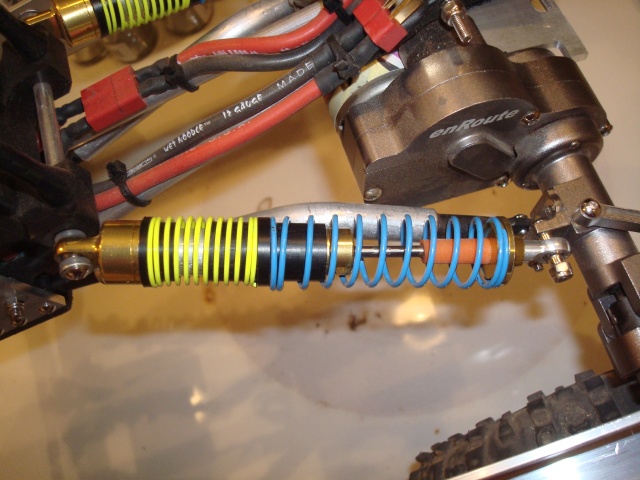
I took a pair of the aluminum shocks I had a machined the threads off the body so I could make little delrin plastic spring retainers that allowed me to use the shock as a dual rate shock. This allowed for some crazy compression setups. The little orange piece on the shock shaft is gas line used as a bump stop so you can adjust the hard stop as well.
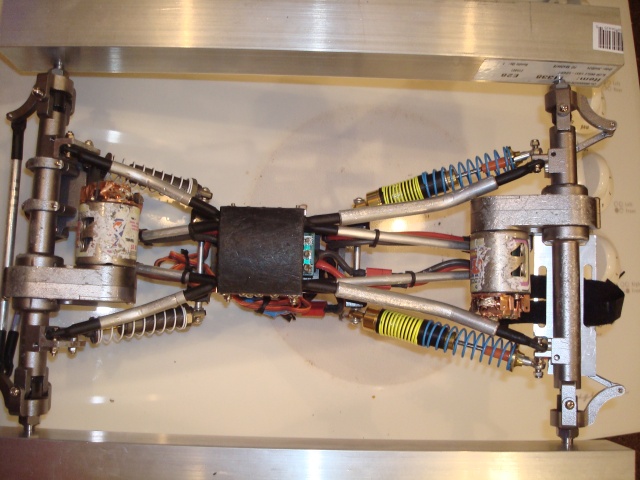
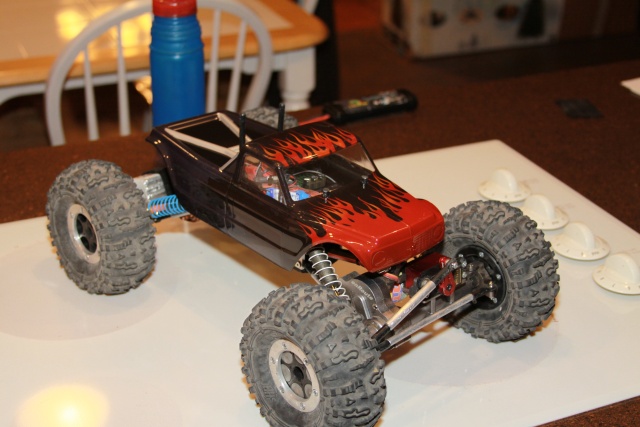
Here's a bottom look at the buggy (after a few races). To the right is a battery plate I machined out of 1/8-inch aluminum. All of the links were tapped on the lathe and then the lowers bent for additional clearance. All of the shock mounts on the axle side were machined on the mill using extremely small aluminum angle.
Here you can see a better shot of the front raised shock mounts (axle side) and the chassis from the top. I had to rotate the motors up and to do so I had to do some minimal machine work to the gear housings themselves but it almost didn't count it was so trivial.
Here it is finished with a fresh coat of paint which was incidentally my second airbrush project. I've had a little more practice since then.
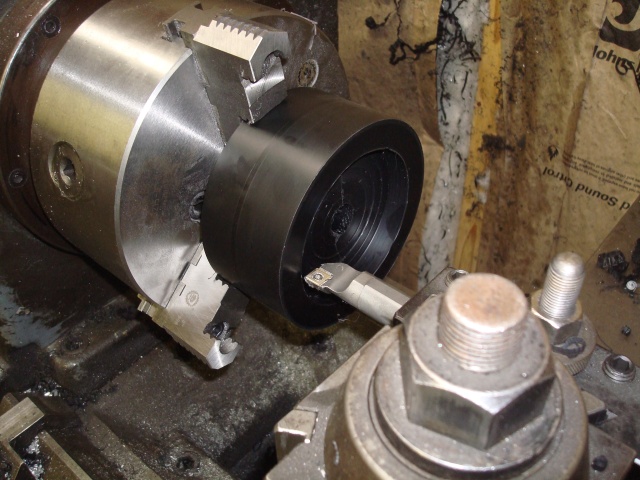
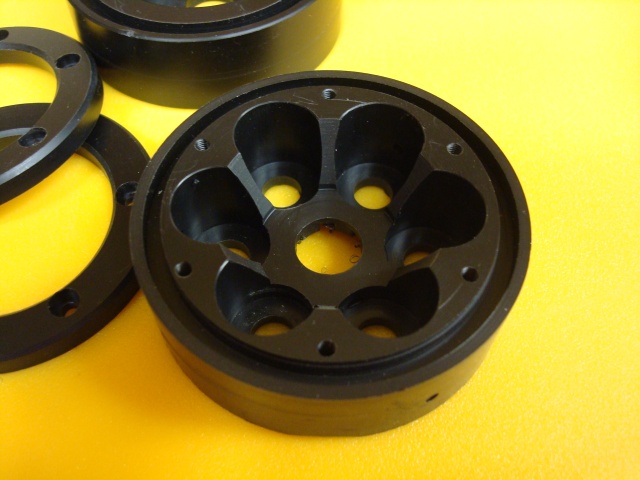
All of the wheels were made using the Lathe and the Mill. The lathe was used to macine the blanks including the tire bead groove. The holes were all drilled/milled on the mill. Couple of ops here so I try to make a bunch of them when I do.
The larger holes are not thru-machined so that I can add large steel dowels to the wheels to add weight. Adding weight in the front end helps it climb better because it helps get more weight over the front tires.
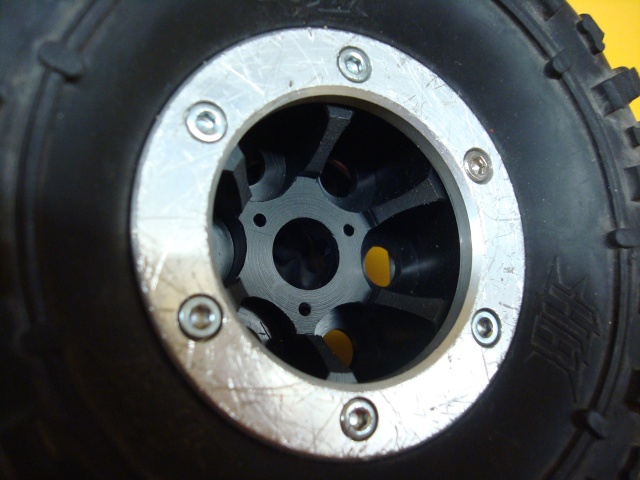
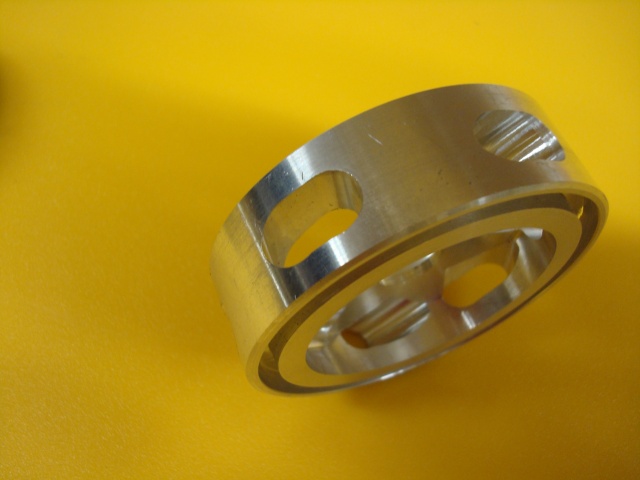
I machine the beadlock rings out of both aluminum and plastic. I use the plastic on the inside and the aluminum on the outside because it can handle the rash a little better...and adds to the bling factor.
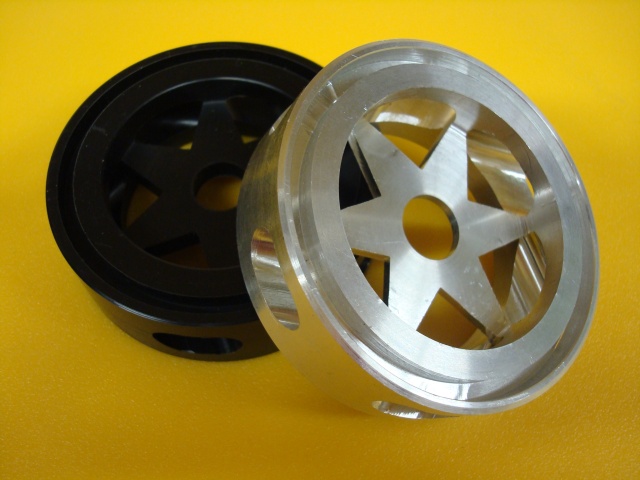
I've played around on the mill and made a few different designs in both plastic and full aluminum wheels. These fronts look like 6-spoke.
I got the look by off-set machining down into the center of the wheel and then rotating it 60 degrees on the indexing head. Sometimes I can't stop thinking about something so I just have to do one or two to get it out of my head. Don't think I ever made a full set.


 I too am always doing something in the shop but unlike you I do not have the machining tools you have. I have always wanted a nice metal lathe and a mill although I don't have any clue where I would put them......