New Project--Vintage paper dispenser
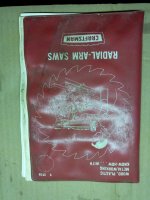
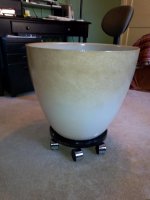
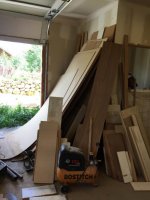
So I was browsing the auction site late one night and came across something advertised as a frame. I threw $9 on it and kept going. I was the only bidder and won a few days later. Here is what Mr Mailman brought me.
Guesses?
If you guessed using the title as a hint, you win!

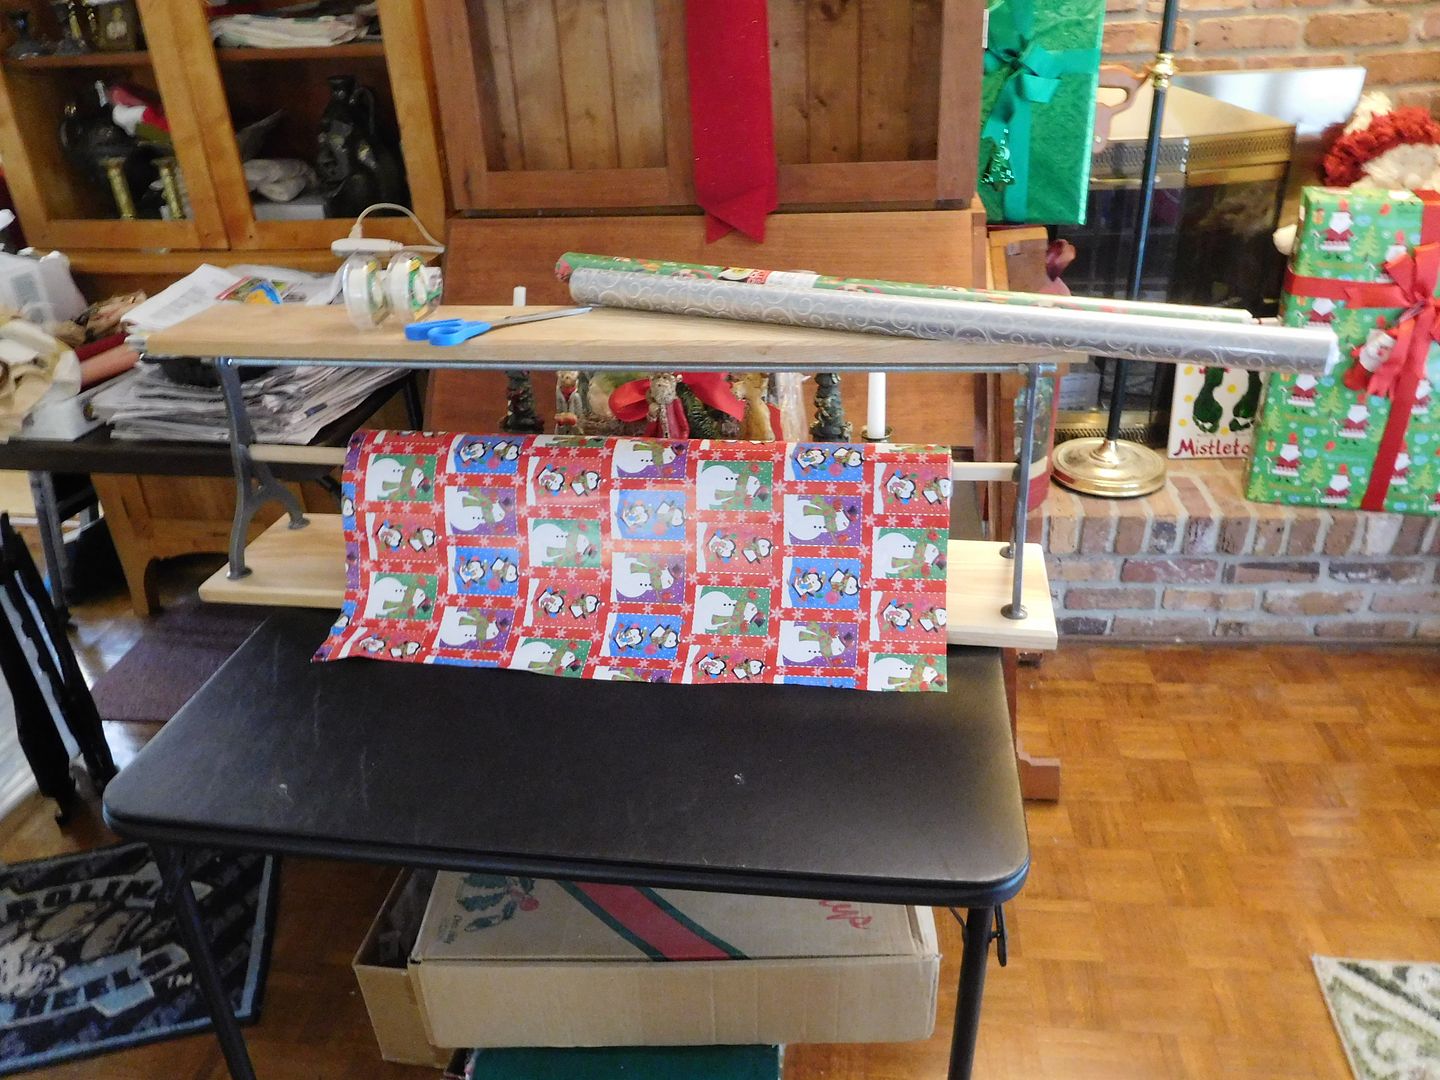
These two supports are the frame of a paper dispenser. Think country store or butcher. I have a paper problem and need one of these. I use rust inhibiting vapor paper to wrap tools in and the roll is massive. It needs a home. In addition, Christmas is here and I need something to organize wrapping.
These supports are cast iron and were rusty. I cleaned them with Simple Green and then wire brushed them. Then I wiped them down with mineral spirits, let it dry, and followed up with BLO (30% boiled linseed oil and 70% turpentine). Due to the cold weather, the BLO took a few weeks to fully dry. I painted them with Rustoleum hammered silver and then got down to business. I found a 1" x 36" dowel, I purchased a 48" piece of all thread with washers, and I found two pieces of hickory. Here is everything ready to go.
This project has two phases. Phase I is to craft and assemble the dispenser for use. Phase II is to make a cut off bar. The cut off bar is not really essential and I need to use this thing now.
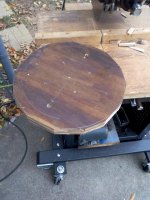
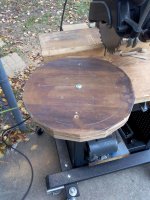
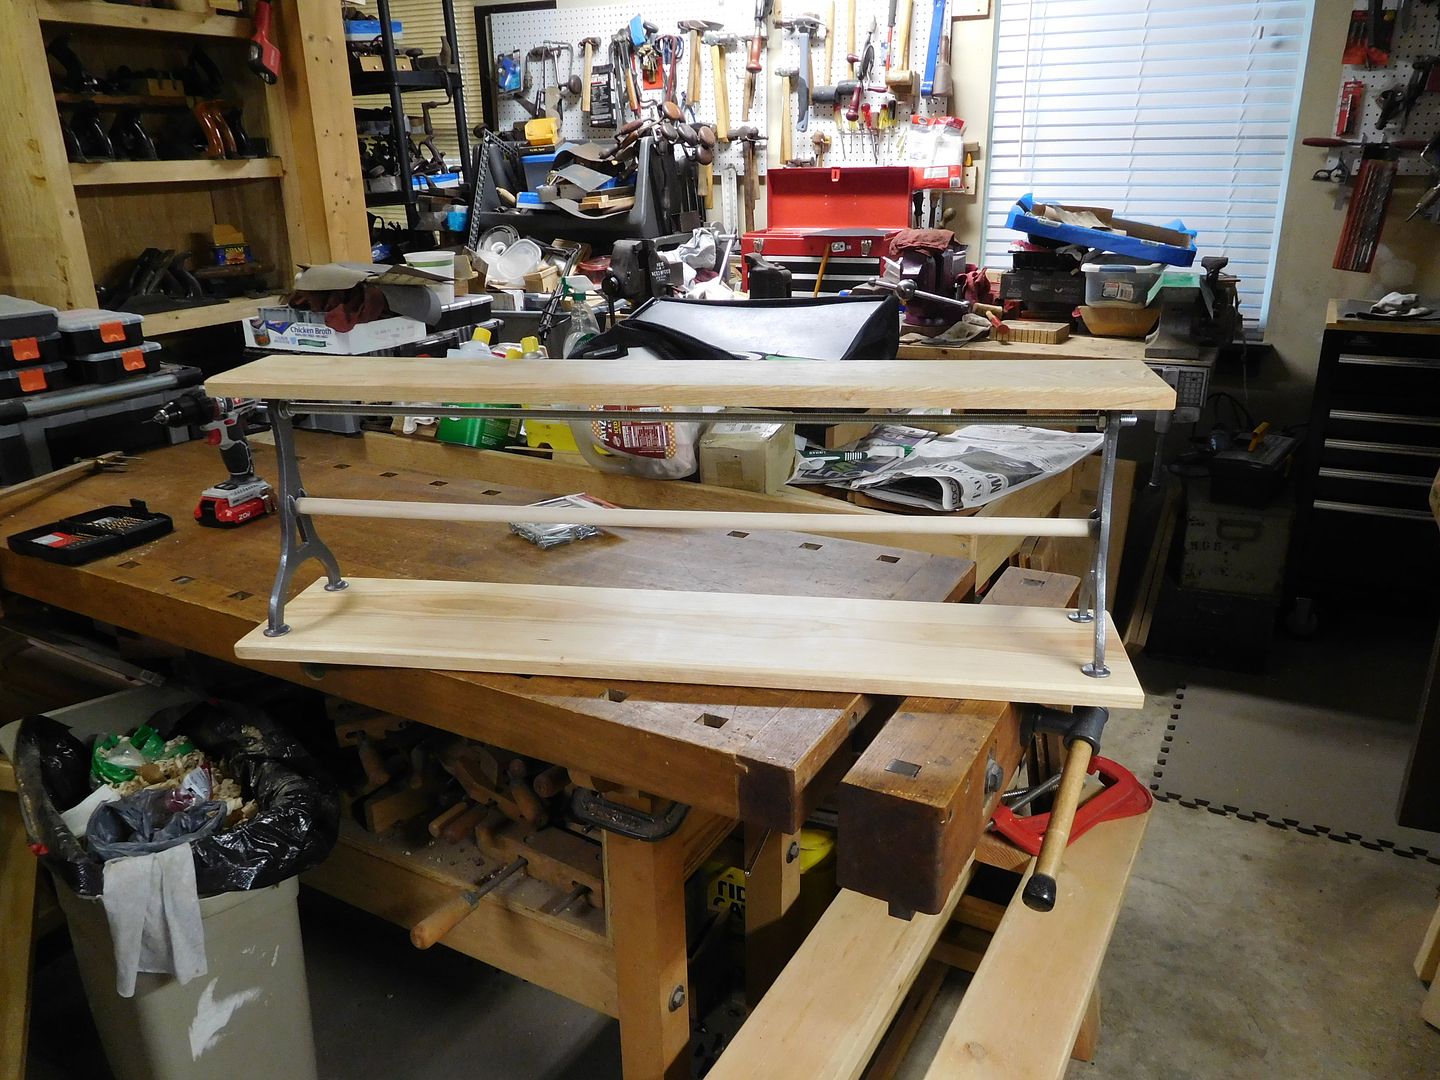
Here is a mock up of what it will look like.
It is a pretty cool design. There are two eyelids cast into the supports--they are U shaped. The 36" dowel goes there. To use, remove the dowel and insert in into a roll of paper. Then put the whole assembly back. That is nice because I have Christmas paper (30"), the vapor paper (30") and also some heavy craft paper (35"). All of these fit and can be changed out in short order.
I chose hickory because it is taking up space in my shop. I ordered a pack from Wall Lumber because I needed to make a windowsill. We remodeled the kitchen in 2012 and the cabinets are unstained hickory. I wanted a windowsill to match but did not want to pay a few hundred for a custom sill.
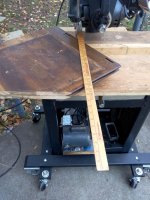
So hickory it was. As luck would have it, I had two pieces that were the right length. All I had to do was chop 1/8" off the small one. But this stuff has been hanging around since 2012 and the bottom piece is cupped and bowed. In fact, it is bowed enough to get the hunting knife blade under it.
The good news is that it sits flat on the bench. From our geometry lessons, we know that three points define a plane. Since this board had its three points I decided to leave it alone. This is not a fine furniture project and I can always plane it later if it becomes a problem.
The boards did need edge treatment so I brought out my LN #7 to take them down. This hickory is tough, really tough.
I jointed the first edge. You know when it is done because you can pull a full length shaving. This one had a few string spaces, but the tough wood held up when I unwrapped it.
But there was tearout at one end. Tearout is where the wood fibers break instead of allowing themselves to be sliced. It is usually caused by a dull blade or by using the plane against the grain.
I figured the blade did need some attention but I thought if I went for the low angle #62, I would get a better finish. Of course, that blade did need some attention (see post above).
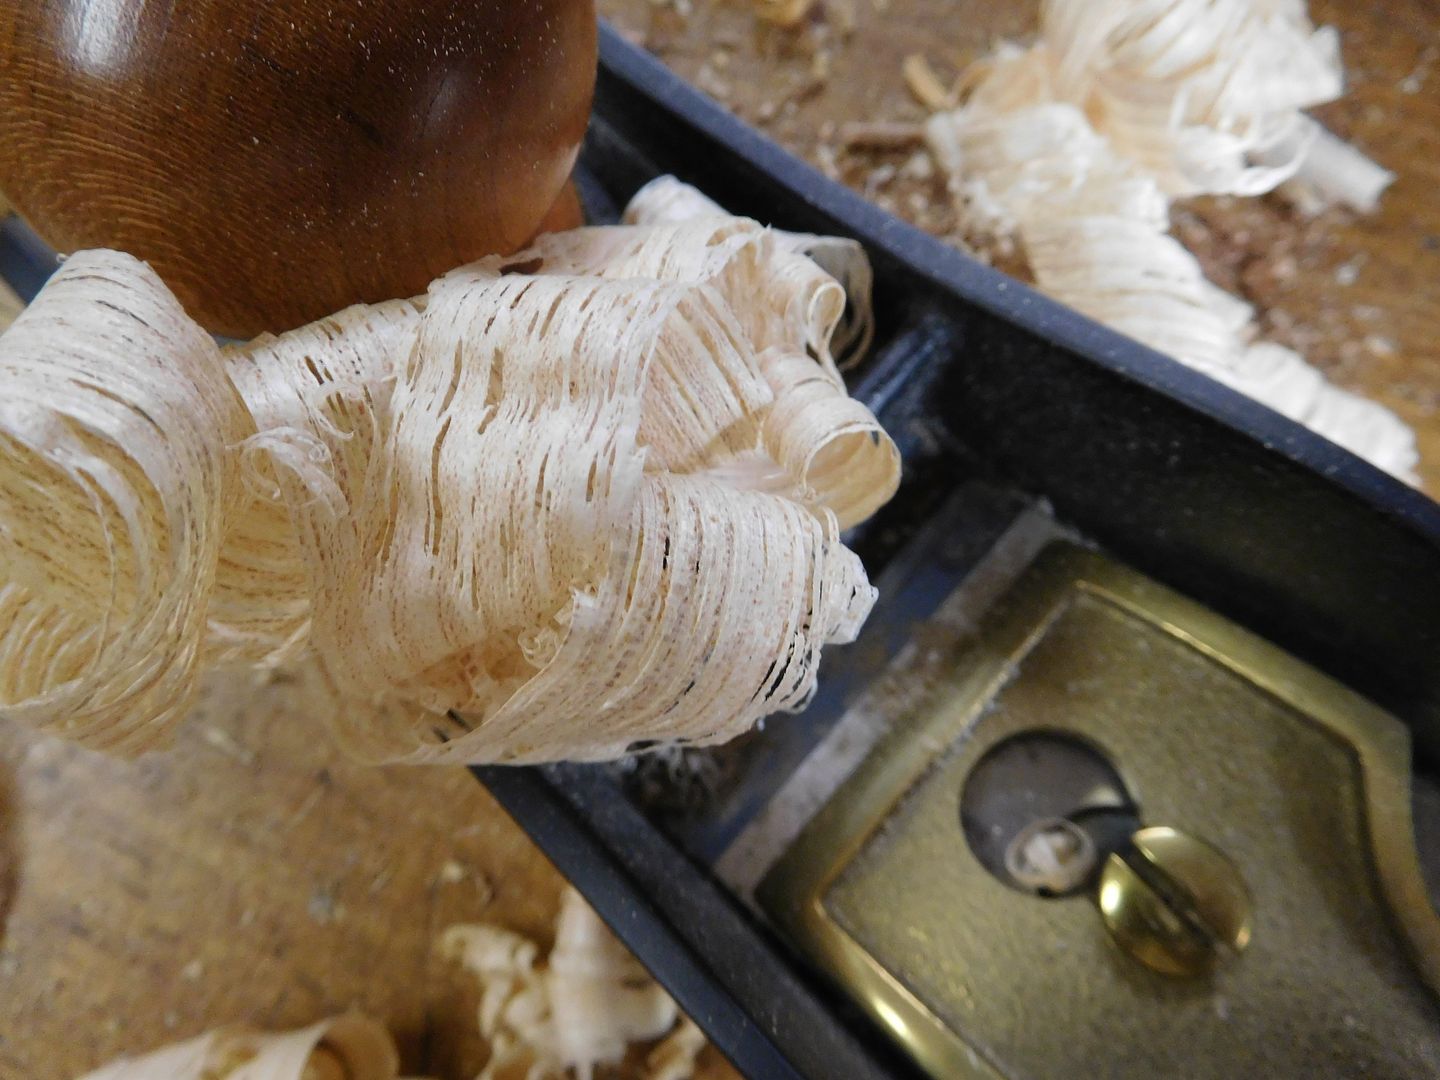
But the #62 did not disappoint. It left a slick finish on the hickory.
I love the shavings--thin and wispy.
So the two planes made quick work of the edge treatments.
Time to move on. There are lots of pictures, so I will break up the post. Part II to follow.