Infill knob continued
When we last saw the knob, it was sitting in the plane and waiting for a fitting. I decided to "stuff" this one--that is, have it hanging over the sides. Well, the sides are not straight so I need to make a pattern.
I cut out the pattern and traced it on the side of the knob.
Now it is just a simple matter of removing some waste.
I am using my curved Japanese chisels.
Whups!!! I got a little carried away.
Here is a trick I have learned. When you are carving and inadvertently split out wood you need, just glue it back in place. Let's face it, a split is a perfect fit which will make an invisible glue line. Nobody will ever notice.
And now through the wonders of my "wayforward machine" I will take you through the time warp to a time when the glue has dried so we can continue this fascinating journey.
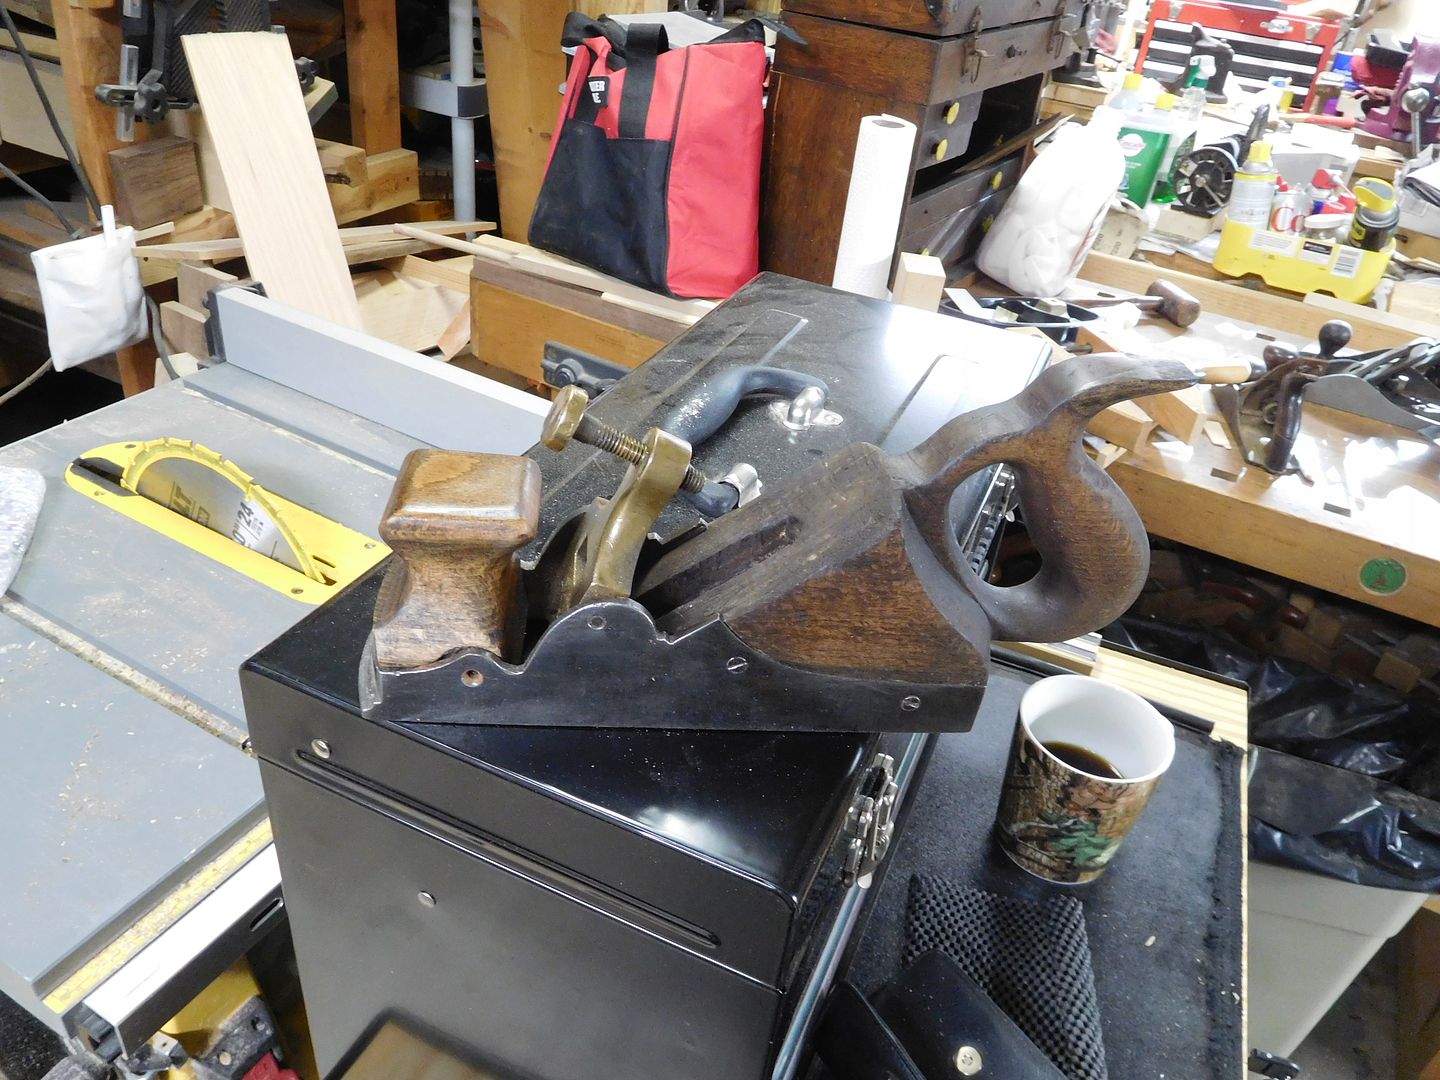
As you can see, the tools are beginning to accumulate. I always think I have too many tools until I start something like this and use what seems to be half of the shop.
This trial fit looks pretty good. Time for the other side.
For this part of the project, I had to switch hammers and go light.
I think everybody has a different system for removing waste. The good news is that almost all of them are correct. I start with little cuts. My objective is to break down the wood into small splinters. Large pieces can cause cracks but small pieces lower the risk of damage.
The "death by a thousand cuts" continues and I am really appreciating the lighter hammer.
It is taking shape.
Here is a trial fit with cut outs on both sides.
I need to bring the knob forward but the front is end grain. Looks like a job for a small shoulder plane.
And here is the final fitting.
Whew! I musta done at least 500 trial fits. This was a tedious process of cut, fit, cut, fit, rinse and repeat. But at least we have a fitted knob.
Of course, the workbench is a mess.
Remember when we made the knob too large because we used a pattern that was too large? And remember when we made a rough cut on the rear? Well, it is time to fix that.
So out comes the oscillating spindle sander.
There is a noticeable lack of thumb space.
So that took another 500 trial fits. But now it fits my thumb and hand just right.
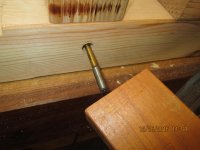
Now another issue has popped up.
Once again, I will exonerate the shop floor and blame engineering.

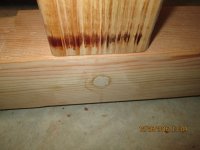
Looks like we need a patch.
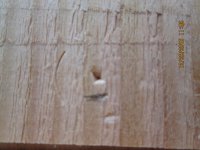
Things like this are pretty easy decisions. Do I want to see a gap or a patch? Since this wood will be stained pretty dark, I am guessing that a patch in this location will be almost invisible.
Before I glued up the patch, I sanded the knob with 220 grit sandpaper to get rid of the OSS marks. Once QA signs off on this one, it is going to the finishing department.


 How/when did that happen??? No wonder the blade seemed a little iffy.