CRSINMICH
Well-known member
EZ: Very nice #80. If it's not genuine NOS then it will certainly do until one comes along. Good score!


Well, I have a dozen or so Emmerts tucked away, but I only paid $800 for my large Ulmia cabinetmakers bench.


MOT: well you've mentioned a pile of Emmerts and i read every post on the big vise thread and not a mention of any there so how about a few pictures of your little (big) collection of Emmerts here so we all can learn more about the best (I here they are) woodworker's pattern vise ever made. OK?
Turbo: if it makes you feel even better i like your woodworker's bench better than the one i posted.


")
When was the last time you found it necessary to tilt or rotate your work in such a way that it couldn't possibly be made in a woodworking vise?


Jim: surprisingly enough the madrona piece i posted was cut very well by a woodworker that is now building anything he wants to since he passed a few months ago. in honor of the time he spent on it even though i only know his kids i'll try to do something to give it some life instead of just burning it.
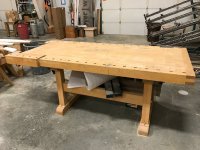
ALL: so i know nice woodworking tables with an Emmert vise on it are valuable, but is $4500 a reasonable price for this 4x8? i've seen some new ones sort of similar selling for about this much, but have any of you paid up for one of these or is building one part of the fun and maybe lot cheaper? of course if you can find an Emmert Patternmaker's vise laying around somewhere would help.
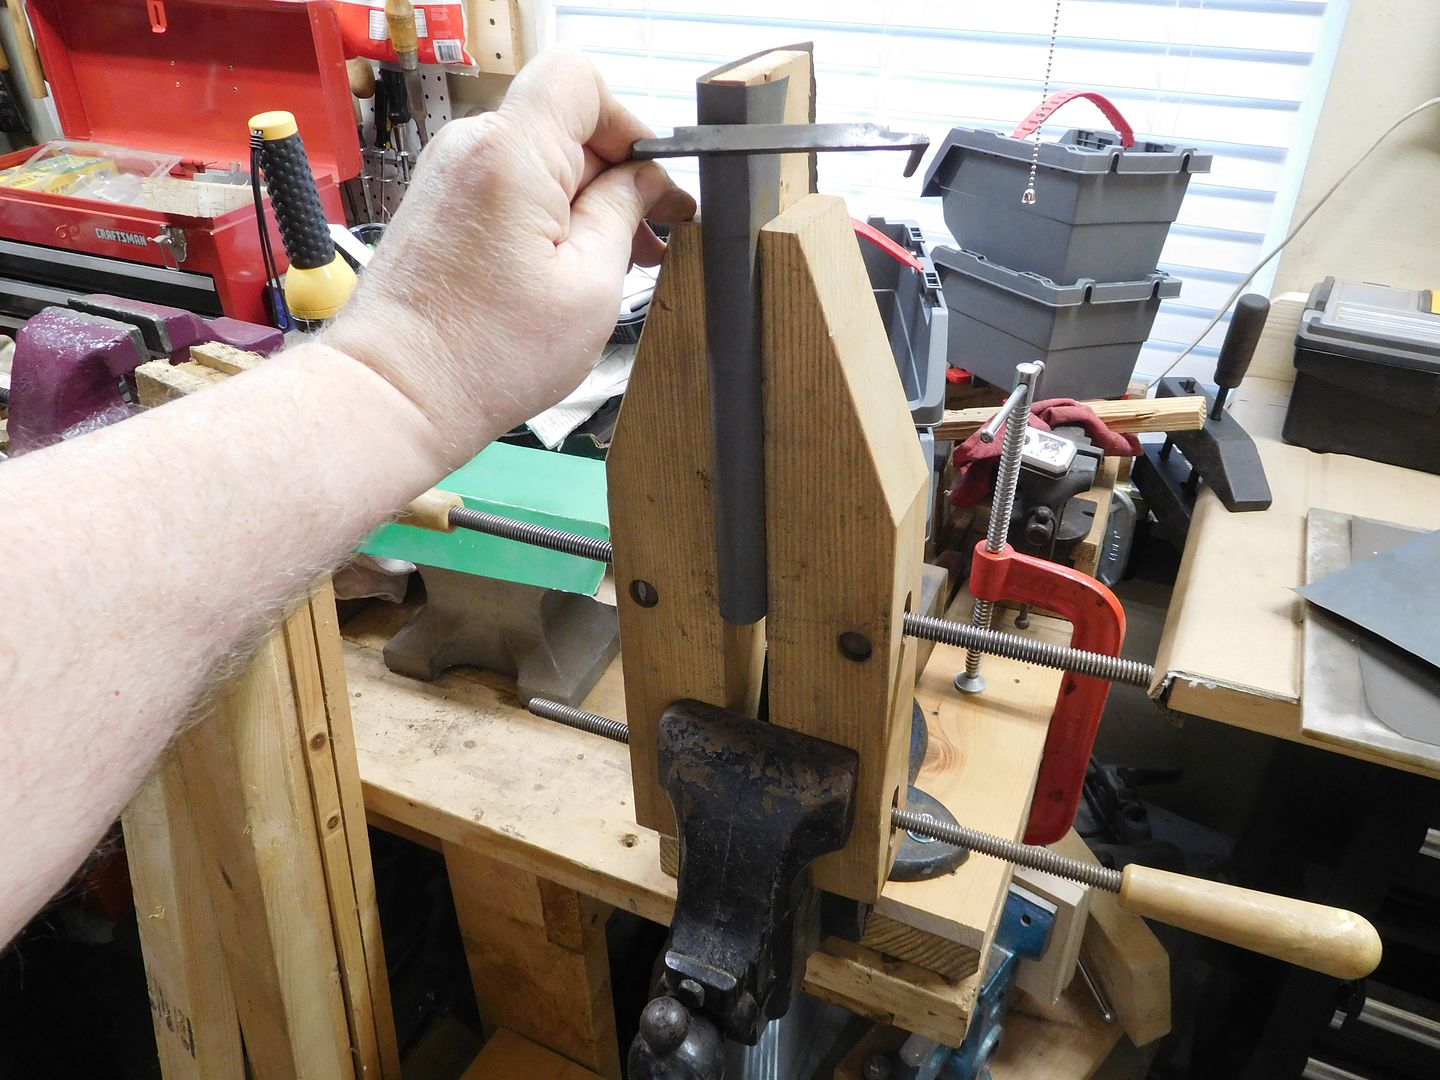
...It took very little trimming to make everything flat...


Translation--it's flat enough.
![WP_20170316_019[24989].jpg](/forum/data/attachments/584/584503-360ff8d9455a9c3a87a4c8df20adc5c2.jpg)
![WP_20170316_020[24990].jpg](/forum/data/attachments/584/584536-0615dff5cf67809db8387d7c7587c225.jpg)
![WP_20170317_009[25029].jpg](/forum/data/attachments/584/584576-fd54b473d13eb6824c11be6795c4e31e.jpg)


![WP_20170316_018[24917].jpg](/forum/data/attachments/520/520832-085965ced22c5cf210f583622a568a3c.jpg)