turbowoodworker
Well-known member
Not woodworking, but not worth starting a thread over either, but last night while leaving the in-laws' house I had to stop and help put out a small brush fire on the other in-laws' property.
Seems uncle put out some ashes that got out of the barrel, under the two inches of snow and started a fire in the leaves. We got it controlled and kept it from getting to an overhanging tree which would have taken it to an outbuilding. The VFD showed up and dowsed it. No harm done, just a little excitement.
Now it was 22*F while we were doing this, and no wind. All I kept thinking about was the poor people in CA fighting the recent fires in 75*F, 5% humidity with 45 mph winds. Not a job I would relish. So kudos to our firefighters and smokejumpers.
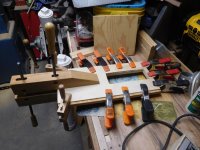
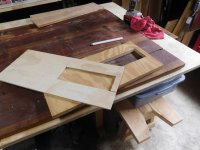
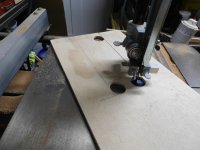
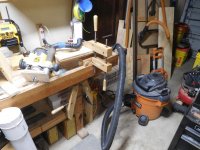
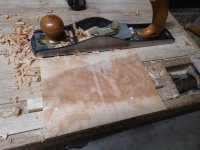
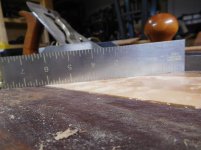
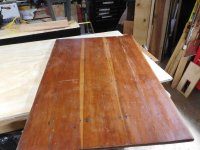
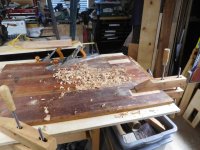
Now back to some real woodworking:
Seems uncle put out some ashes that got out of the barrel, under the two inches of snow and started a fire in the leaves. We got it controlled and kept it from getting to an overhanging tree which would have taken it to an outbuilding. The VFD showed up and dowsed it. No harm done, just a little excitement.
Now it was 22*F while we were doing this, and no wind. All I kept thinking about was the poor people in CA fighting the recent fires in 75*F, 5% humidity with 45 mph winds. Not a job I would relish. So kudos to our firefighters and smokejumpers.
Now back to some real woodworking:


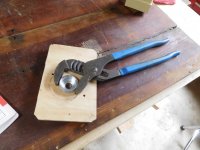
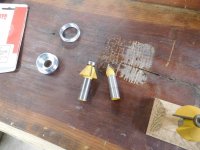
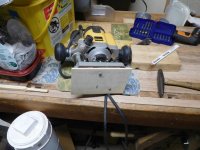
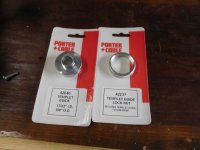
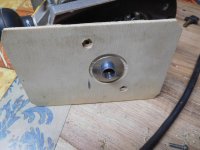
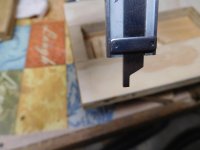
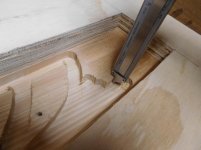
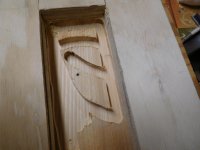
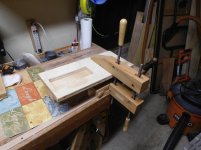
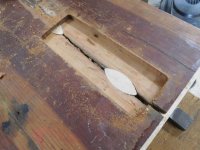
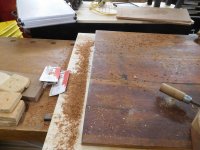
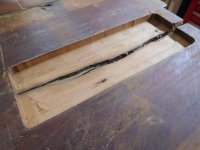
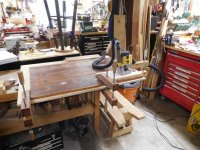
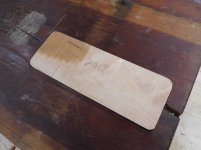
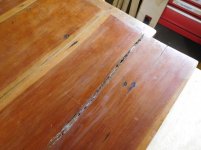
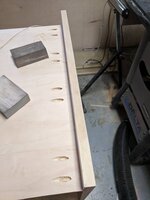
 Point covers solve a problem.