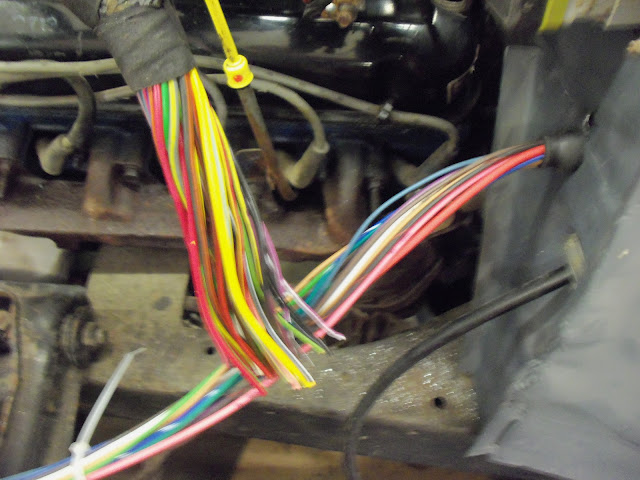
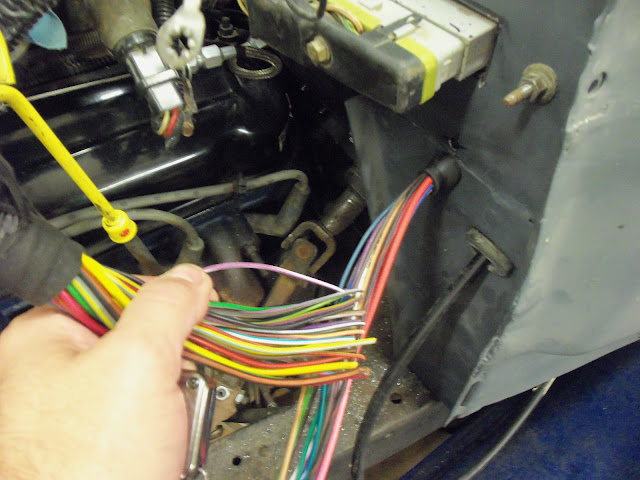
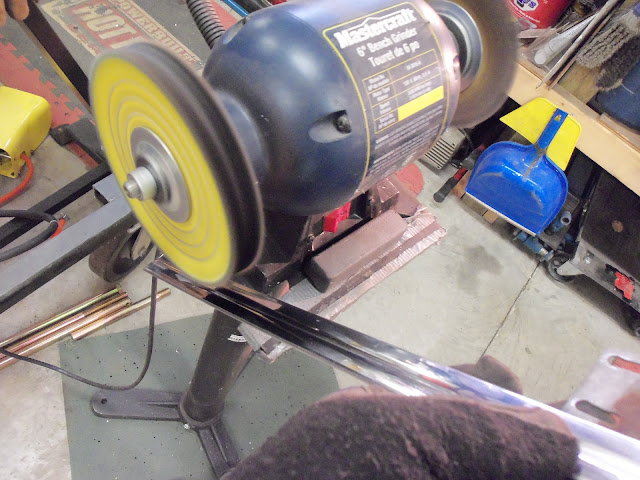
E-Tek...if you did it, shame on you. You know better!!! I guessing you just staged this for the photo shoot.
BUT....for the others that don't know, never drill a piece like this in the location it's in. If it grabs, it kicks around. You're not supposed to wear glove at a drill press so if your holding it with your bare hands, you stand the chance of possibly getting a good gash out of it. Rotate the part around so it is up against the drill column. If that is not possible, run a bolt up through the table slot to act as a stop.
Just wanted to mention it before anyone gets hurt. We had a guy at work that had his thumb ripped off because of unsafe drill press practices.

Thanks "Safety Kevin"!!
")
You're correct - it was staged to show the 2 items I was working on. I don't (normally!) have various pieces on the press at the same time!


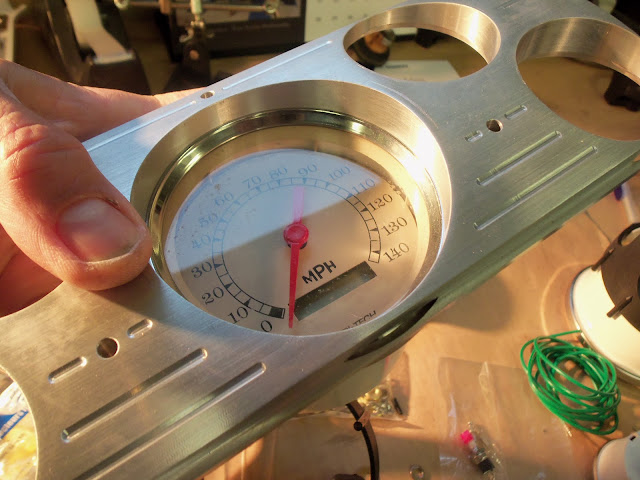


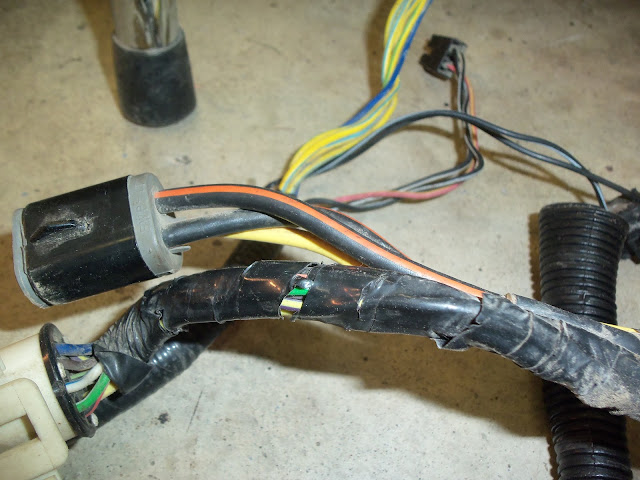
 me E-Tek, I do have to install one of those eventually .