mdkingsley
Well-known member
Awesome updates as usually keep up the good work

Awesome updates as usually keep up the good work


")


Ed...on the console mockup....is it going to stay wood and just get wrapped in upholstery?
One of my next jeep tasks is a center console....but I'm thinking steel....but still looking for ideas.
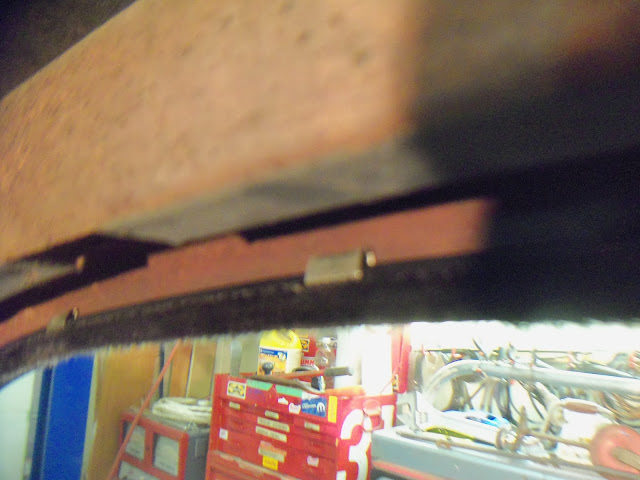
And.....your tool box? It's too neat....you need to toss some of those tools around....it's killing me.


That should make for a sweet looking console
 keen to see the final outcome of that as it looks good.

 [/QUOTE]
Ya, I made it up like they do all the speaker enclosures, etc. They can round/shape it if needed then they'll wrap it:
As for the toolbox - I put my stuff away so I can find it again - yet I still managed to lose 2 wrenches in the past couple weeks
With at least a month of "holidays" coming up, I should be able to get the 40Ford ready for the upholsterers - and then get back to doing some metalwork - on the Camaro!
Polar Bear Hot Tub!
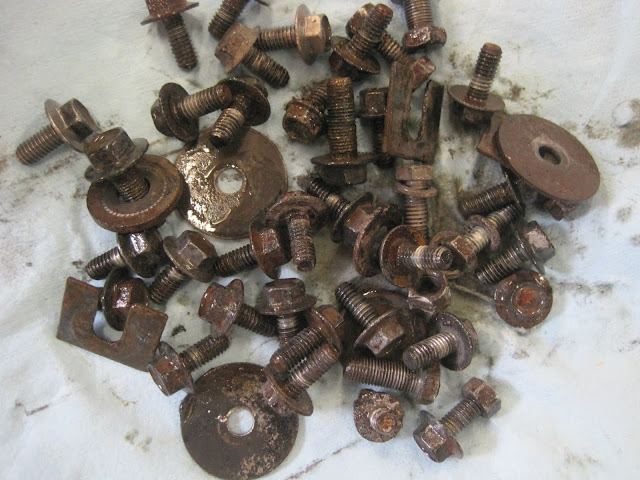
BTW, you didn't show the finished nuts and bolts after the media tumbler. We're paying good money to watch you work your magic!
Err..... tell me that's now what Jag fasteners look like brand new!
If you would, could you do a small write-up on the console when it gets wrapped? I'm curious how they will do it. Whether it has some padding underneath the leather, or however they do it. I'd like to change the console in momma's Cutlass to something a little more modern and useable.
Did you make up the decal on your vise, or what is it? I'm assuming a decal. Looks good
- due to the initial body shop putting too much filler in the lid, as well as there being a structural component in the lid that made "typical" installation impossible.


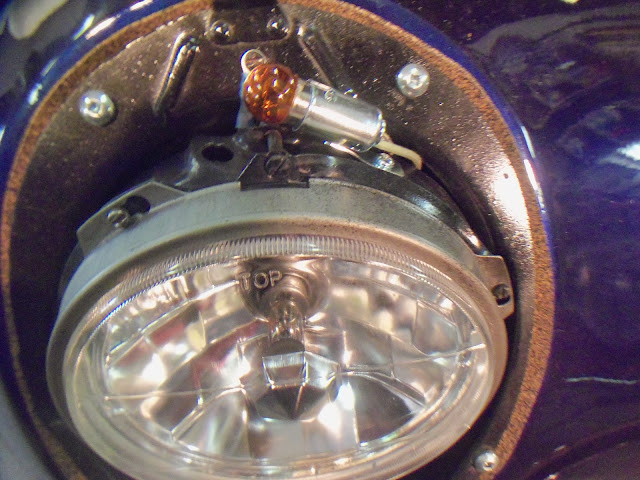
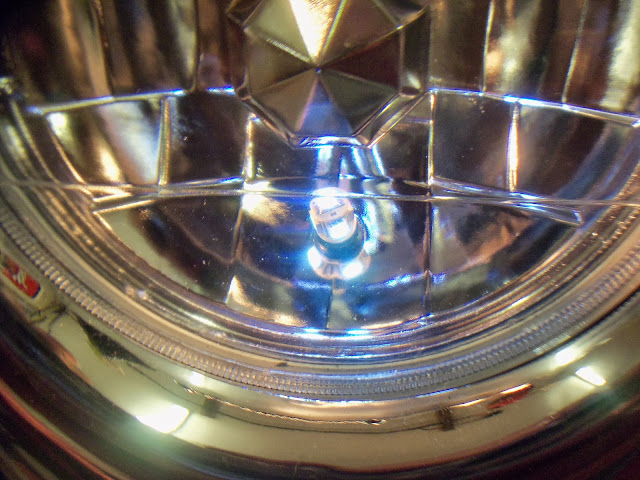
..and powered the black...unless someone tells me otherwise!
 ), just double-check how the polarity is supposed to be.
 out of some LEDs can be frustrating (and annoying, and costly).
WARNING - WARNING - WARNING
Polarity usually DOES matter for LEDs.
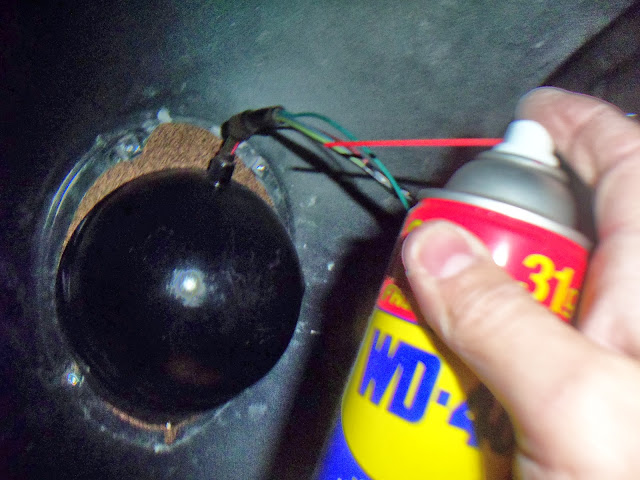
Double-check how the polarity is supposed to be for those LEDS. Do not assume, check and double-check. Call the maker/distributor, check the wiring diagram (or the instructions
Letting the magic-smoke
For 'regular' bulbs (incandescents), polarity really doesn't matter (on the bulb/filament itself). For LEDs or many other electronic devices, polarity often does matter.
Check and double-check. Do not assume.
 I'm not one for guessing, so I hooked the one up then came in to ask/research it. Halogens came with NO instructions! I'll check with manufacturer/other sources before finalizing. I m surprised you didnt find some rebar as well.


Ed, Often you can test an LED on a small 9 volt battery. LED's are mostly voltage tolerant and a small 9 volt battery is an easy way to test them.
I envy you ed, you get so much garage time
but I guess your kids are much older than mine lol (2 and 4)

Ed, Often you can test an LED on a small 9 volt battery. LED's are mostly voltage tolerant and a small 9 volt battery is an easy way to test them.
Ummm, not quite.
Most LEDs are not voltage tolerant.
Some LEDs sitting 'behind' a driver circuit may or may not be voltage tolerant (depending on how smart/tolerant the driver circuitry is or isn't).
Applying 9V DC to an LED circuit (the LED + the driver circuitry) that is made for 12V DC will usually be OK.
Applying 9V DC to a bare LED that 'wants' 2-3V DC will most likely result in a release of MagicSmoke from said LED or a fired internal 'wire'.
So it all depends on the specific LED(s) and their driver circuitry (if any).


 - prior to shipping:


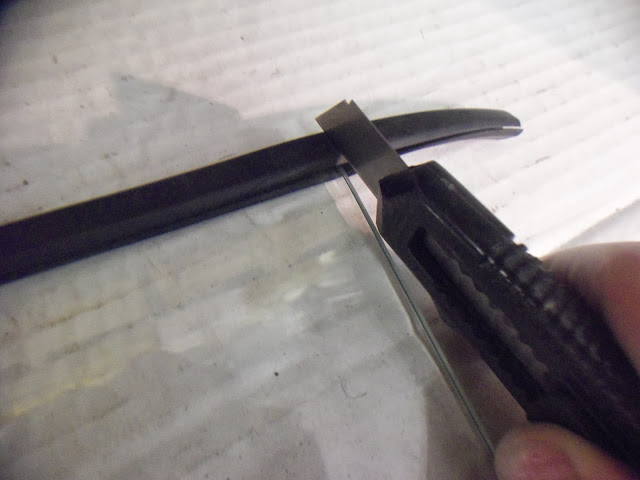


 - I tipped the front end down and in:


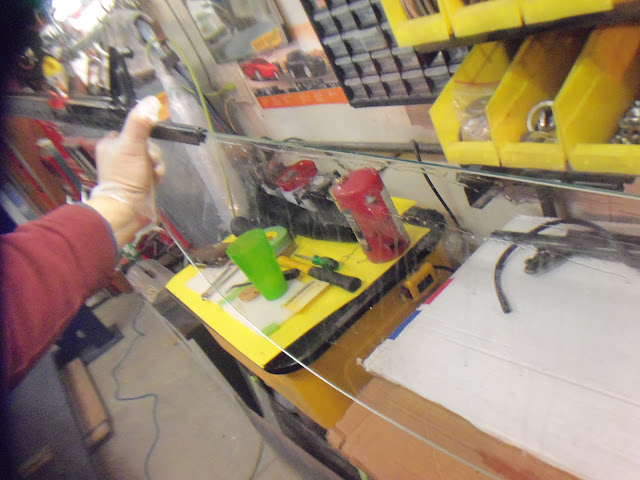
 , but there where a few spots that I though may not have been up to our standards!


