Jvvmusme
Well-known member
Cleaned things up a bit:


To be copied soon. Awesome installation !


Cleaned things up a bit:
")

You can buy a 9000lb 4 post lift for what you guys pay for one of these maxjaxs. And you dont need to bolt them to the floor
Build a bigger garage or raise the ceiling. If you're garage is really that small then you shouldnt have a lift in it anyway. My 22x22 garage on my house i cant even fit my truck in. So i know the pain. Its only big enough to hold two jetskis and my lawnmower.How does that help those with small, short garages?
Build a bigger garage or raise the ceiling. If you're garage is really that small then you shouldnt have a lift in it anyway. My 22x22 garage on my house i cant even fit my truck in. So i know the pain. Its only big enough to hold two jetskis and my lawnmower.
This thread is for MaxJax installs.... not ridiculous ,critical comments. We would all love to build a huge garage...these lifts solve the problem for those that can't afford to or have the room to. Roll your 22's somewhere else!Build a bigger garage or raise the ceiling. If you're garage is really that small then you shouldnt have a lift in it anyway. My 22x22 garage on my house i cant even fit my truck in. So i know the pain. Its only big enough to hold two jetskis and my lawnmower.
Man you guys are some up tight babies in here. All i was saying is there are other options then these maxjax lifts. But you guys seem to be the experts so have at it.This thread is for MaxJax installs.... not ridiculous ,critical comments. We would all love to build a huge garage...these lifts solve the problem for those that can't afford to or have the room to. Roll your 22's somewhere else!

Skip the max Jax and go for the c7000 portable lift. It's rated for 7000lbs, has locks like a full size lift and heavy-duty.
Build a bigger garage or raise the ceiling. If you're garage is really that small then you shouldnt have a lift in it anyway. My 22x22 garage on my house i cant even fit my truck in. So i know the pain. Its only big enough to hold two jetskis and my lawnmower.
Oh really. Never heard of that lift (Have now) So that's like a beefed up Version of the max-jax?
It looks perfect for my needs, Thanks for the heads up, appreciate it
No problem, I almost sold my max Jax for one, but couldn't justify the extra cash for it seeing the max Jax is working for me. I just like the idea of locks every few inches and the heavier duty build of it.
Yeah for sure. Iam almost exclusively lifting 04-08 F150's so 7000LB's is advantageous and the multi lock system, etc.
Only problem is getting a hold of the unit, Even the threads in GJ seem to be closed / deleted / dead ending.
Thanks again
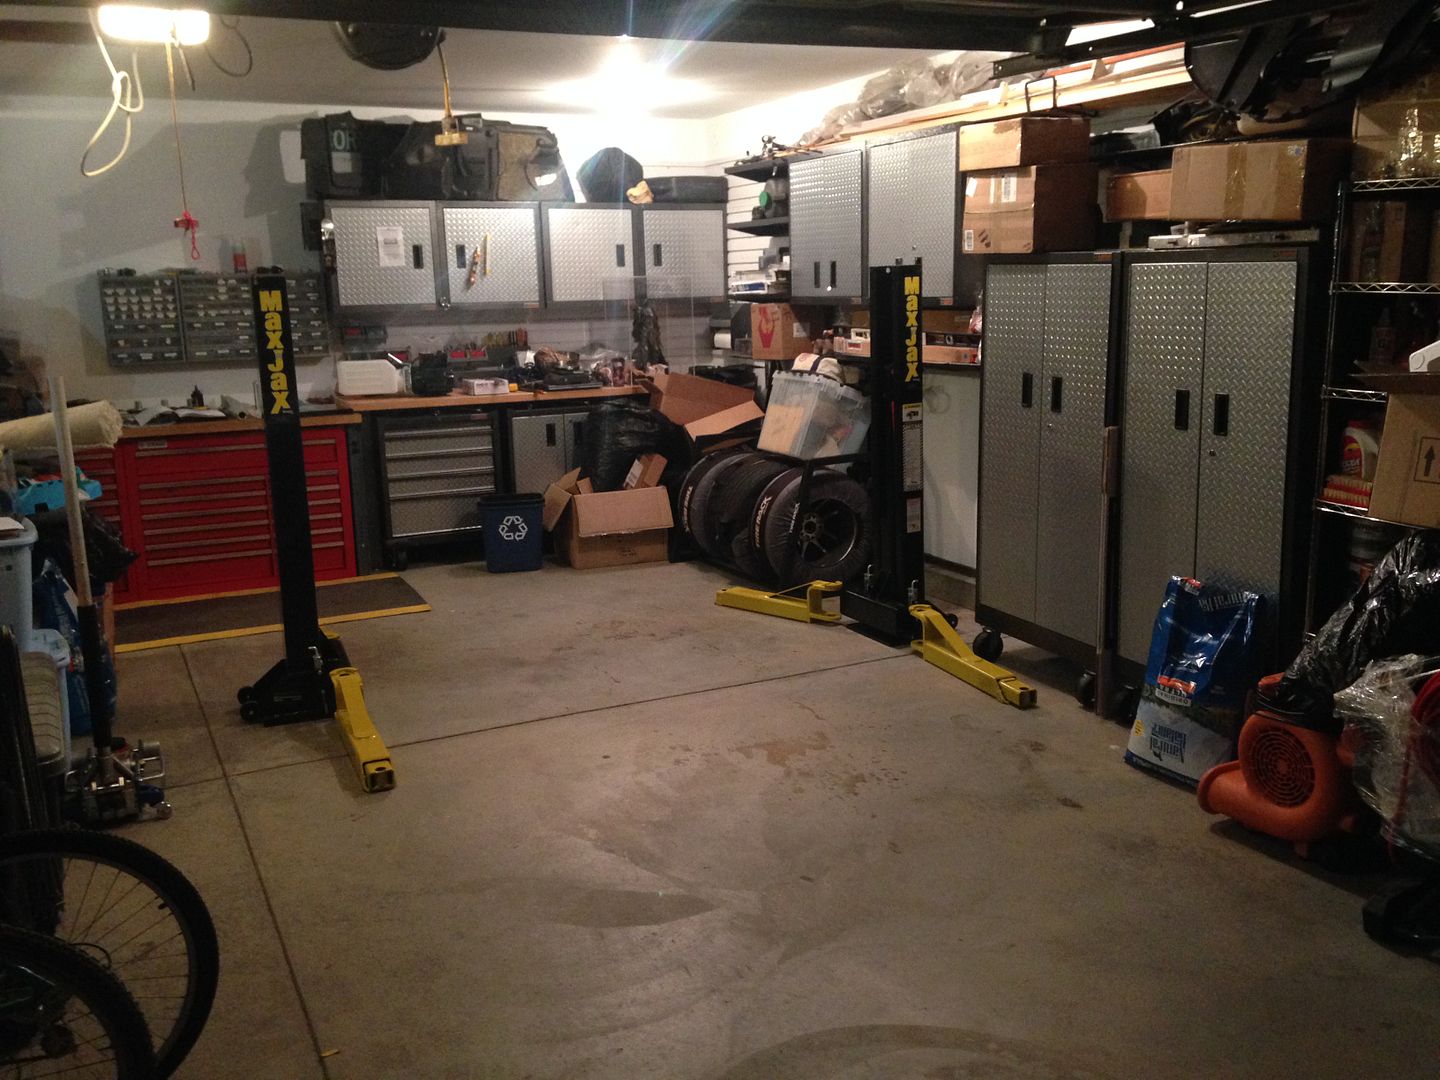
Finished the floor finally so a few updates:
 I really wanted a smooth white floor. Turns out after the the first exposure to snow/salt/dirt tonight that a quick mop up was all that was required. My goal would be to keep it clean by staying very organized.
Thanks Alex. My slab retrofit for the install started with your thread
. First time ever that my shop is really a shop. Part of the garage project was organizing the 10x12 shed to not only swallow up seasonal stuff, but also to relocate my compressors. That freed up a lot of space.jrj3rd: How far apart are your posts for the boxter? I have a Cayman and will install a lift soon.
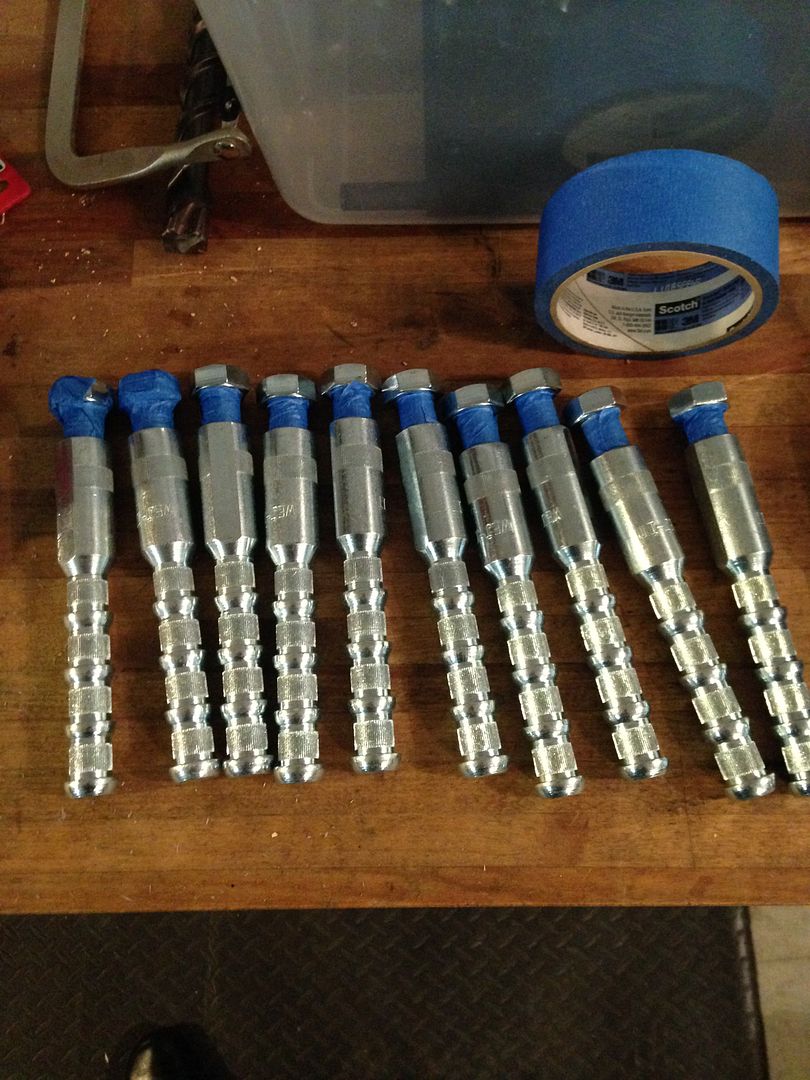
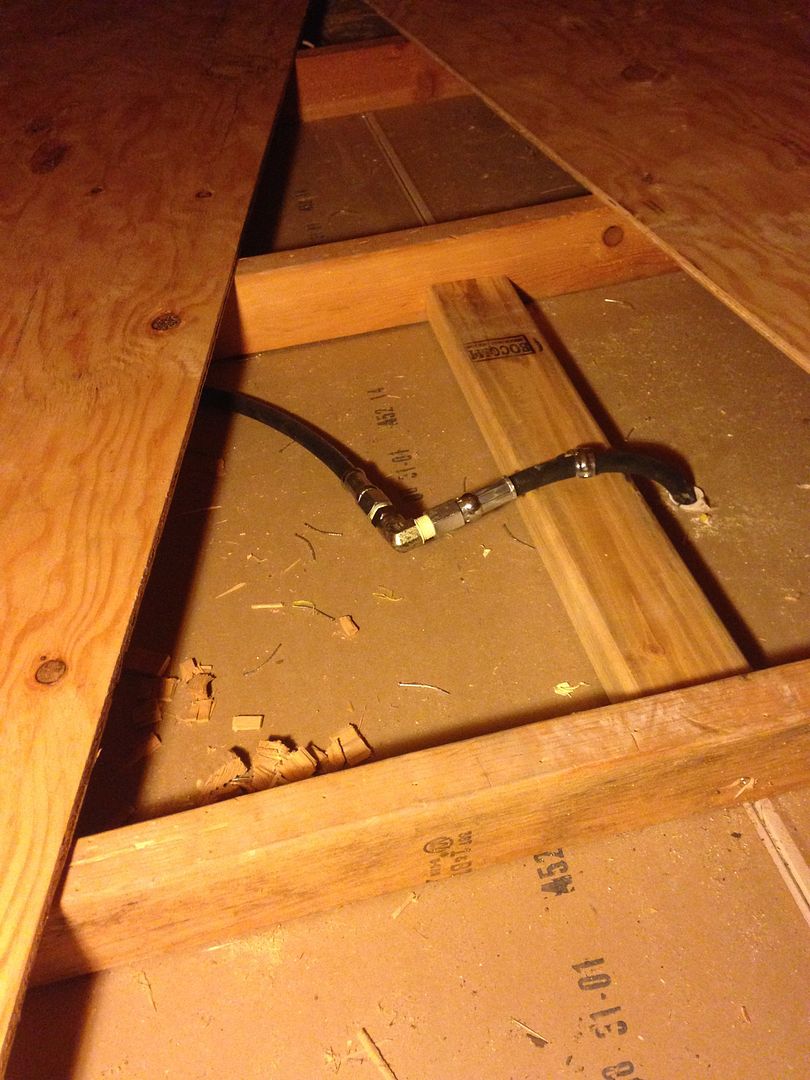
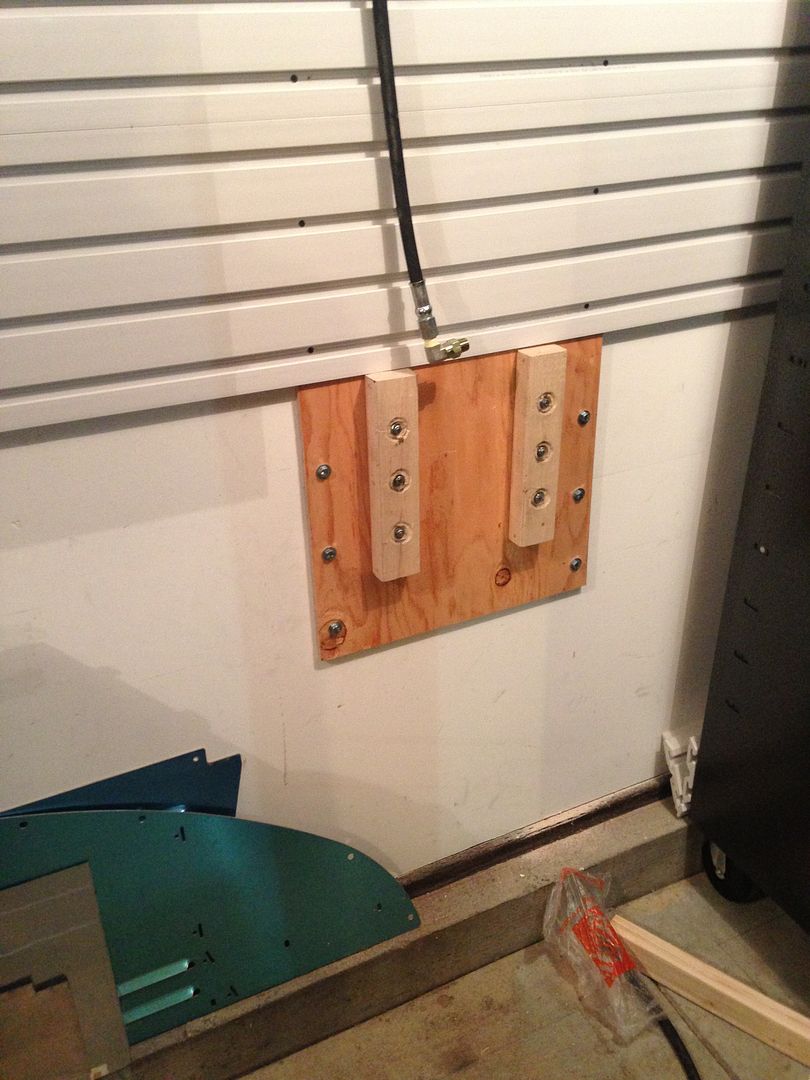
All of them hold 95 ft/lbs without issue, no pulling up or spinning. I love it. At one point I had a small piece of concrete spall under one of the bolts thanks to the plate not being 100% smooth/flush to the concrete, but that was a small piece that doesn't concern me much. The thickness of the slab was exactly 4" with a void, so I was forced to use hardware cloth. I regret using 1/4" because the epoxy was able to flow pretty easily through the openings (in the end, it worked just fine) so if I add any extra holes to allow for wider cars (I purchased extra anchors) I'll be using 1/8" hardware cloth. After an order for some 90* swivel fittings, I was on my way.
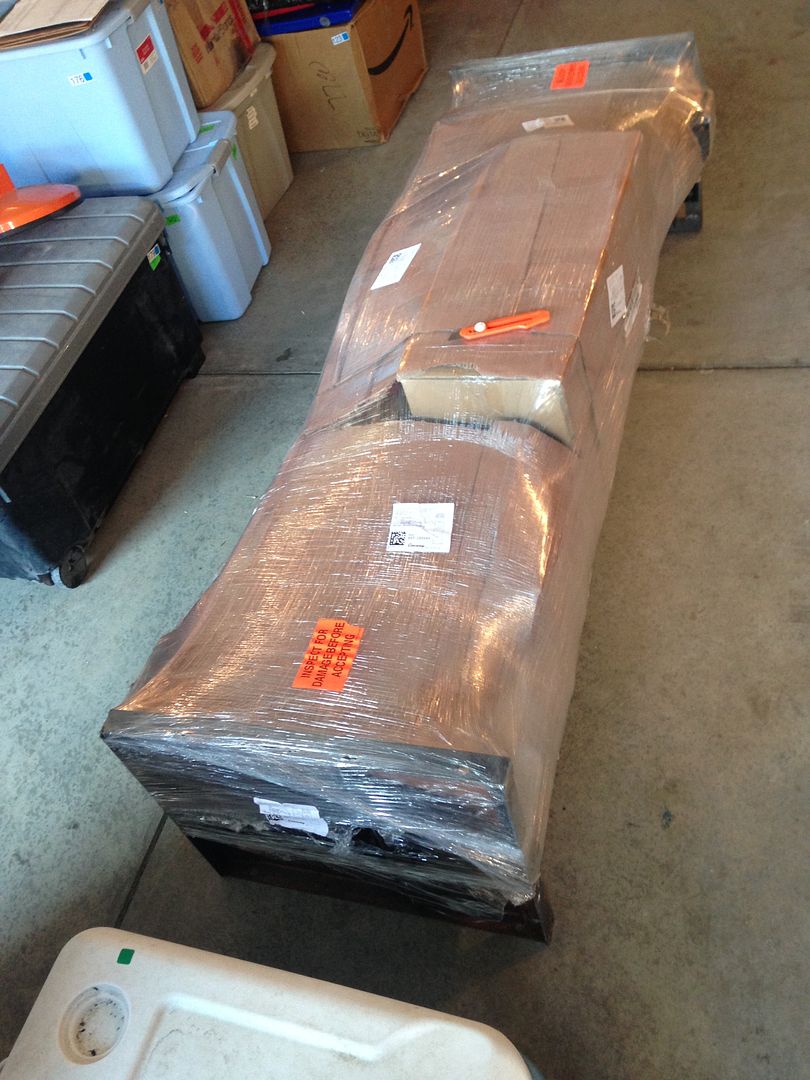


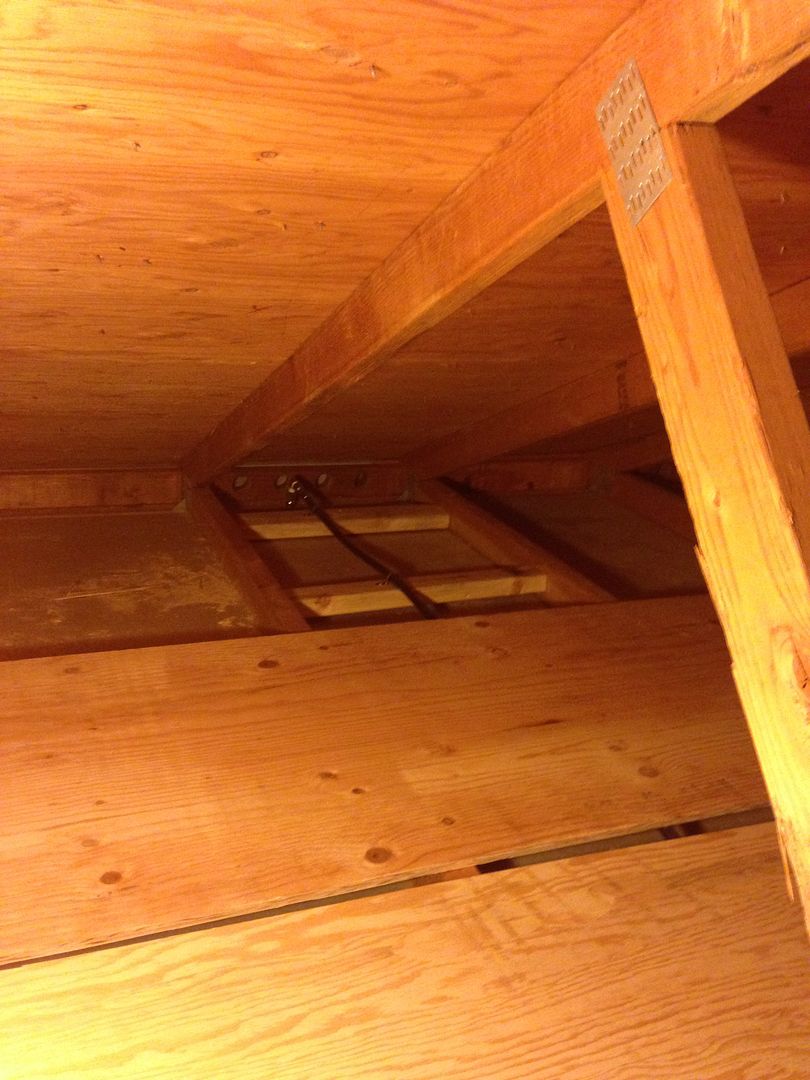
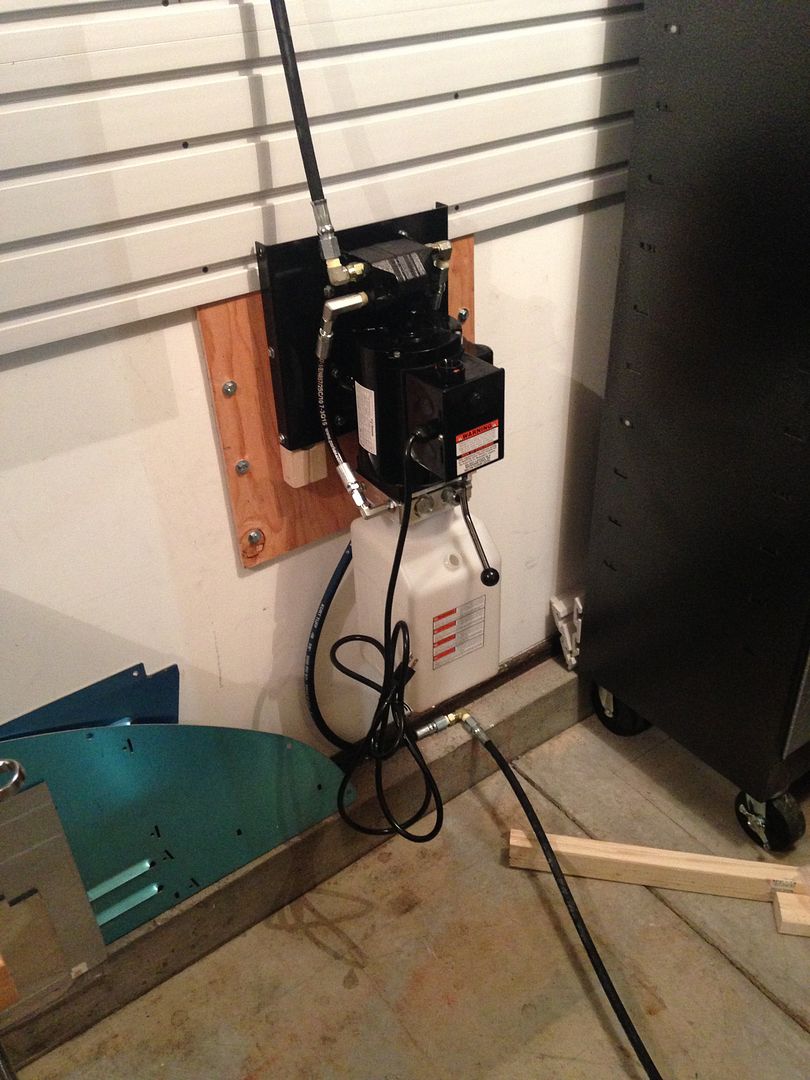
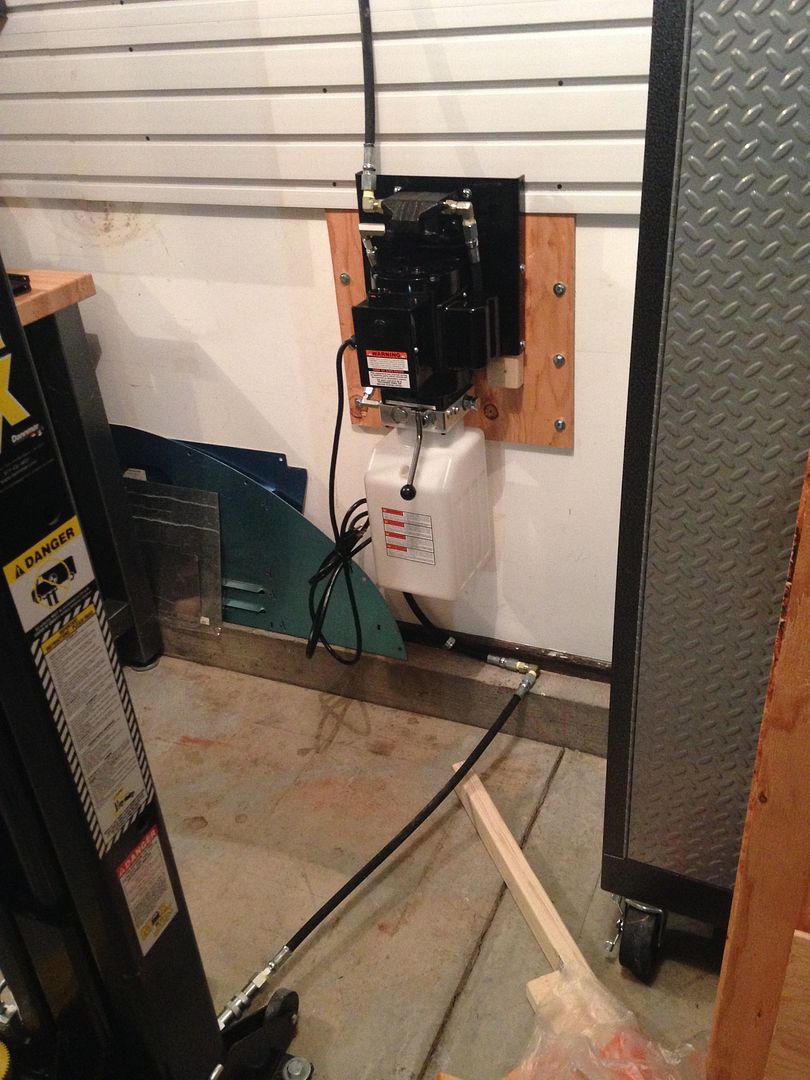


I'd love to run one of the hydraulic lines overhead, but I'm clueless on the types of connectors. If you happen to have the part numbers you got at that online supply shop, it would be muchly appreciated. Getting lines made up would be fantastic.
What did it run you for the lines?
5500-06-06 5500-06-06 | 3/8" NPTF Male x 3/8" NPTF Male 90°
6 $1.74 $10.44
6801LL-06-06 6801LL-06-06 | 3/8" JIC Male x #6 SAE/ORB Male 90°
1 $3.18 $3.18
2501LL-06-06 2501LL-06-06 | 3/8" JIC Male x 3/8" NPTF Male Pipe 90°
1 $4.55 $4.55
HT-06-ASB 3/8" HYDRAULAX TOUGH™ Hydraulic Hose Assembly
[Fitting 1: MP-06-06 | 3/8" NPTF Male Pipe ]
[Fitting 2: MP-06-04 | 1/4" NPTF Male Pipe ]
[Feet: 0 feet]
[Inches: 6 inches] 2 $15.47 $30.94
HT-06-ASB 3/8" HYDRAULAX TOUGH™ Hydraulic Hose Assembly
[Fitting 1: FP-06-06 | 3/8" NPTF Female Pipe ]
[Fitting 2: FP-06-06 | 3/8" NPTF Female Pipe ]
[Feet: 9 feet]
[Inches: 0 inches] 1 $35.17 $35.17
HT-06-ASB 3/8" HYDRAULAX TOUGH™ Hydraulic Hose Assembly
[Fitting 1: FP-06-06 | 3/8" NPTF Female Pipe ]
[Fitting 2: FP-06-06 | 3/8" NPTF Female Pipe ]
[Feet: 12 feet]
[Inches: 0 inches] 1 $41.37 $41.37
HT-06-ASB 3/8" HYDRAULAX TOUGH™ Hydraulic Hose Assembly
[Fitting 1: FP-06-06 | 3/8" NPTF Female Pipe ]
[Fitting 2: FP-06-06 | 3/8" NPTF Female Pipe ]
[Feet: 4 feet]
[Inches: 0 inches] 1 $24.83 $24.83
HT-06-ASB 3/8" HYDRAULAX TOUGH™ Hydraulic Hose Assembly
[Fitting 1: FP-06-06 | 3/8" NPTF Female Pipe ]
[Fitting 2: FP-06-06 | 3/8" NPTF Female Pipe ]
[Feet: 5 feet]
[Inches: 0 inches] 1 $26.89 $26.89
HT-06-ASB 3/8" HYDRAULAX TOUGH™ Hydraulic Hose Assembly
[Fitting 1: FP-06-06 | 3/8" NPTF Female Pipe ]
[Fitting 2: MP-06-06 | 3/8" NPTF Male Pipe ]
[Feet: 2 feet]
[Inches: 8 inches] 1 $21.09 $21.09
HT-06-ASB 3/8" HYDRAULAX TOUGH™ Hydraulic Hose Assembly
[Fitting 1: MP-06-06 | 3/8" NPTF Male Pipe ]
[Fitting 2: MP-06-06 | 3/8" NPTF Male Pipe ]
[Feet: 1 foot]
[Inches: 0 inches]

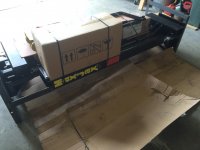
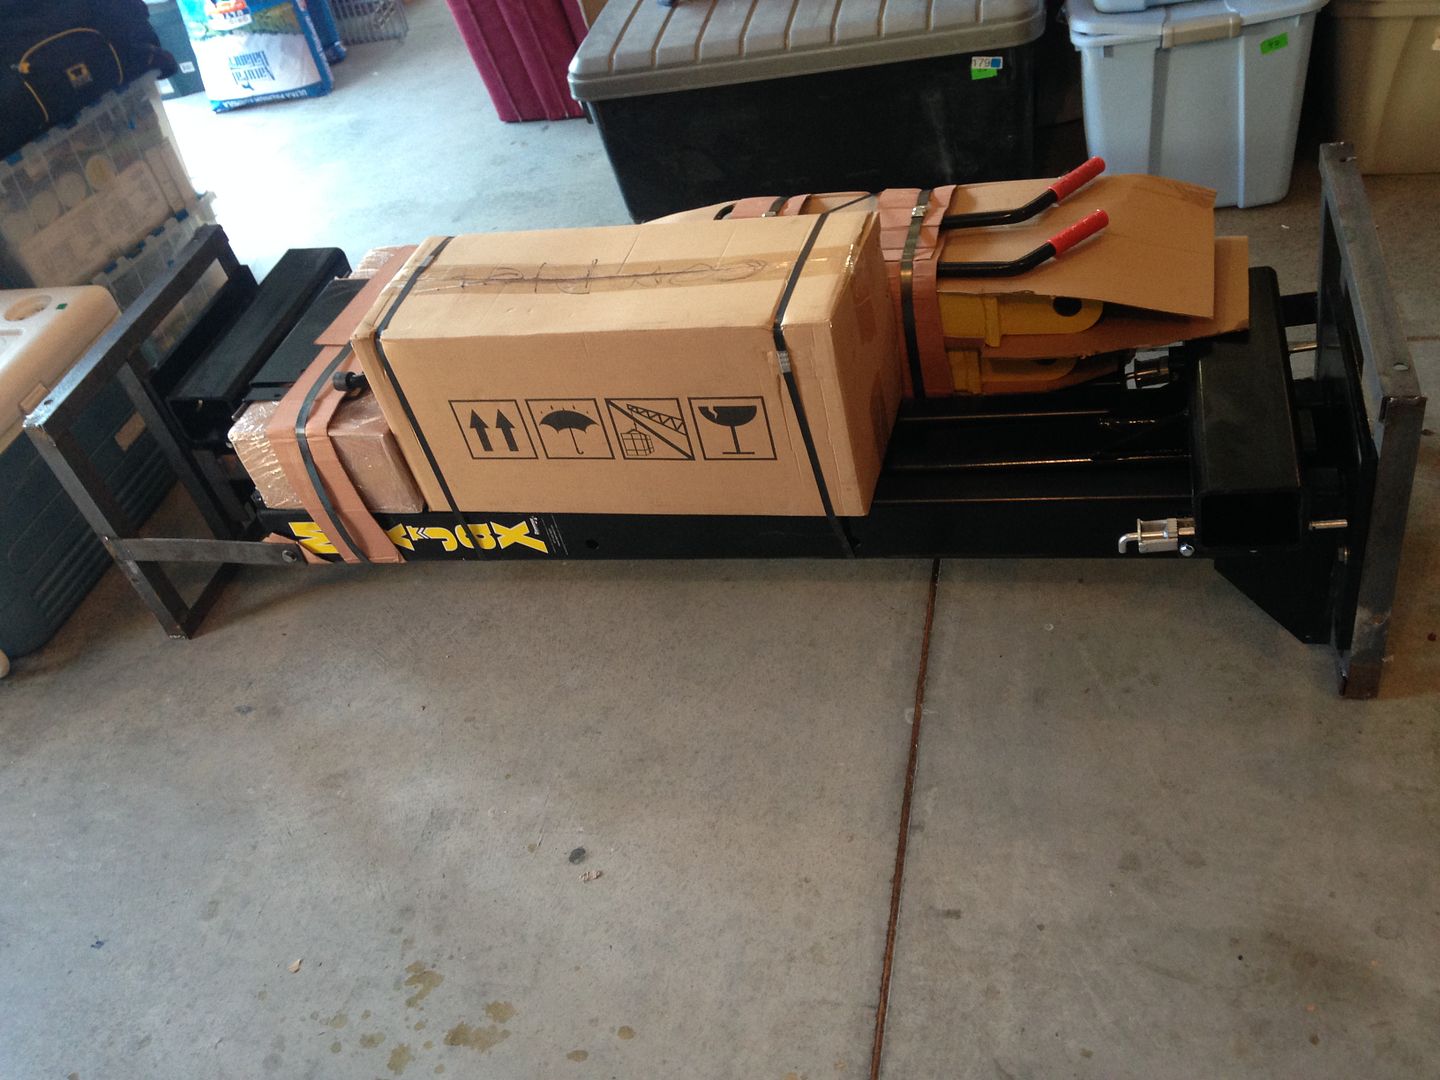
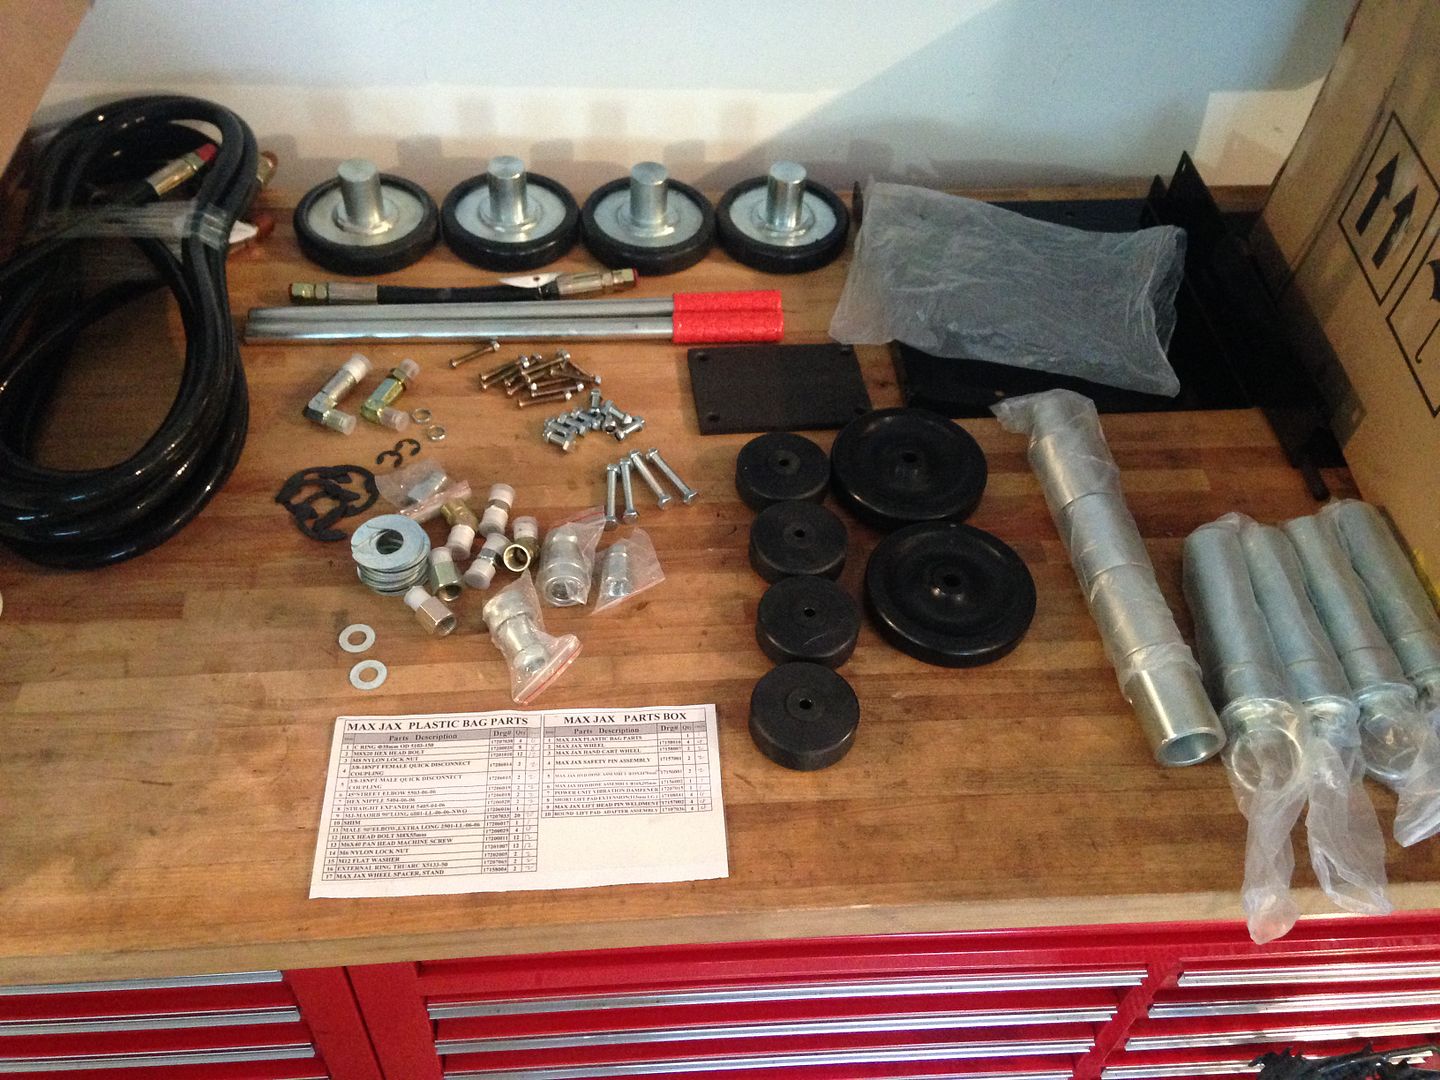
my friend Technician117 on here gave me a hand and brought home a new toy
IMG_20150424_164622_932 by nogiba, on Flickr
Posts in place - I still need to plan their width, spacing, and location fore/aft before I commit. Due to the slope of the floor I will be having new pads poured to support the columns. Still undecided on whether I'm doing one long width, or two smaller pads.
_DSC3749 by nogiba, on Flickr
I rolled the daily into place for an idea of how columns will line up
IMG_20150425_190930_898 by nogiba, on Flickr
Things are moving along on Project Dig to China
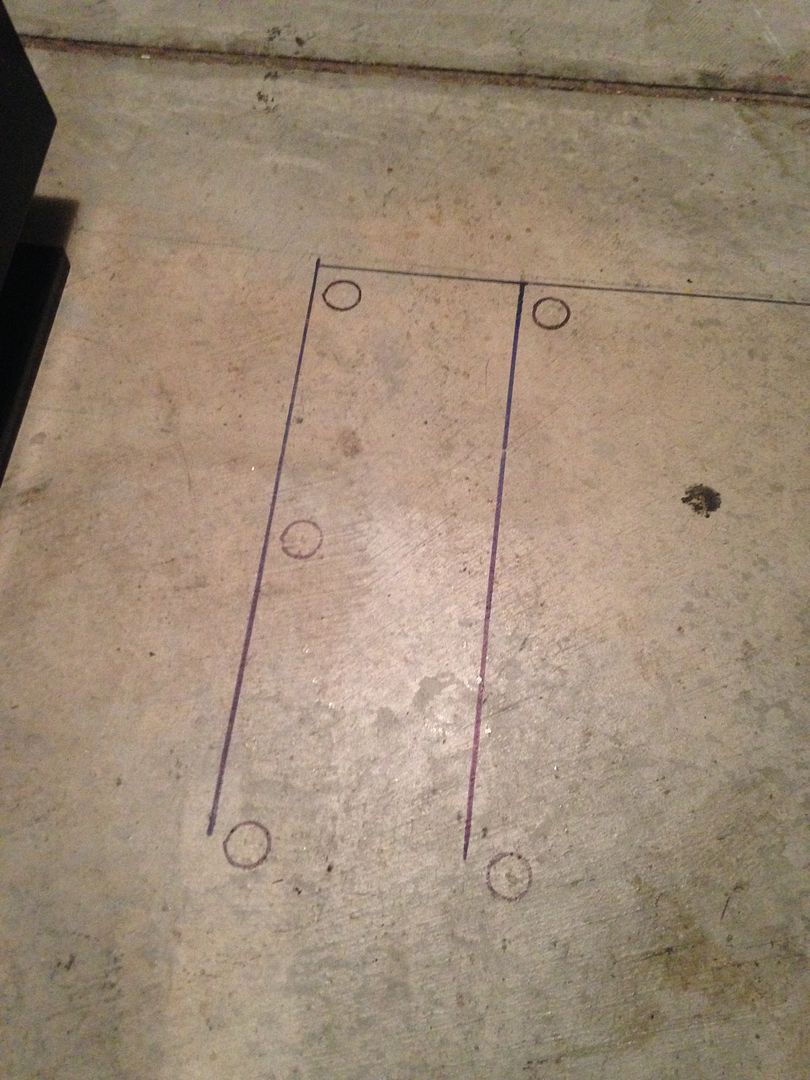
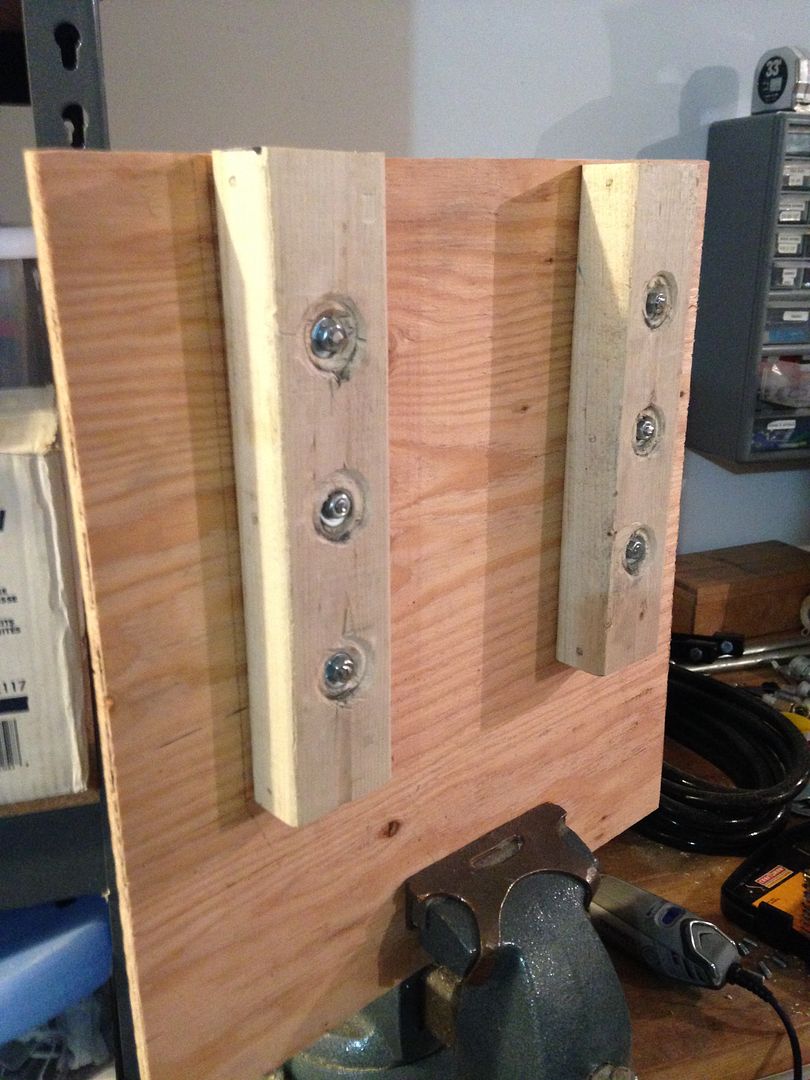
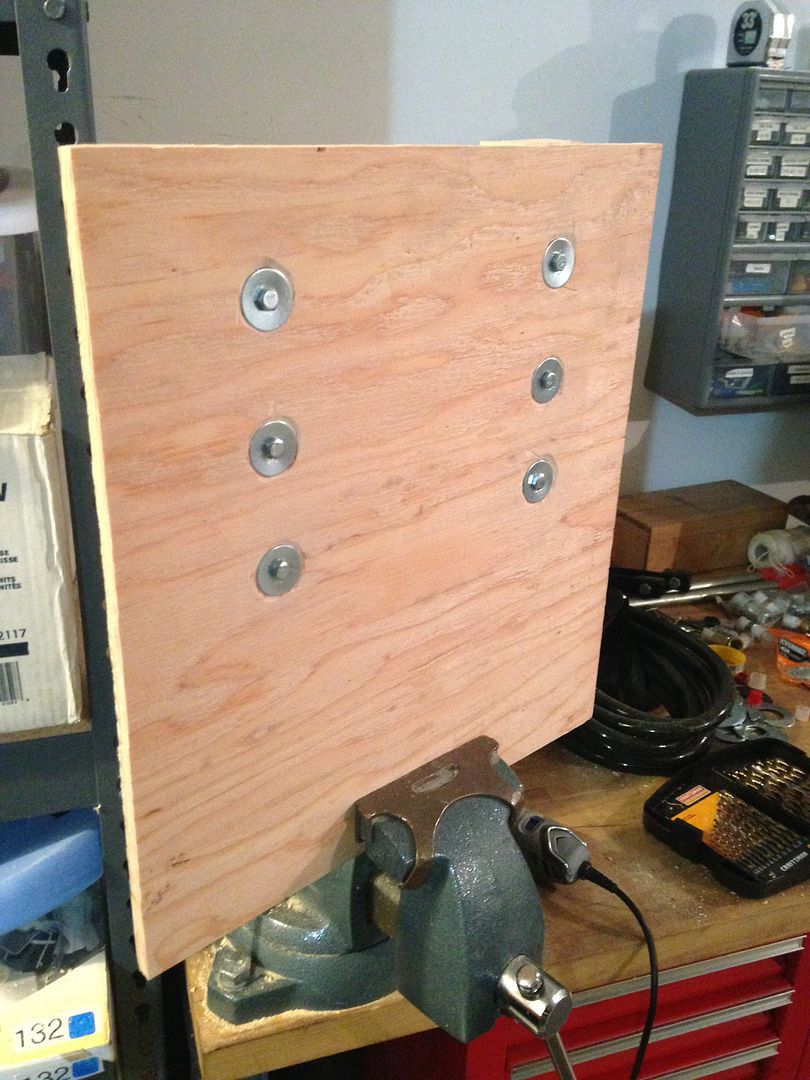
First off, I needed to finalize placement of the columns, which was easy enough using existing vehicles. I just kept tweaking the location of the columns and rolling in each of the vehicles to make sure the lift points would line up and the car would reasonably fit. However, I wanted to plan for a future vehicle that I might buy in the next few years that had some awkwardly placed lift points, so I slapped together a quick wooden frame as a template to mock up the lift points.
image by Norbert Ogiba, on Flickr
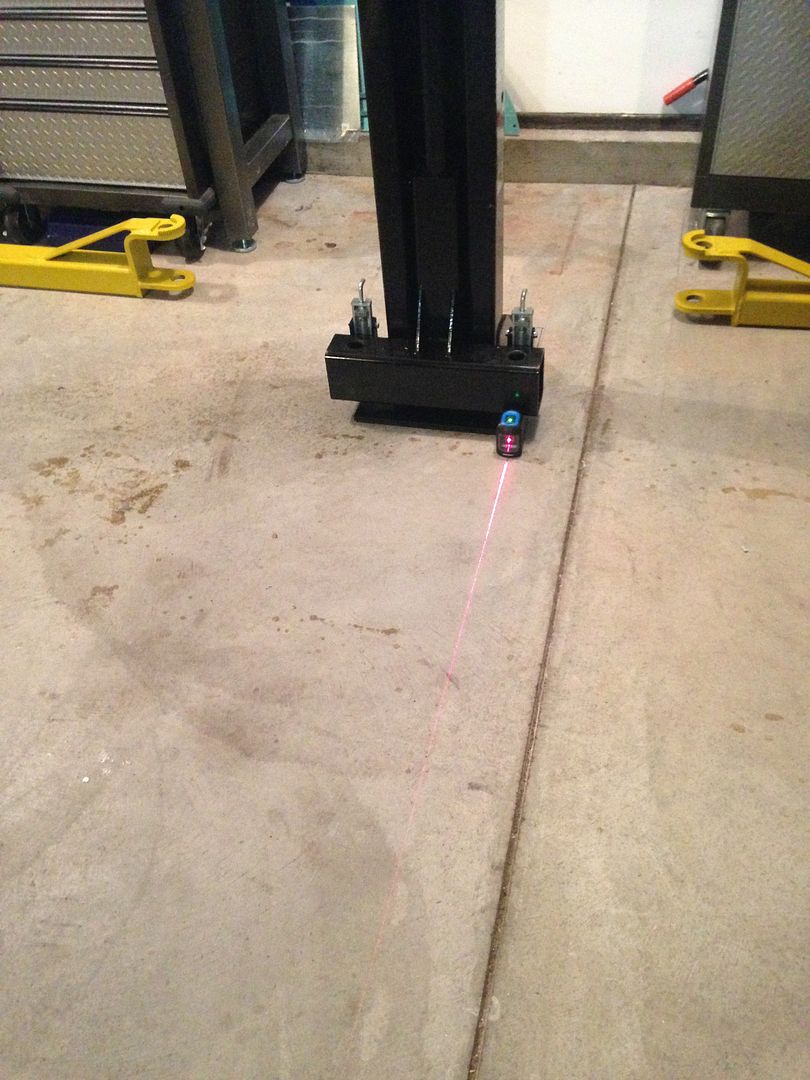
Once the columns were in their final location, I measured where they stood in relation to each other and in relation to other points in the garage that would not move. Initially I was basing my measurements off one of the central joint lines in the slab, but something didn't look right there - turns out the joint line did not run even close to perpendicular to the wall, so I re-measured and placed using the front edge of the slab (by the garage door) as my starting point, and everything fell into place. I cut up a sheet of plywood to use as a template and laid some heavy parts on it to stop it from moving, and spray painted my edge to show where the cut had to go.
image by Norbert Ogiba, on Flickr
After a long weekend in Boston for a wedding, I came back and rented a nice Makita 14" gas saw with diamond blade and went to town. The water kept the dust to a minimum and the diamond blade cut through like butter. I ended up making multiple longitudinal and transverse cuts in the slab to be removed, so that I could remove it piece by piece. It went easily and there was no need for a jackhammer.
image by Norbert Ogiba, on Flickr
I finished the initial cut and got this,
image by Norbert Ogiba, on Flickr
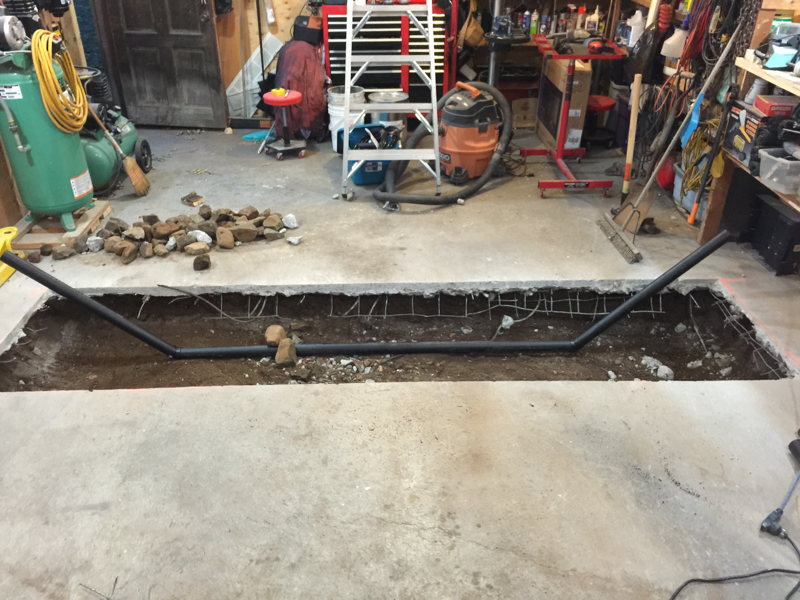
After staring at it I realized that I would be tying my new slab into a very short section of slab that was near the control joint. I had avoided cutting along that joint because of a drainage pipe running along underneath it, but after measuring the depth of the pipe from inside the drain, I found that the pipe had been buried deep enough and would not be disturbed if I pulled off that last section of concrete. So, that section was removed too, which worked out for the better in that there were a few cracks in that section by the wall that got removed at the same time.
After some more cutting, I now have two very large and stable slabs in like new condition that will be used to tie in the new one.
image by Norbert Ogiba, on Flickr
Removing the broken up slab
image by Norbert Ogiba, on Flickr
image by Norbert Ogiba, on Flickr
After that I started excavating the stone to get to my desired depth - still have a ways to go as of last night. You can see the drainage pipe that I was worried about slicing.
image by Norbert Ogiba, on Flickr
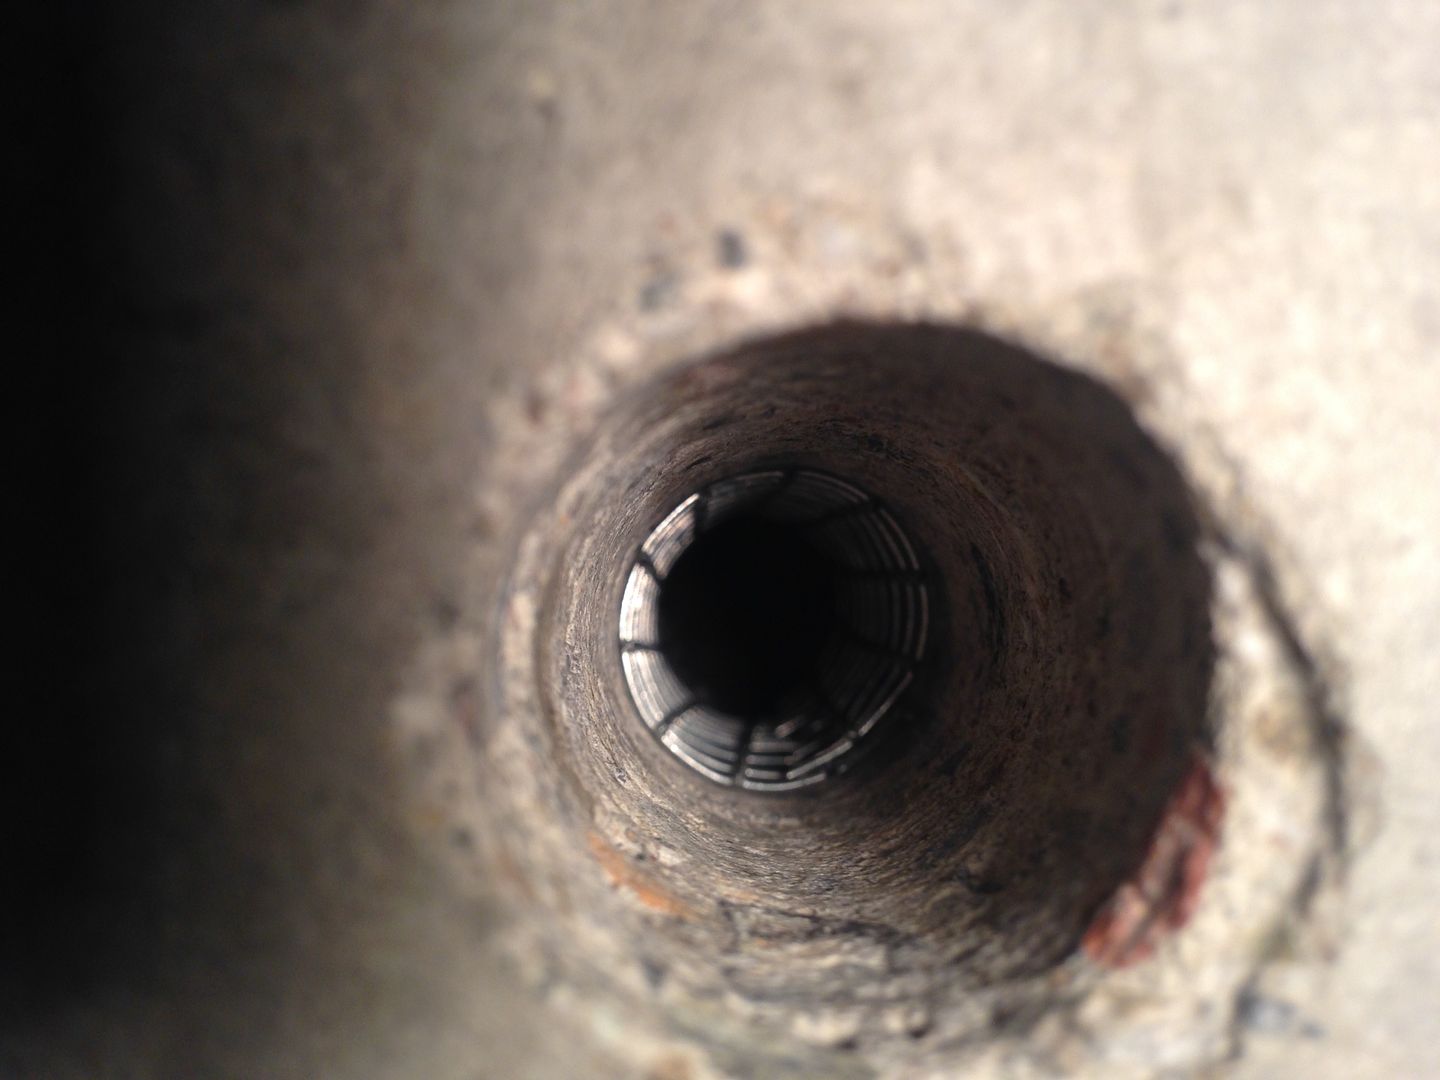
My custom stainless steel baseplates and rods are getting finished up right now. Once I've removed enough stone I can set up the baseplates using a jig and start planning for the pour!
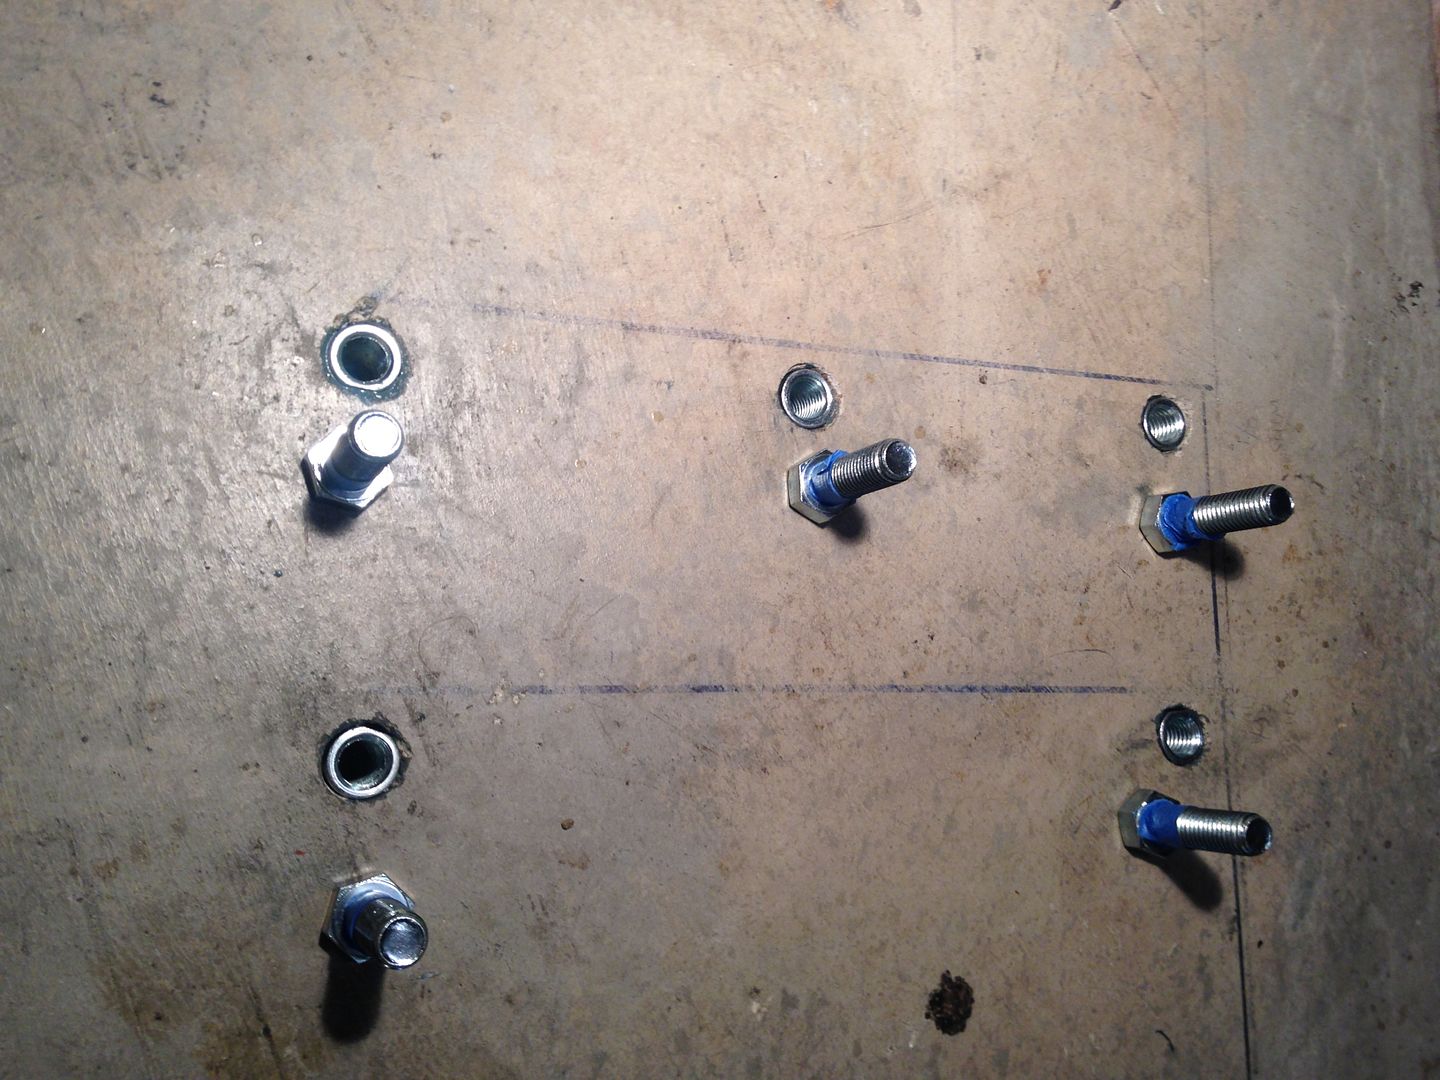
I got the stainless plates and rods in from a friend, so it was time to join them up. I have learned that nothing ever fits as well as it does on the actual workpiece, so I bolted the rods to the stainless plate and column baseplate assembly to make sure they fell into place.
image by Norbert Ogiba, on Flickr
The extra set of holes were a result of trusting a manufacturer drawing that was not actually correct, lesson learned.
image by Norbert Ogiba, on Flickr
Time to burn some metal
image by Norbert Ogiba, on Flickr
The final result, upside down:
image by Norbert Ogiba, on Flickr
Next steps:
-dig out more stone to a common depth (I think I'll go to 14" compacted depth from top of slab)
-level existing stone, add if necessary, tamp
-set up jig to mount and level plates
-set up rebar
-pour
Norbert,
Are you planning on adding anything to the mount plate to prevent it from pulling up. The tubes are pretty long but also very smooth. It would seem like a good idea to add some cross braces or something.
Steve
 image by Norbert Ogiba, on Flickr
 image by Norbert Ogiba, on Flickr
Yes, thanks for asking, that was a shot of the work in progress. I spent a few hours on the MIG yesterday putting on the cross bracing (1/2" rod)
And after a Rustoleum Flat Black Enamel
Rebar is next after I finish digging out more stone
Nsogiba, how's your install going? Have any more pics? Looks great so far!
lots of progress this past week, the hardest work is done
laid down some quikrete on the sides of the hole to prevent stone from falling out from under the existing slab
image by Norbert Ogiba, on Flickr
20 wheelbarrow loads later the stone pile is finally gone. my back still hurts thinking about it
image by Norbert Ogiba, on Flickr
supported it via jig on the rear set of holes. this was not too stable and it turns out the extra set of holes in the plate was a blessing in disguise.
image by Norbert Ogiba, on Flickr
I welded some nuts to the underside of the front most set of holes and suspended the plates evenly. much more stable!
image by Norbert Ogiba, on Flickr
From there it was a ton of time with a wrench and level setting the heights equal, and angles to zero
image by Norbert Ogiba, on Flickr
image by Norbert Ogiba, on Flickr
image by Norbert Ogiba, on Flickr
image by Norbert Ogiba, on Flickr
cut and laid in all the rebar
FourEyed's guy came and did the pour yesterday with a helper, it turned out nice. after it had taken a set, i removed the jigs so the guys could finish it more nicely.
image by Norbert Ogiba, on Flickr
image by Norbert Ogiba, on Flickr
image by Norbert Ogiba, on Flickr
i wet down the concrete and put some plastic sheeting over it to prevent drying too quickly. while it dries over the next few weeks i'll be assembling the hydraulic stuff and doing a dry run off to the side.