My Old Tools
Well-known member
With all that PT and labor I think you could have built new.

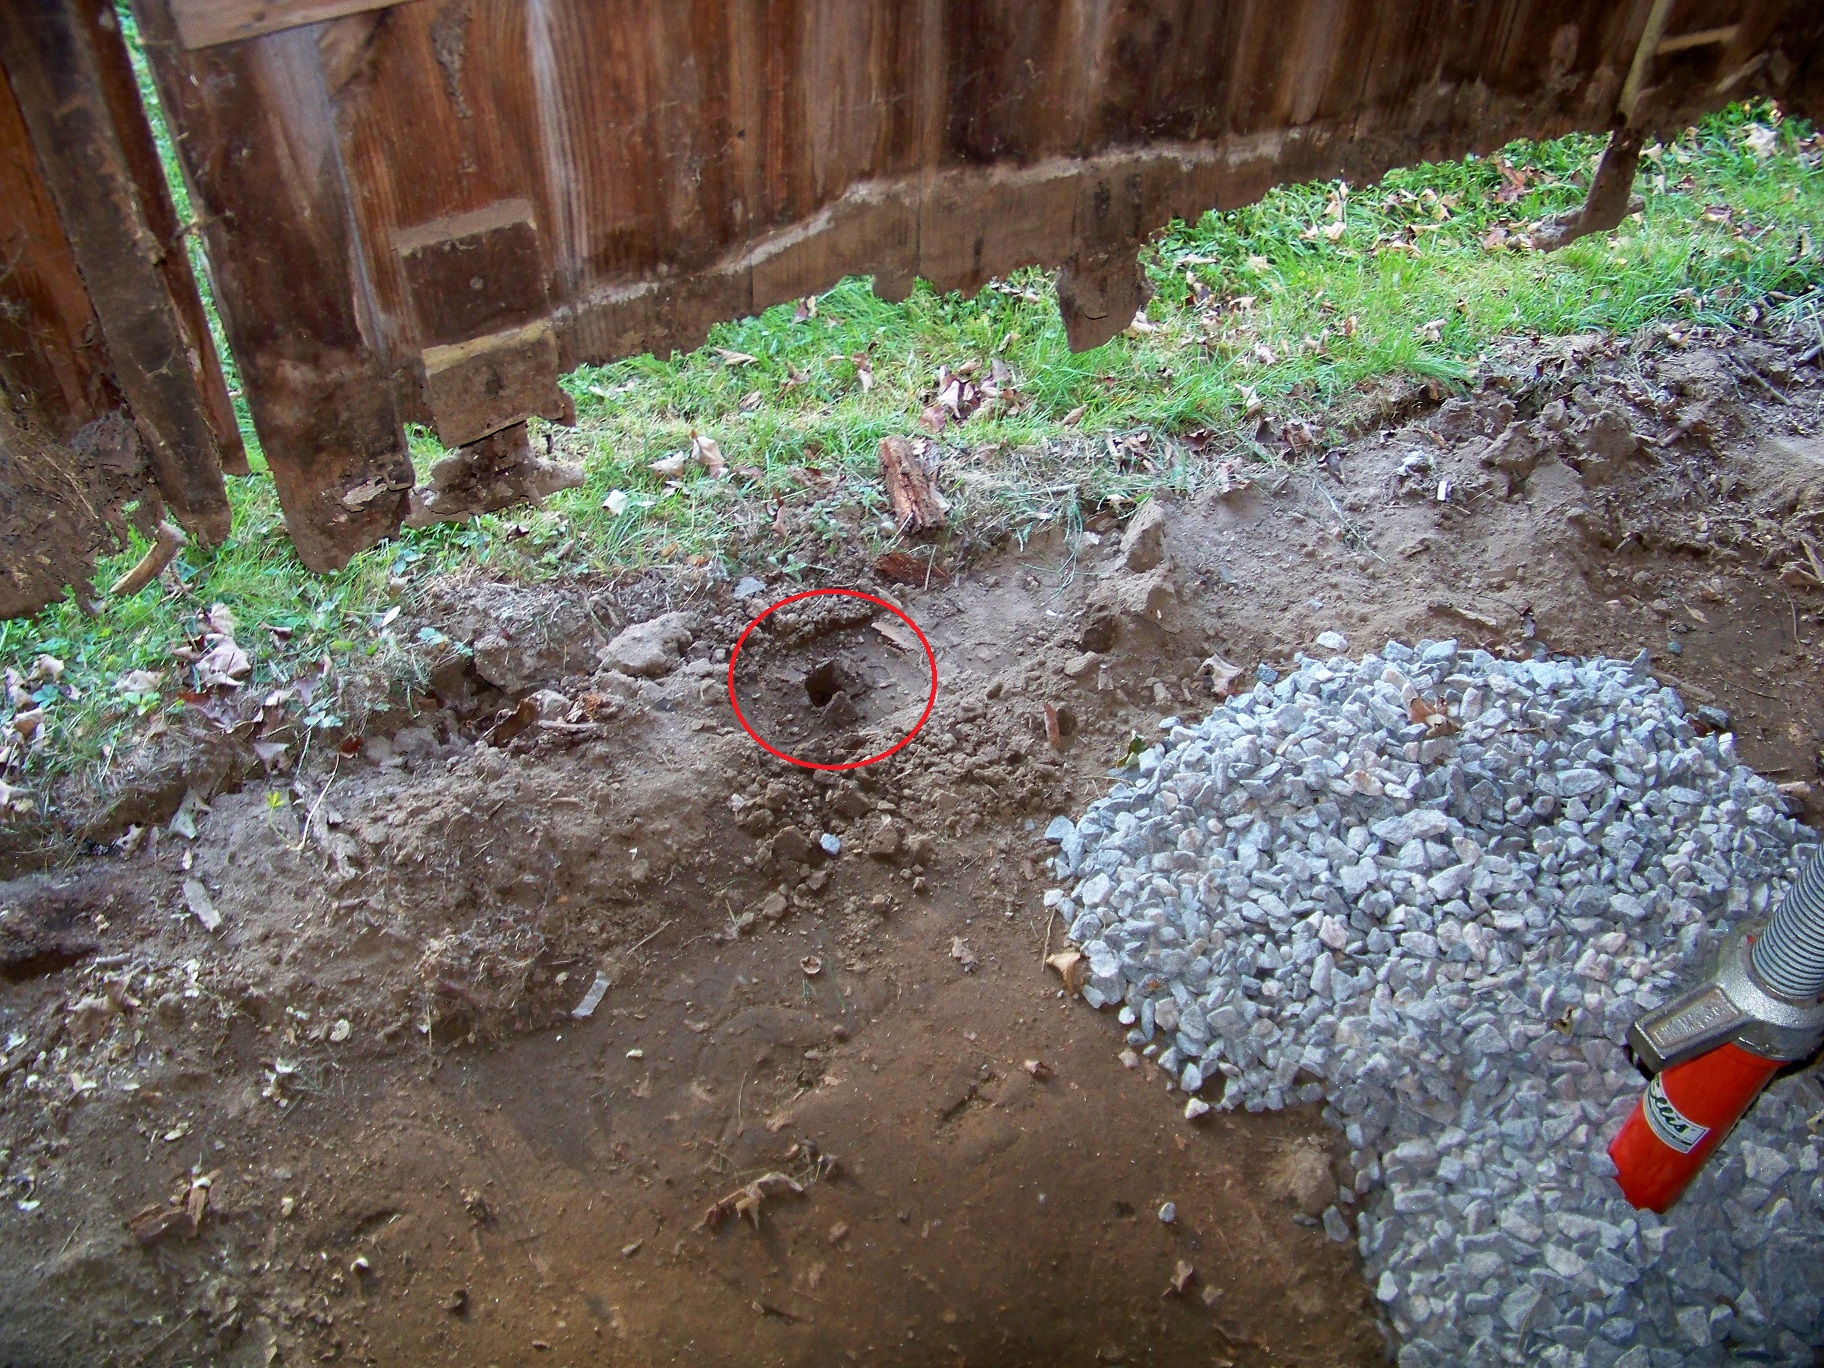
Since I really don't know how big the bolder is and the septic tank is very close by, I'm just going to leave this one as is. At least I know one area that won't collapse from chipmunk caves.I you really want to get rid of that boulder, it might be easier than you think !
- Dig around it on all until more than 50% is exposed. The more the better.
- Rent and SDS drill and long carbide bit
- Drill hole in a straight line across the top of the boulder trying to follow any natural flaws you can detect.
- Use "feathers and wedges", one in each hole. Drive the wedge using a hand sledge. One good hit and move on to the next one.
It will crack (if you have dug down far enough) ! remove feathers and wedges, drill holes 90° from the first crack. Repeat until you can actually remove a piece.
Labor doesn't count since I'm not paying anyone and I'm having fun. Assuming I succeed, after the structure is resettled I will have a fair amount of lumber left over. Everything is screwed so disassembly will be easy. Might be enough to build a small garden shed at my residence. Bonus!With all that PT and labor I think you could have built new.
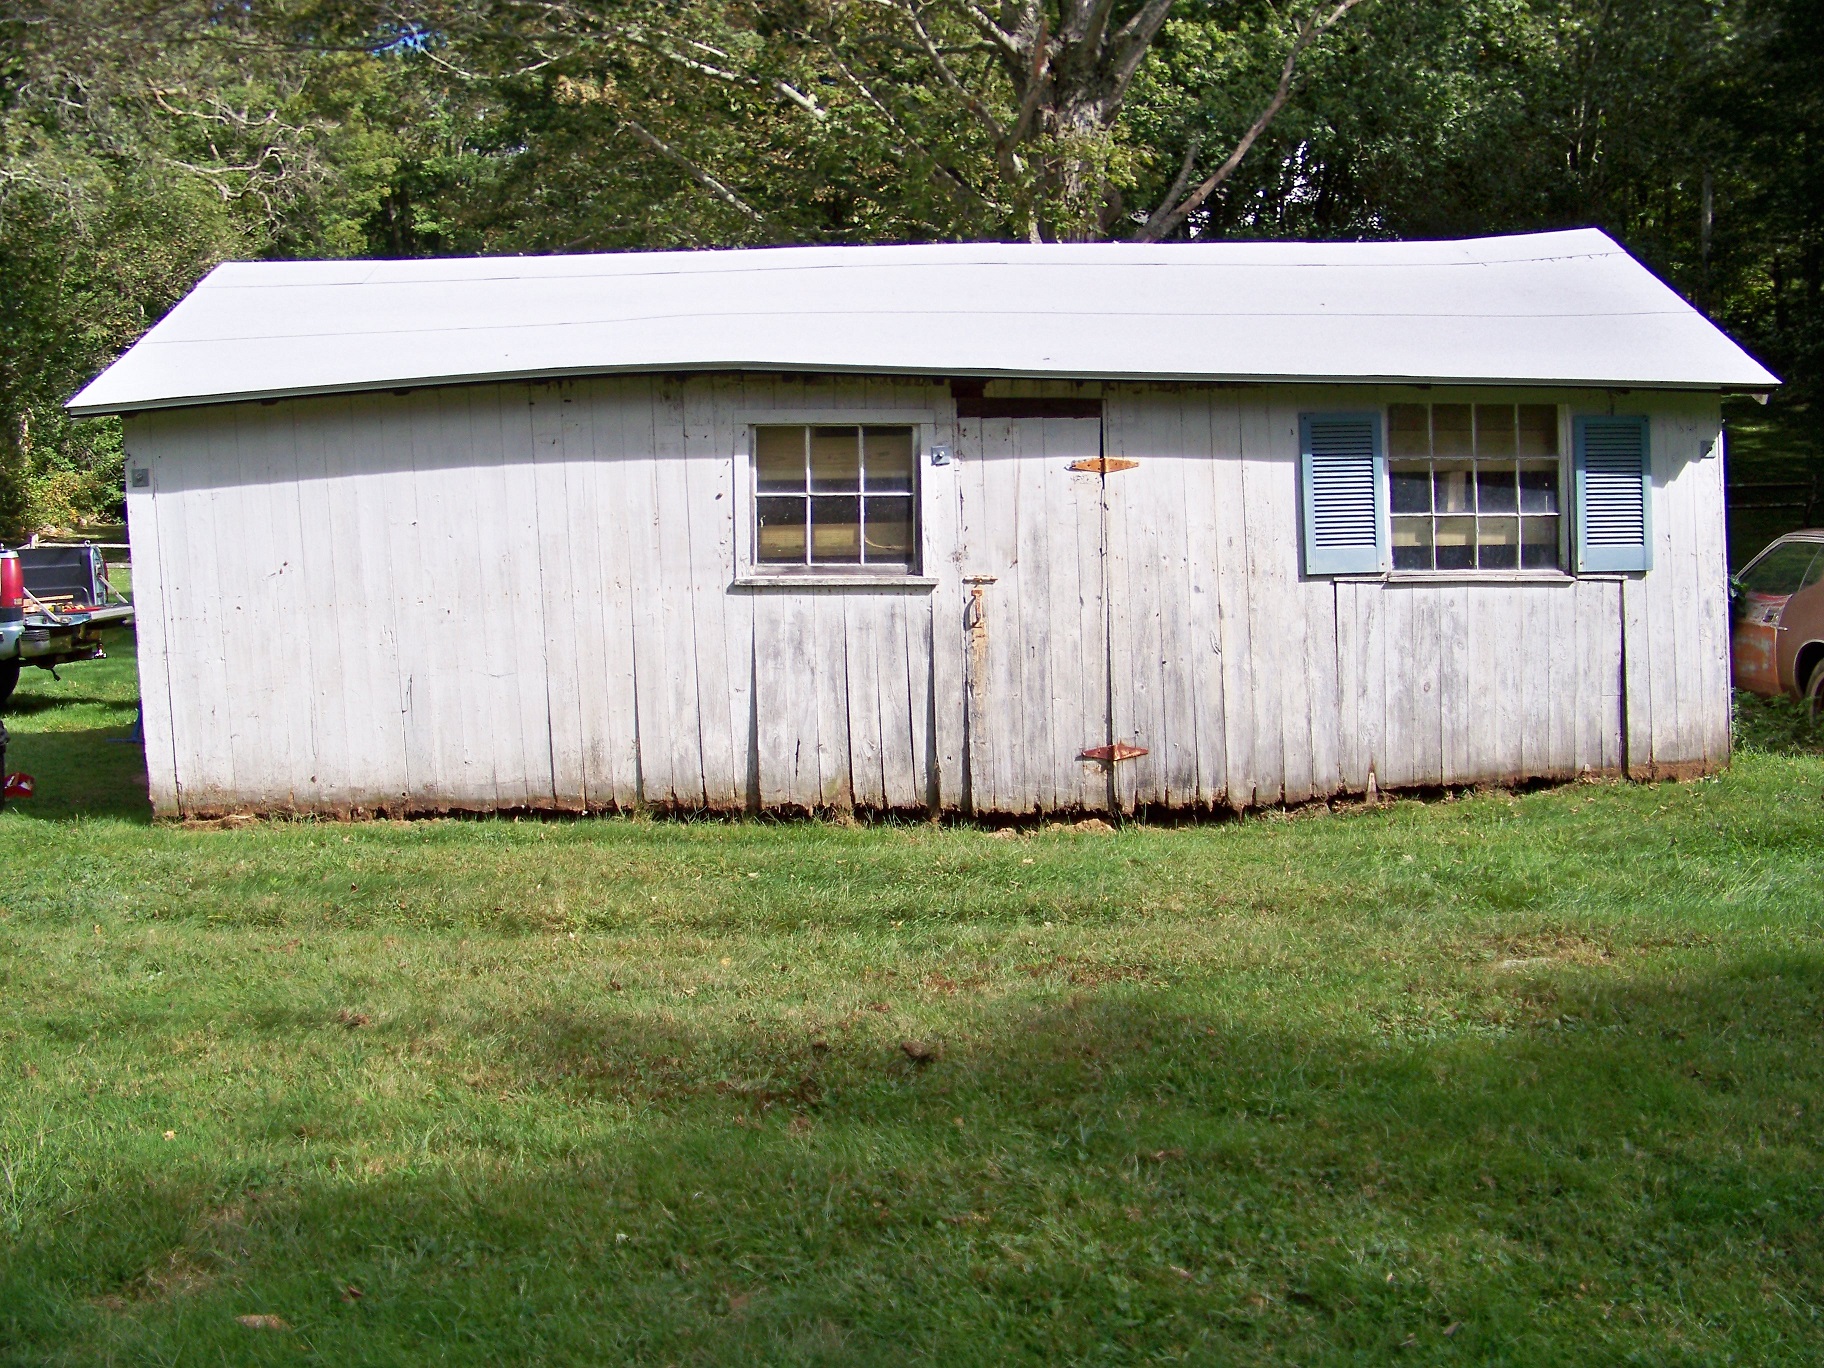
") Is the roof line getting straighter as you bring it up?
Is the roof line getting straighter as you bring it up?Save a buck. Use two 2x6 PT boards and stagger the joints. Also use galvanized nails to hold them together. The PT chemical will eat standard hardware in a short time.... make new sill with 4x6 pressure treated to sit on gravel ...
You are so rightSave a buck. Use two 2x6 PT boards and stagger the joints. Also use galvanized nails to hold them together. The PT chemical will eat standard hardware in a short time.
 . Not sure what I was thinking since I already purchased the 2x6x12 PT boards. I didn't realize that two 2x6s are cheaper than one 4x6.
Raising is one thing, moving a structure that size would be interesting to see.I admire your enthusiasm . thanks for sharing the journey
a buddy raised & moved back (30ft) a 500 sqft plus garage .
it was remarkably easy.
I still need to figure out a low cost retaining wall for the gravel. 16 in. x 8 in. x 4 in. Concrete Block is only $1.40 each, which works out to the same cost per foot as 4x4 pressure treated.

LOL!
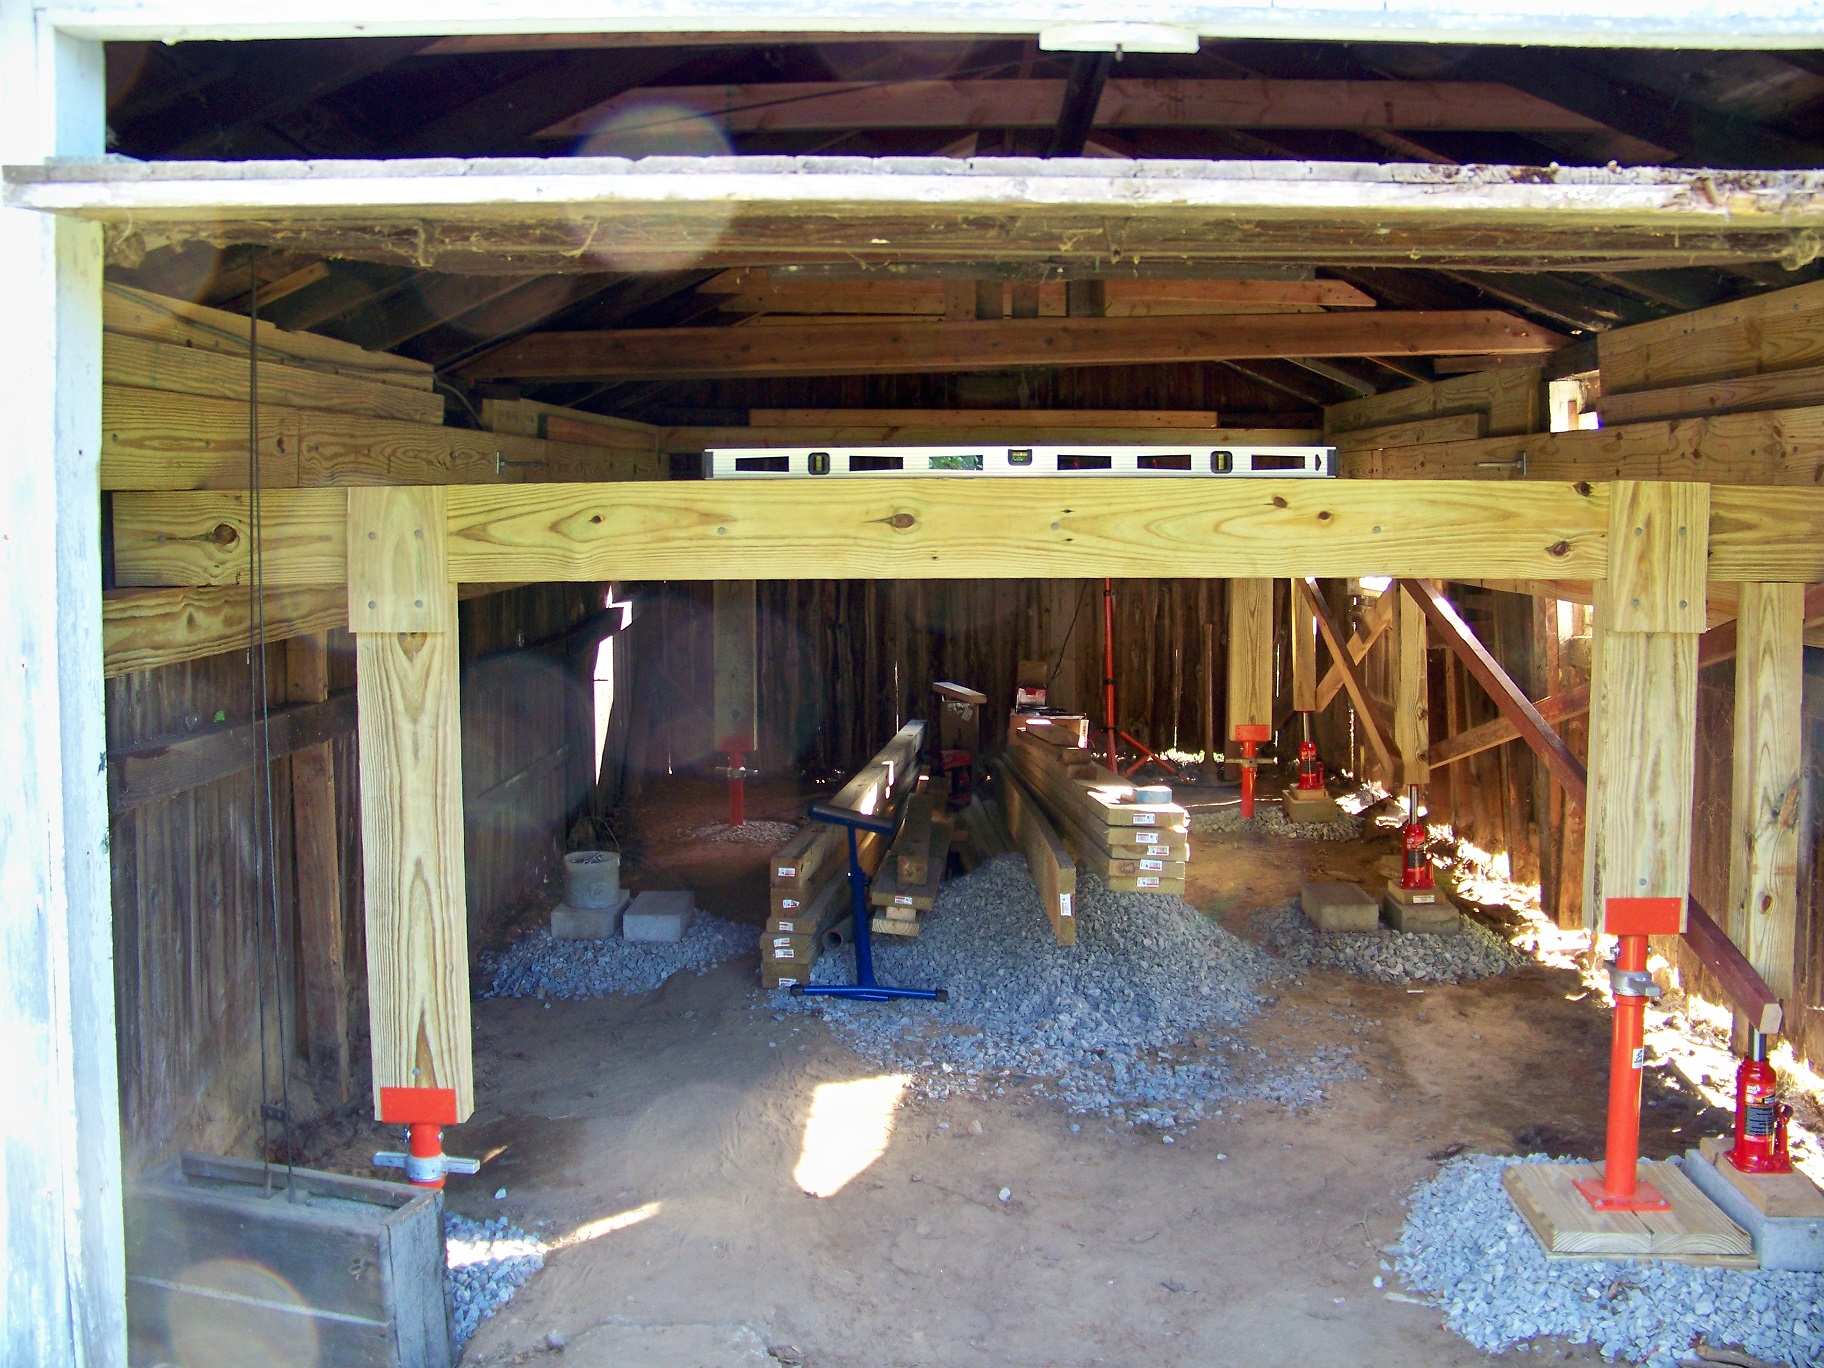
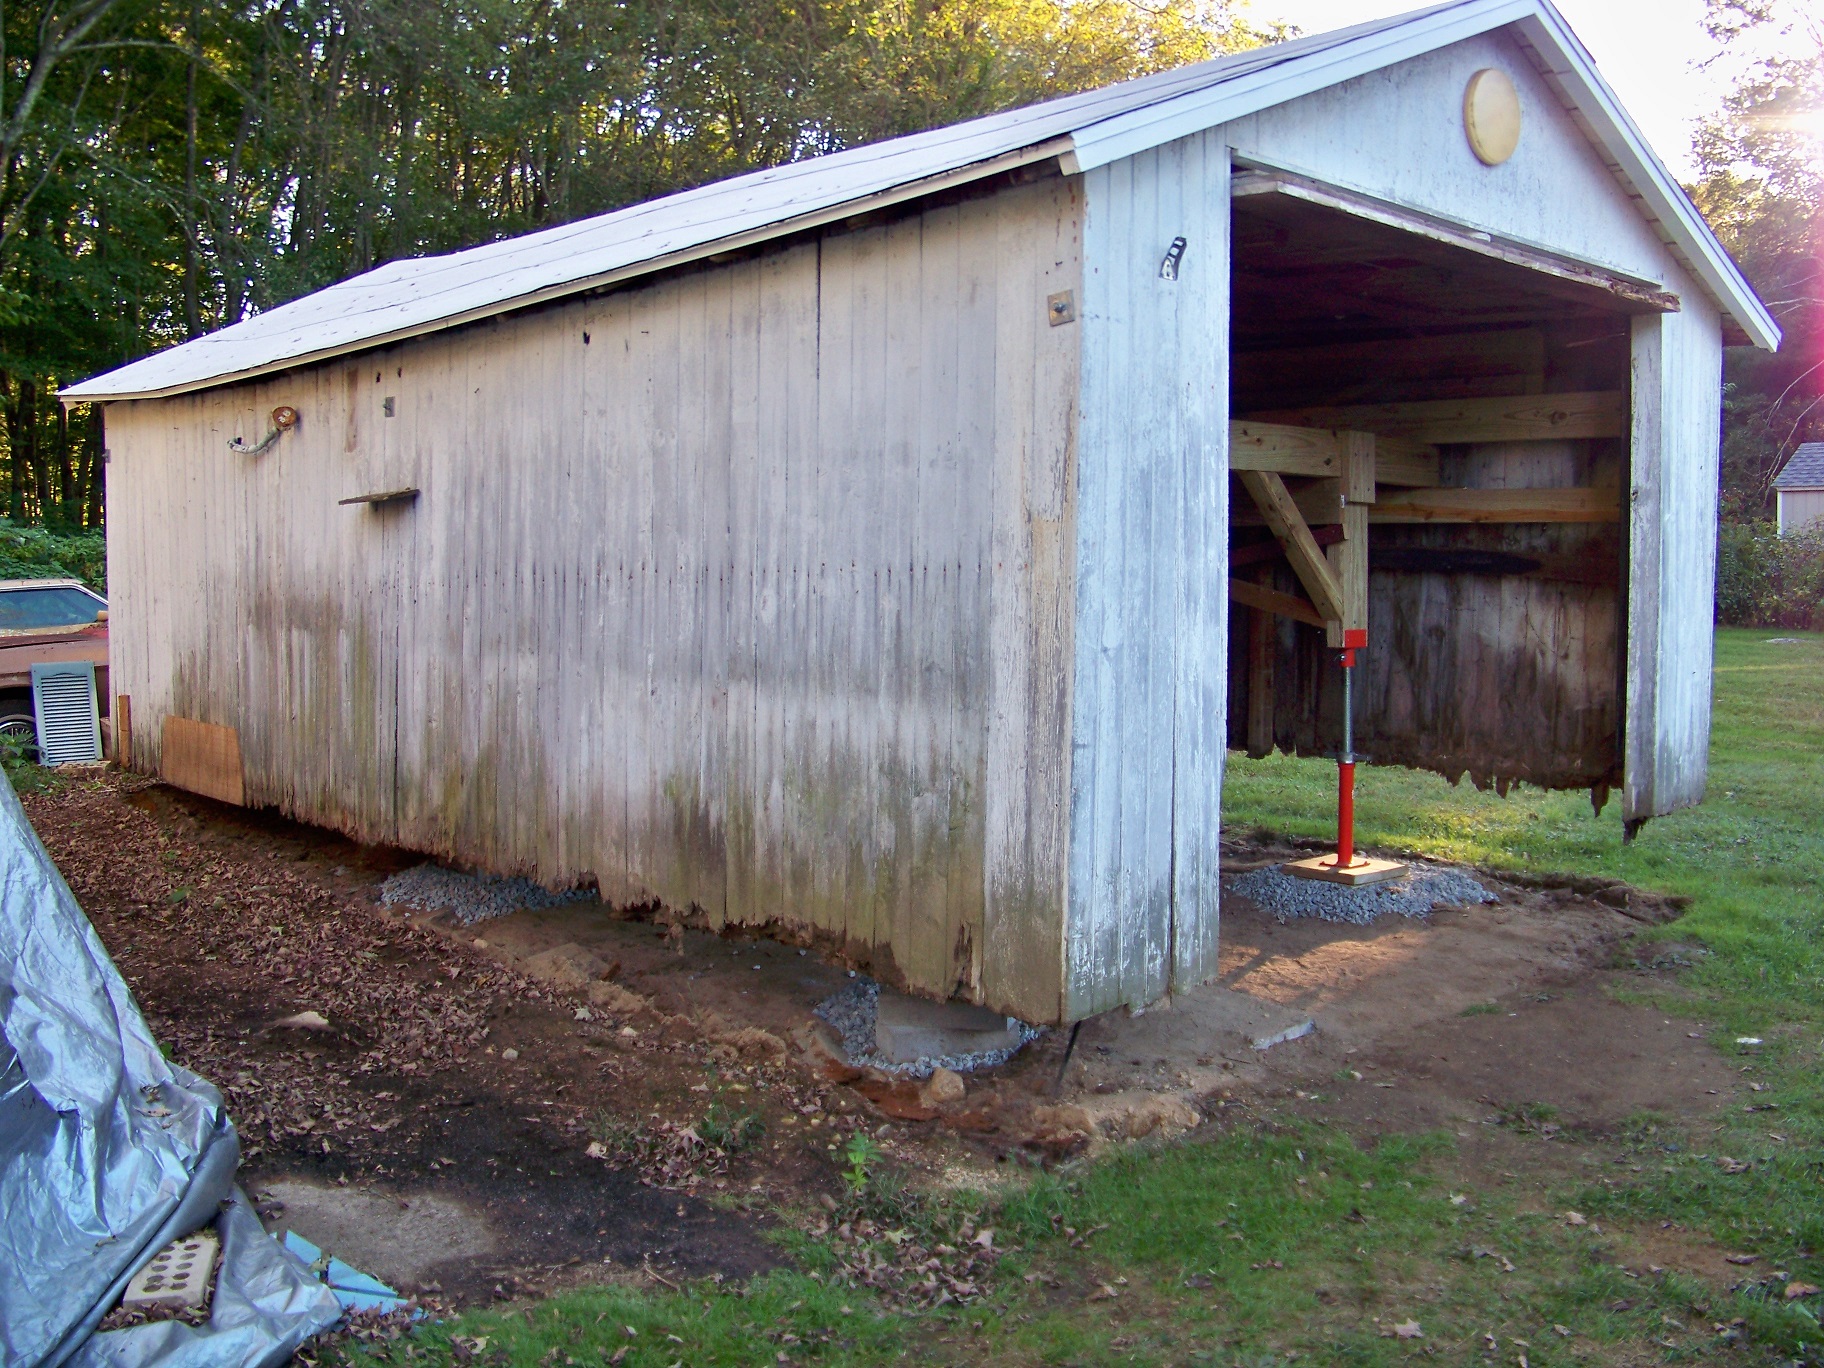
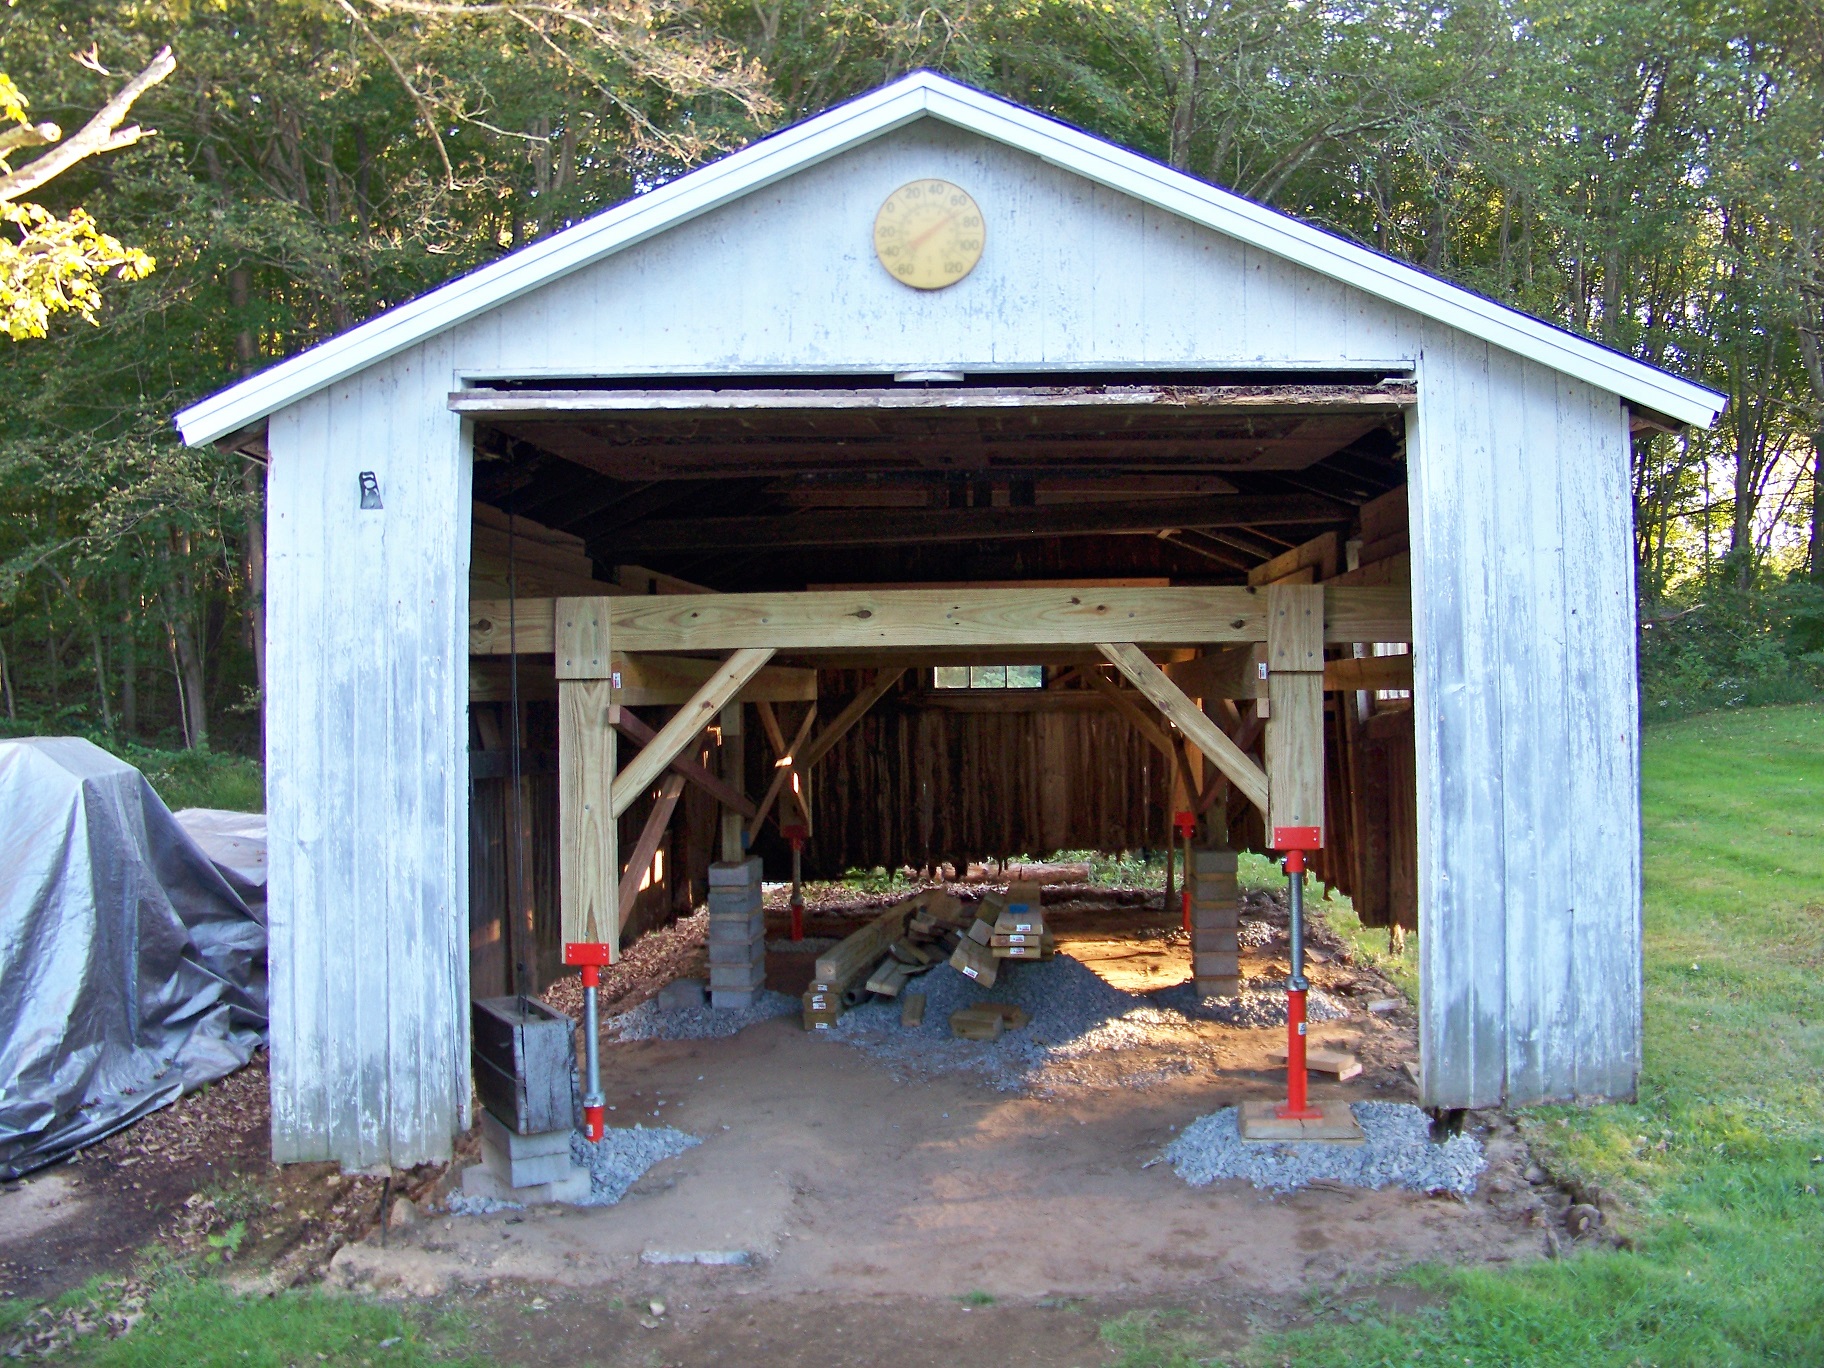
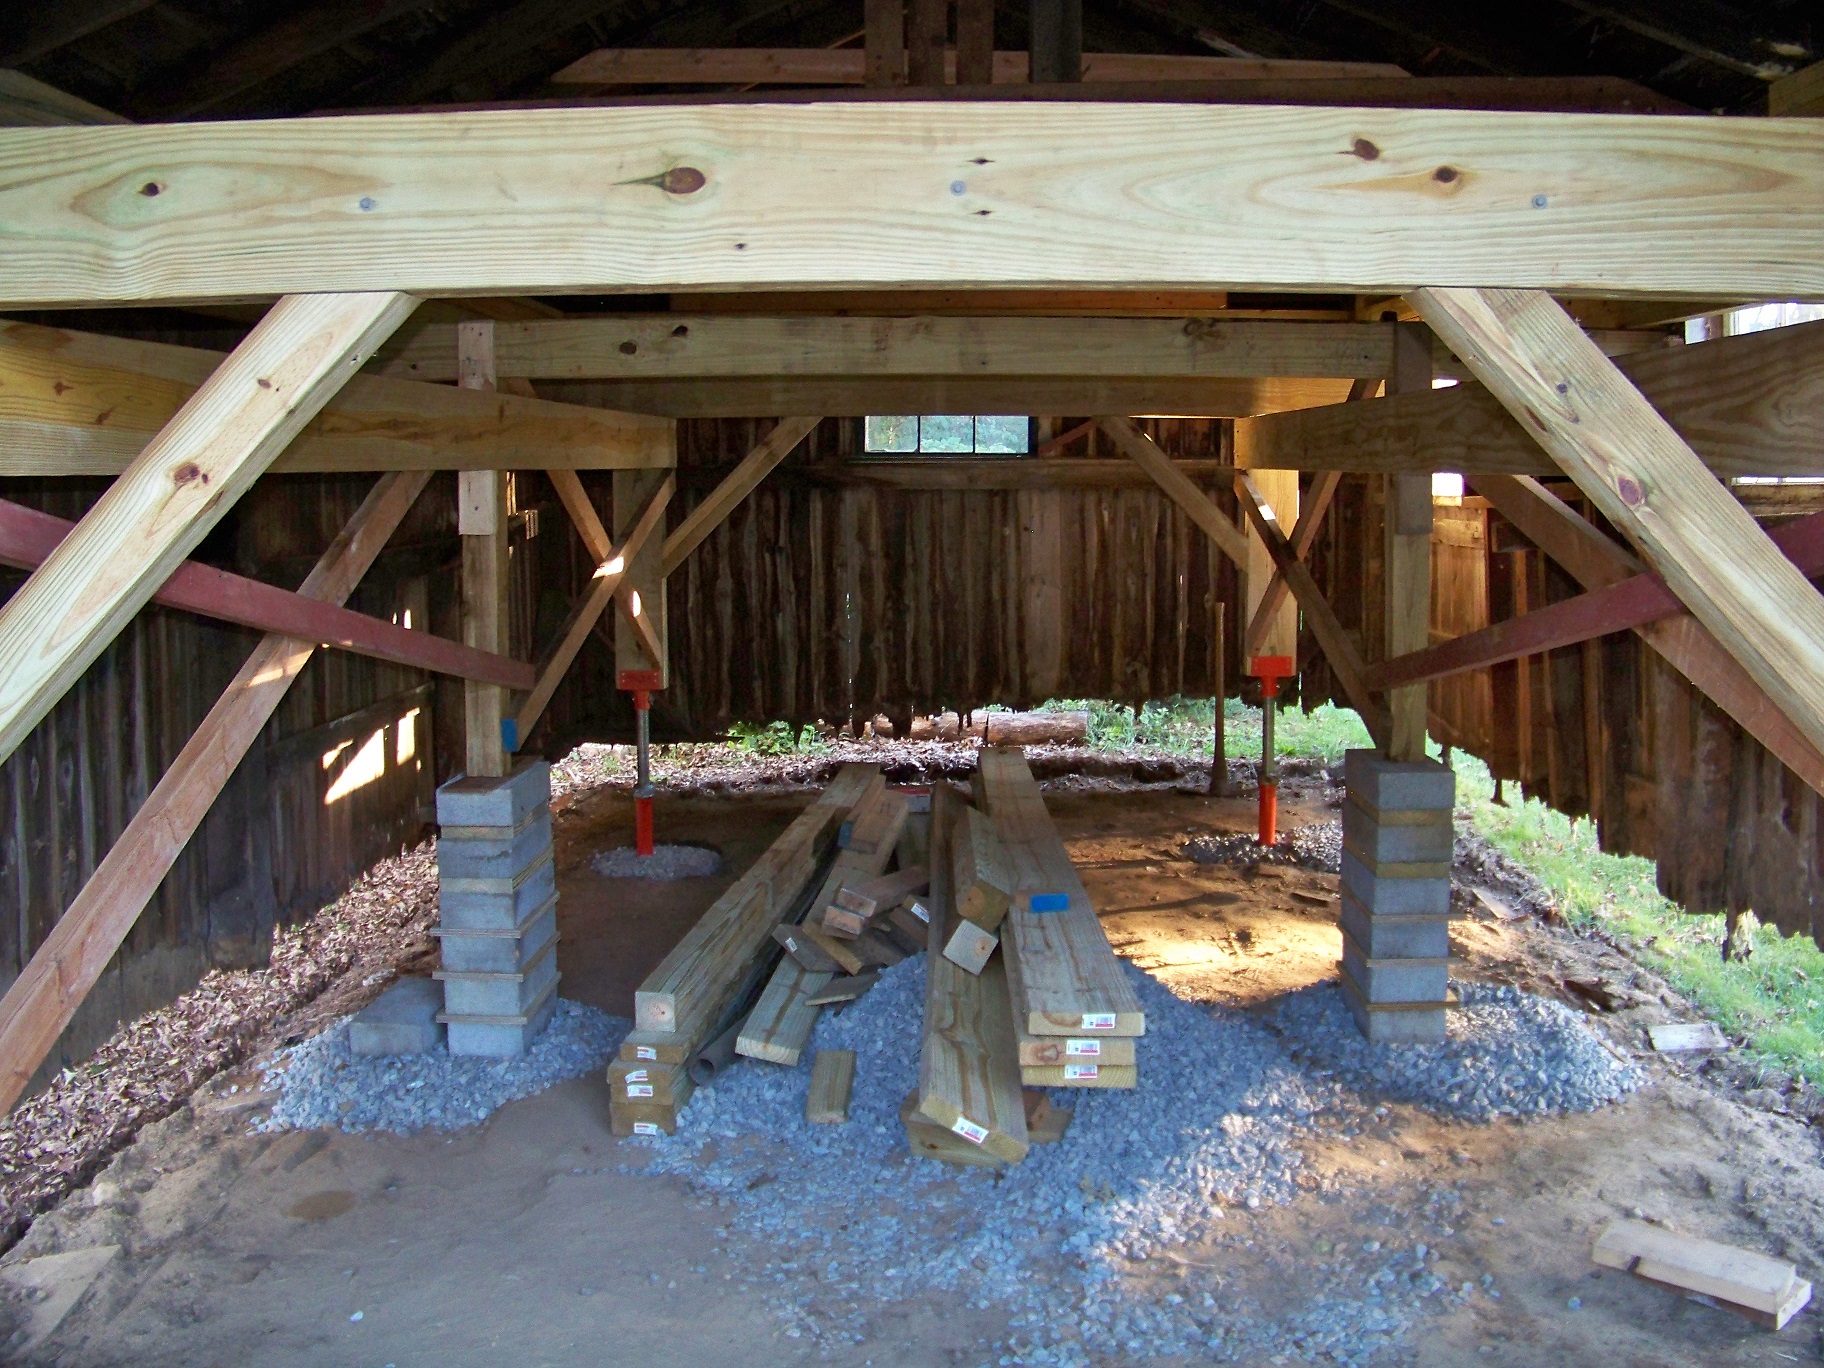
With the framework (nice job) you have inside of yours, you could back a hay wagon in there. Let the air out of the tires, brace it to the wagon bed, blow the tires up and Go!
I have been watching your progress and as far as the "naysayers" go, just ignore them as you are/have done something few people have the ambition to do!
Keep it up!

Raising is one thing, moving a structure that size would be interesting to see.

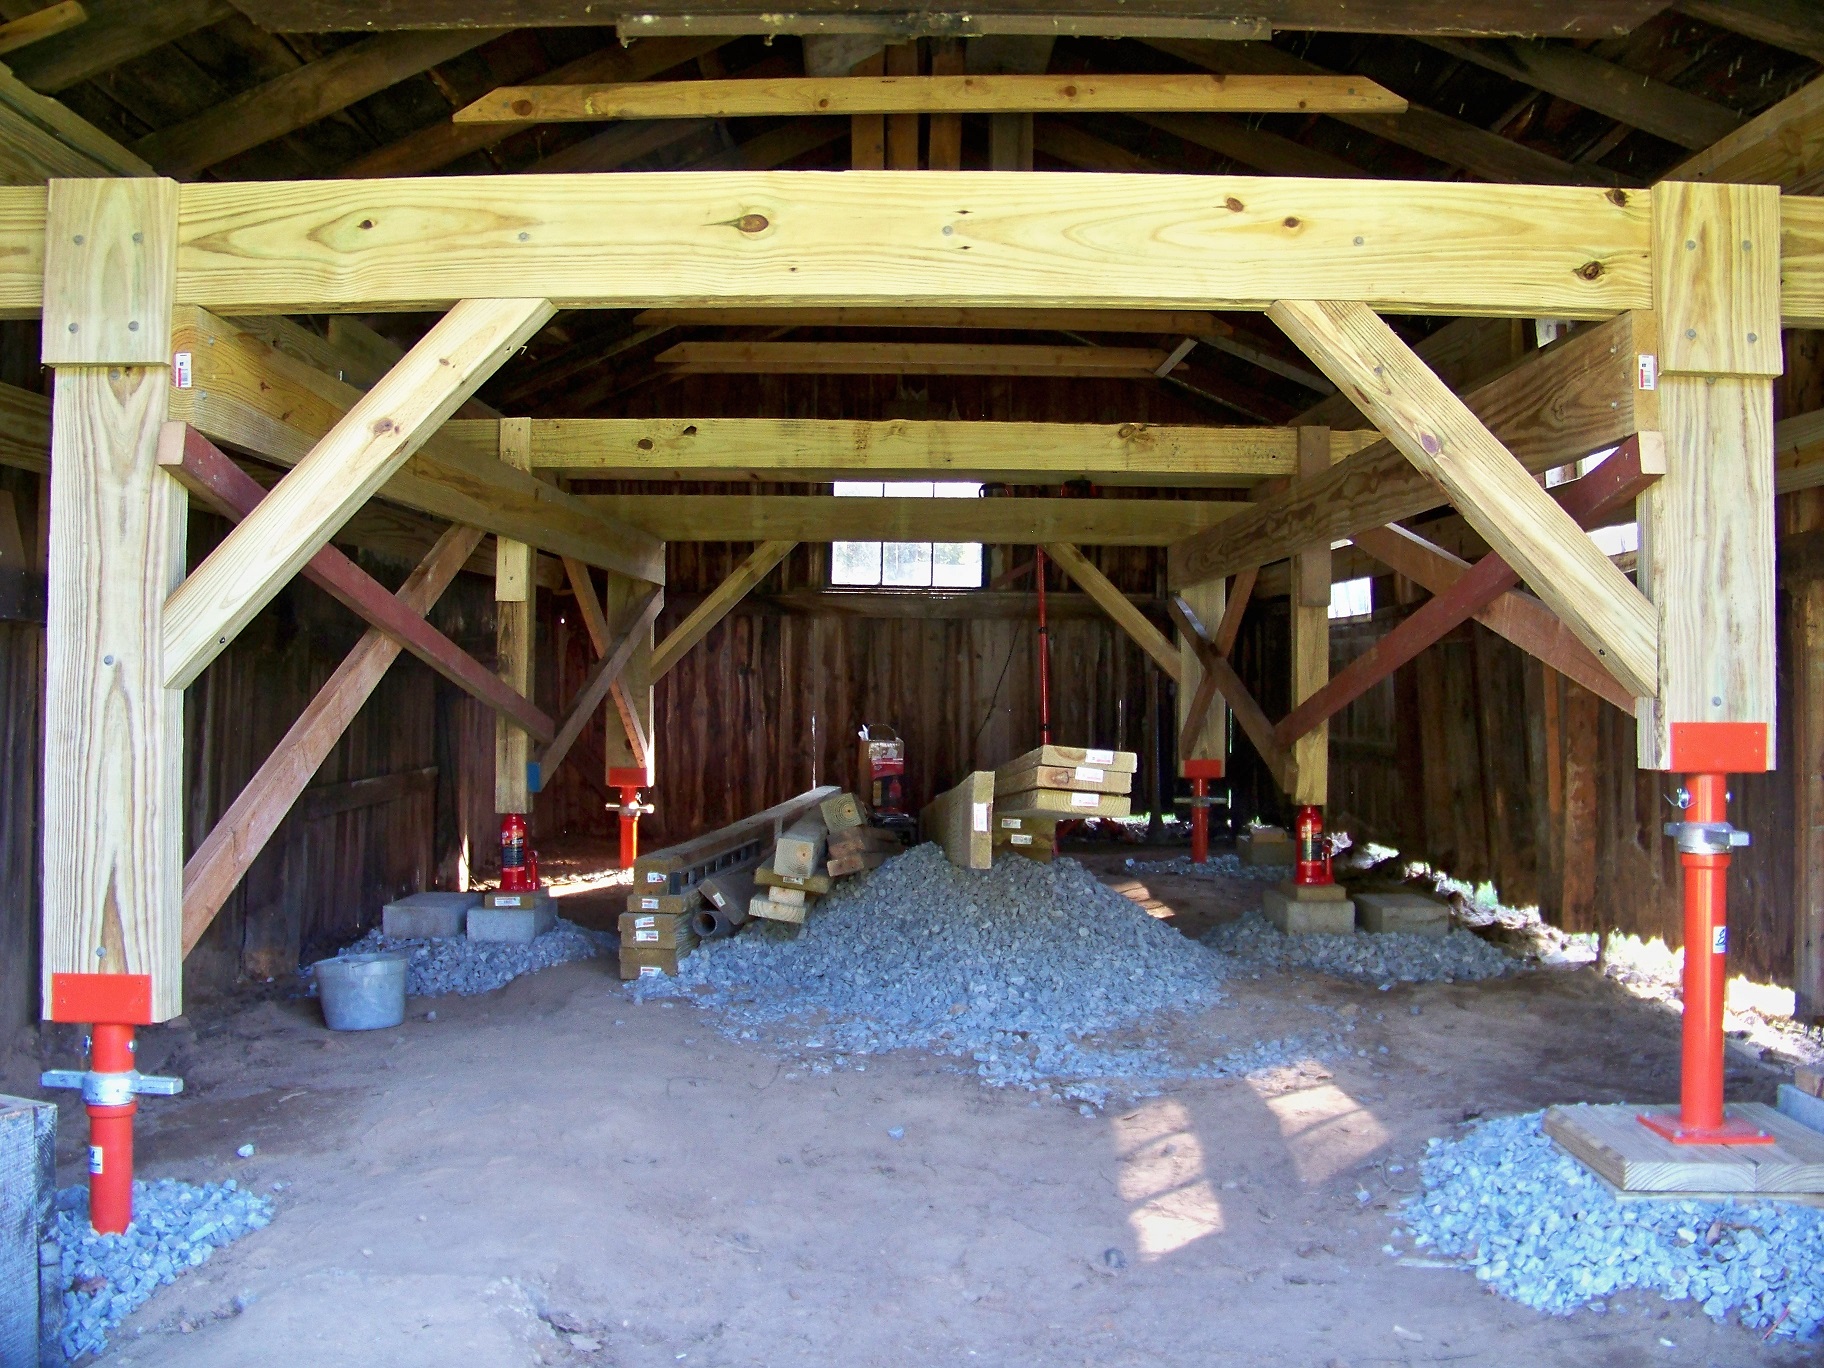
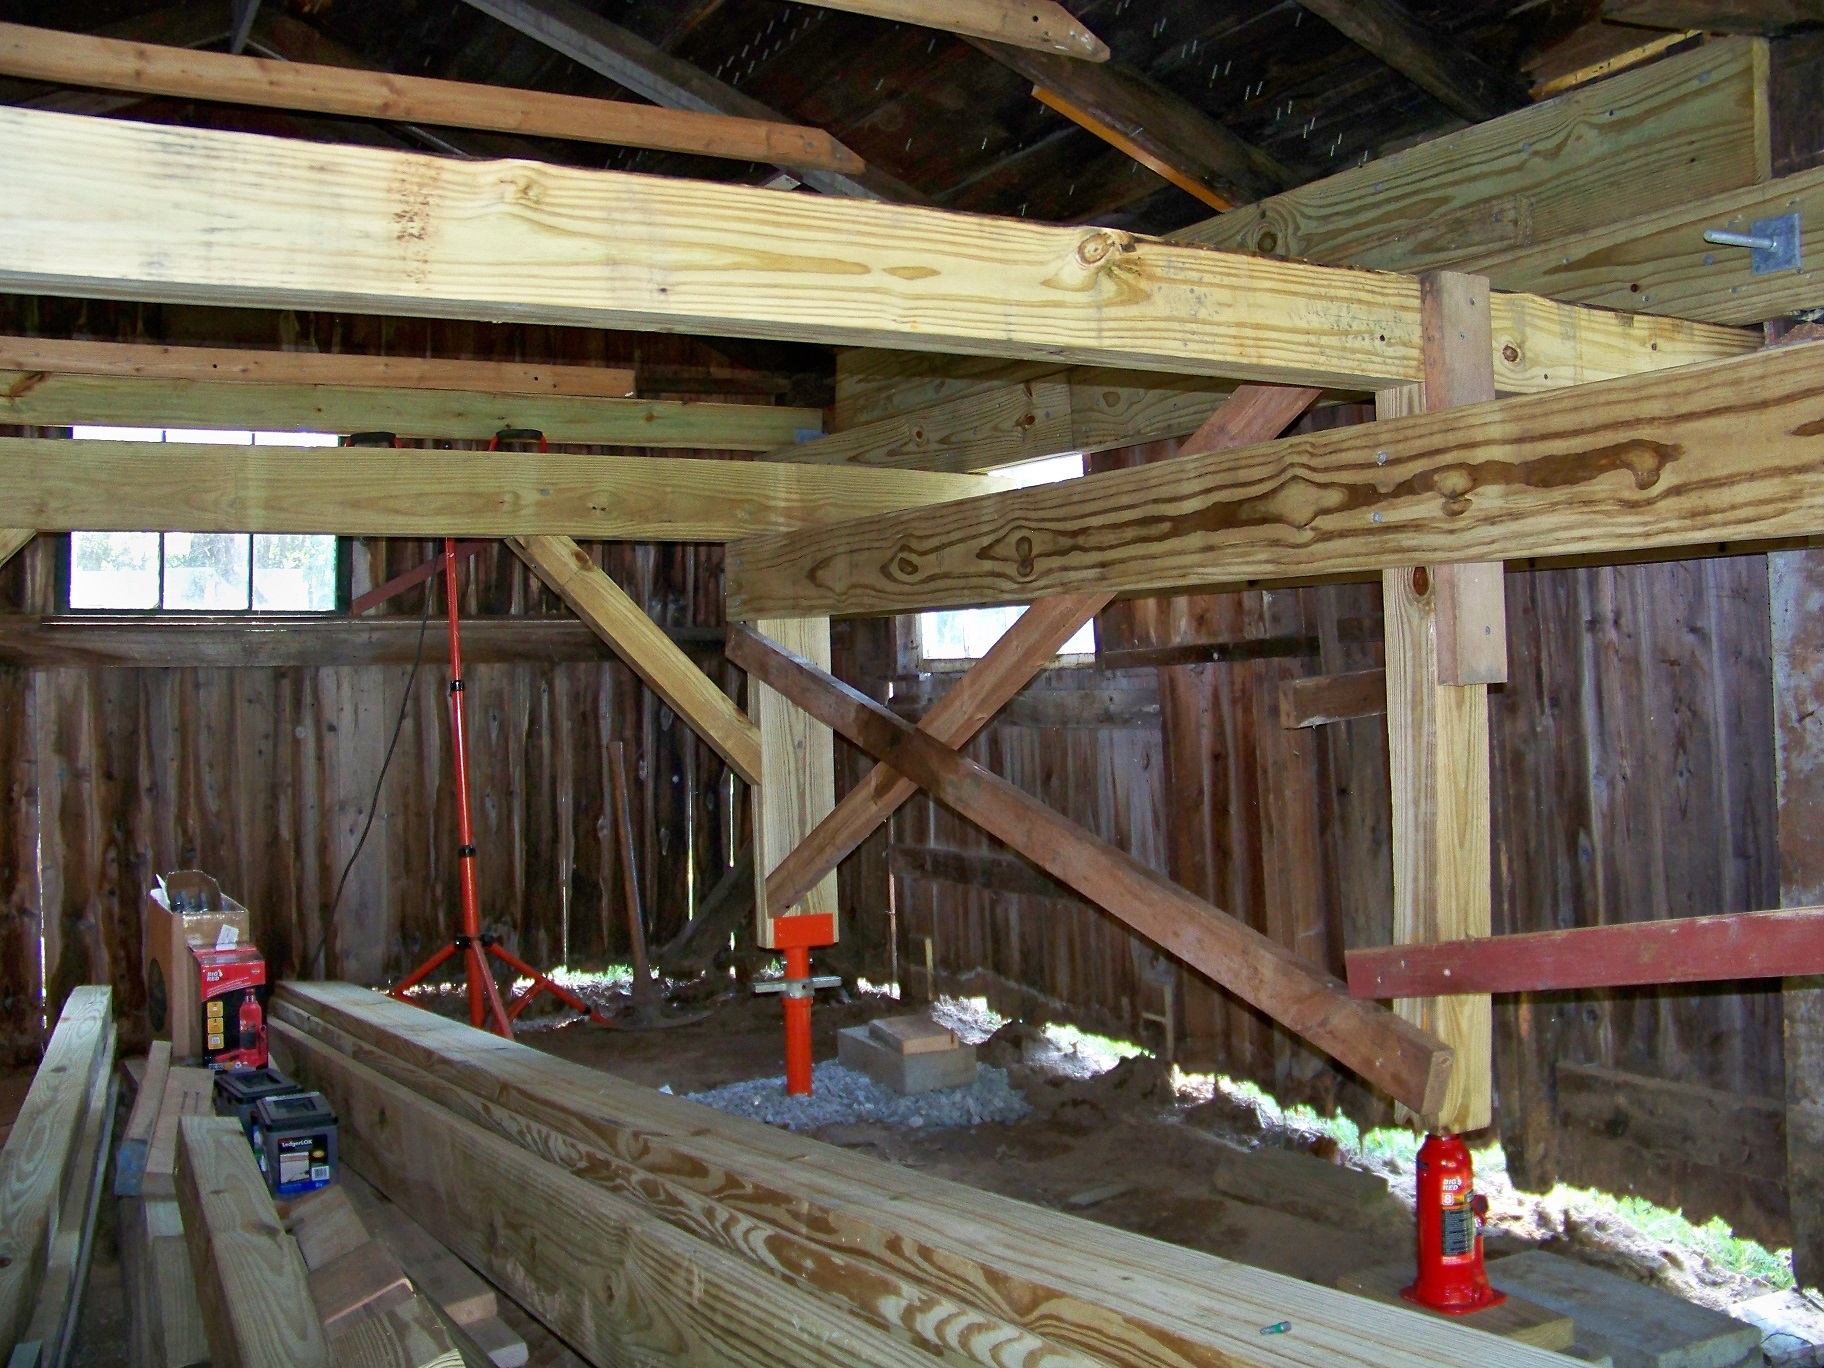
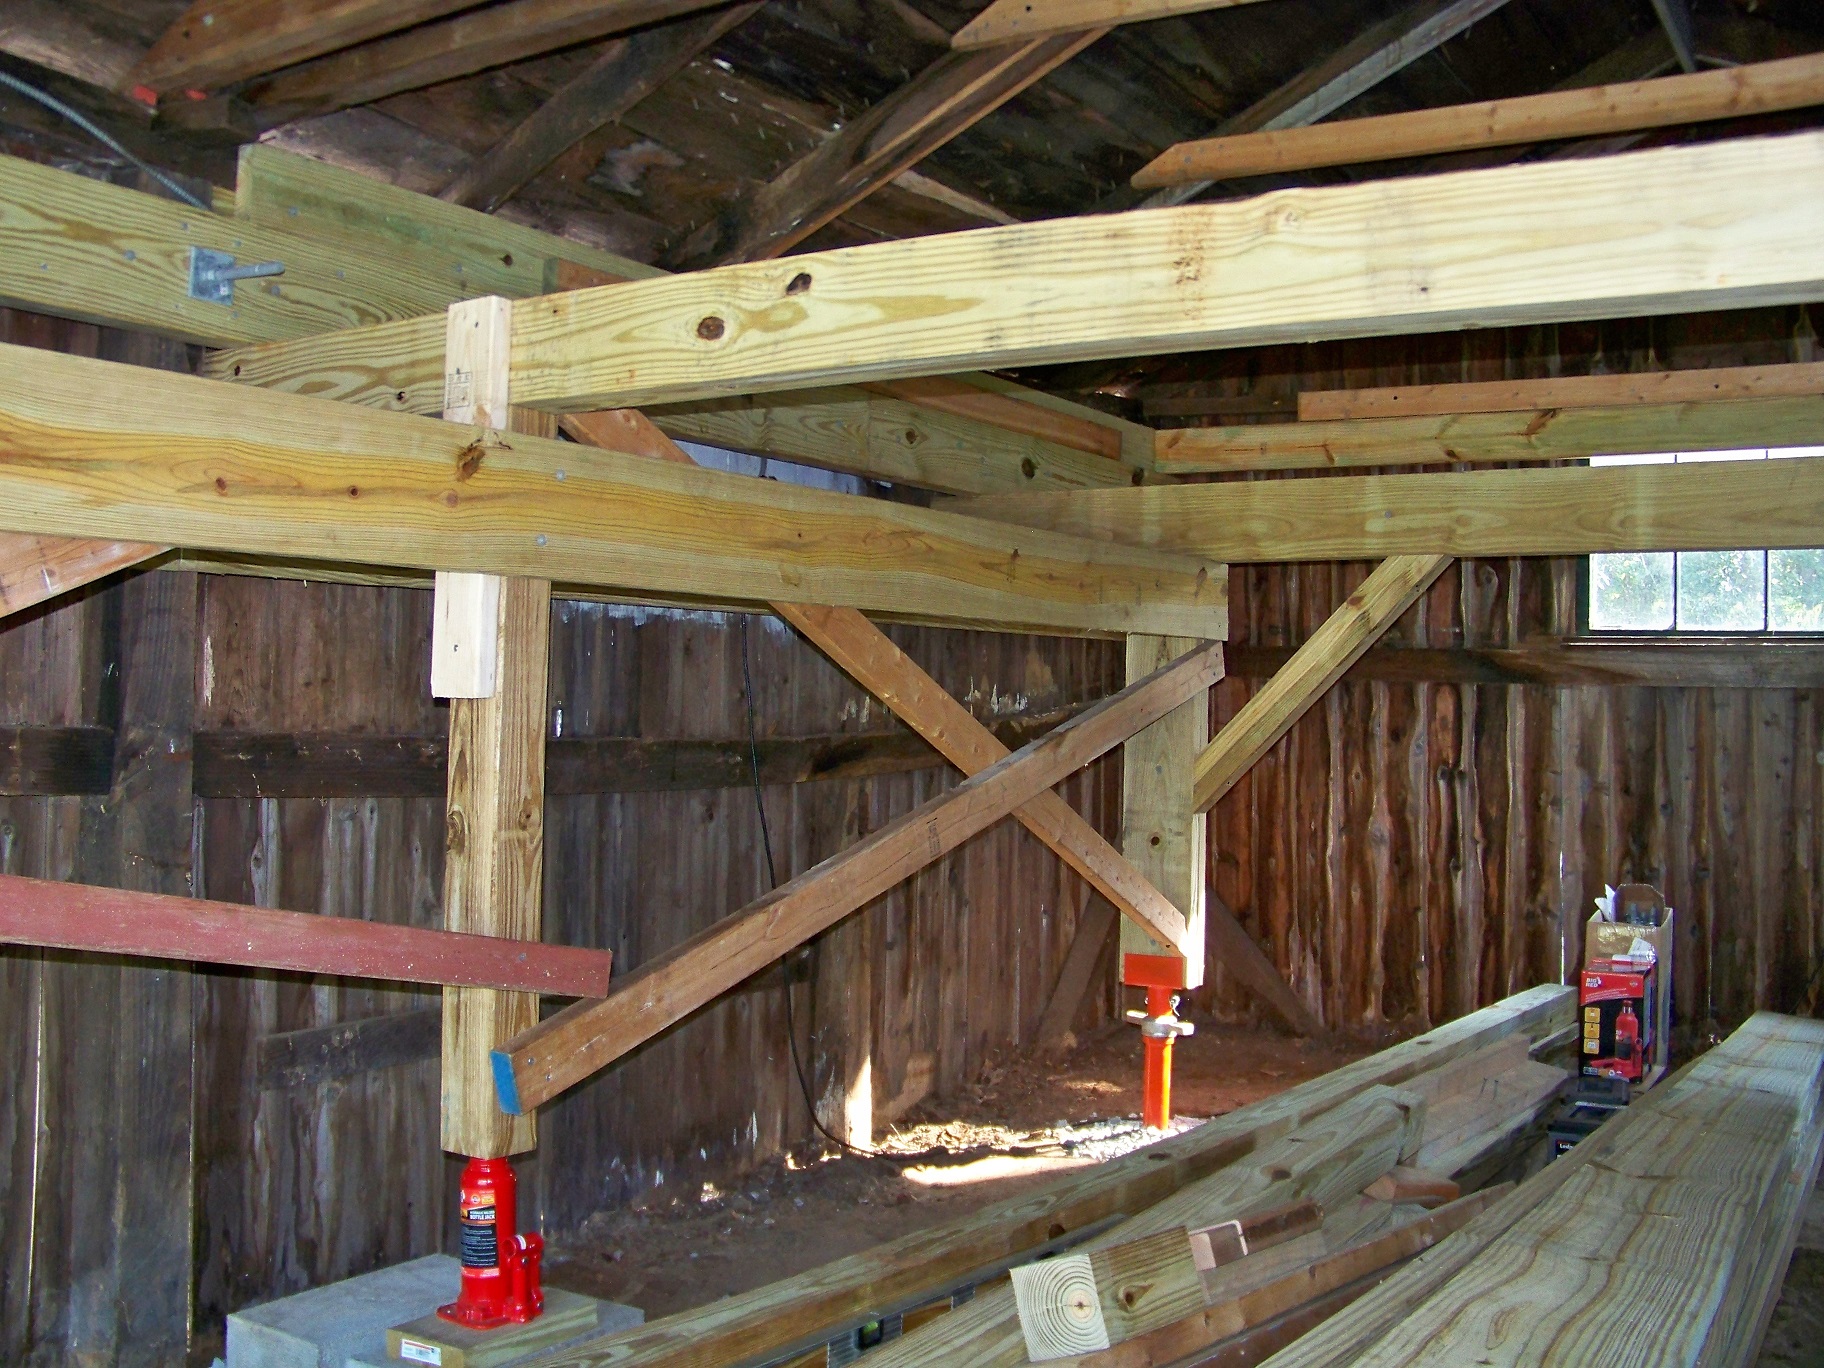
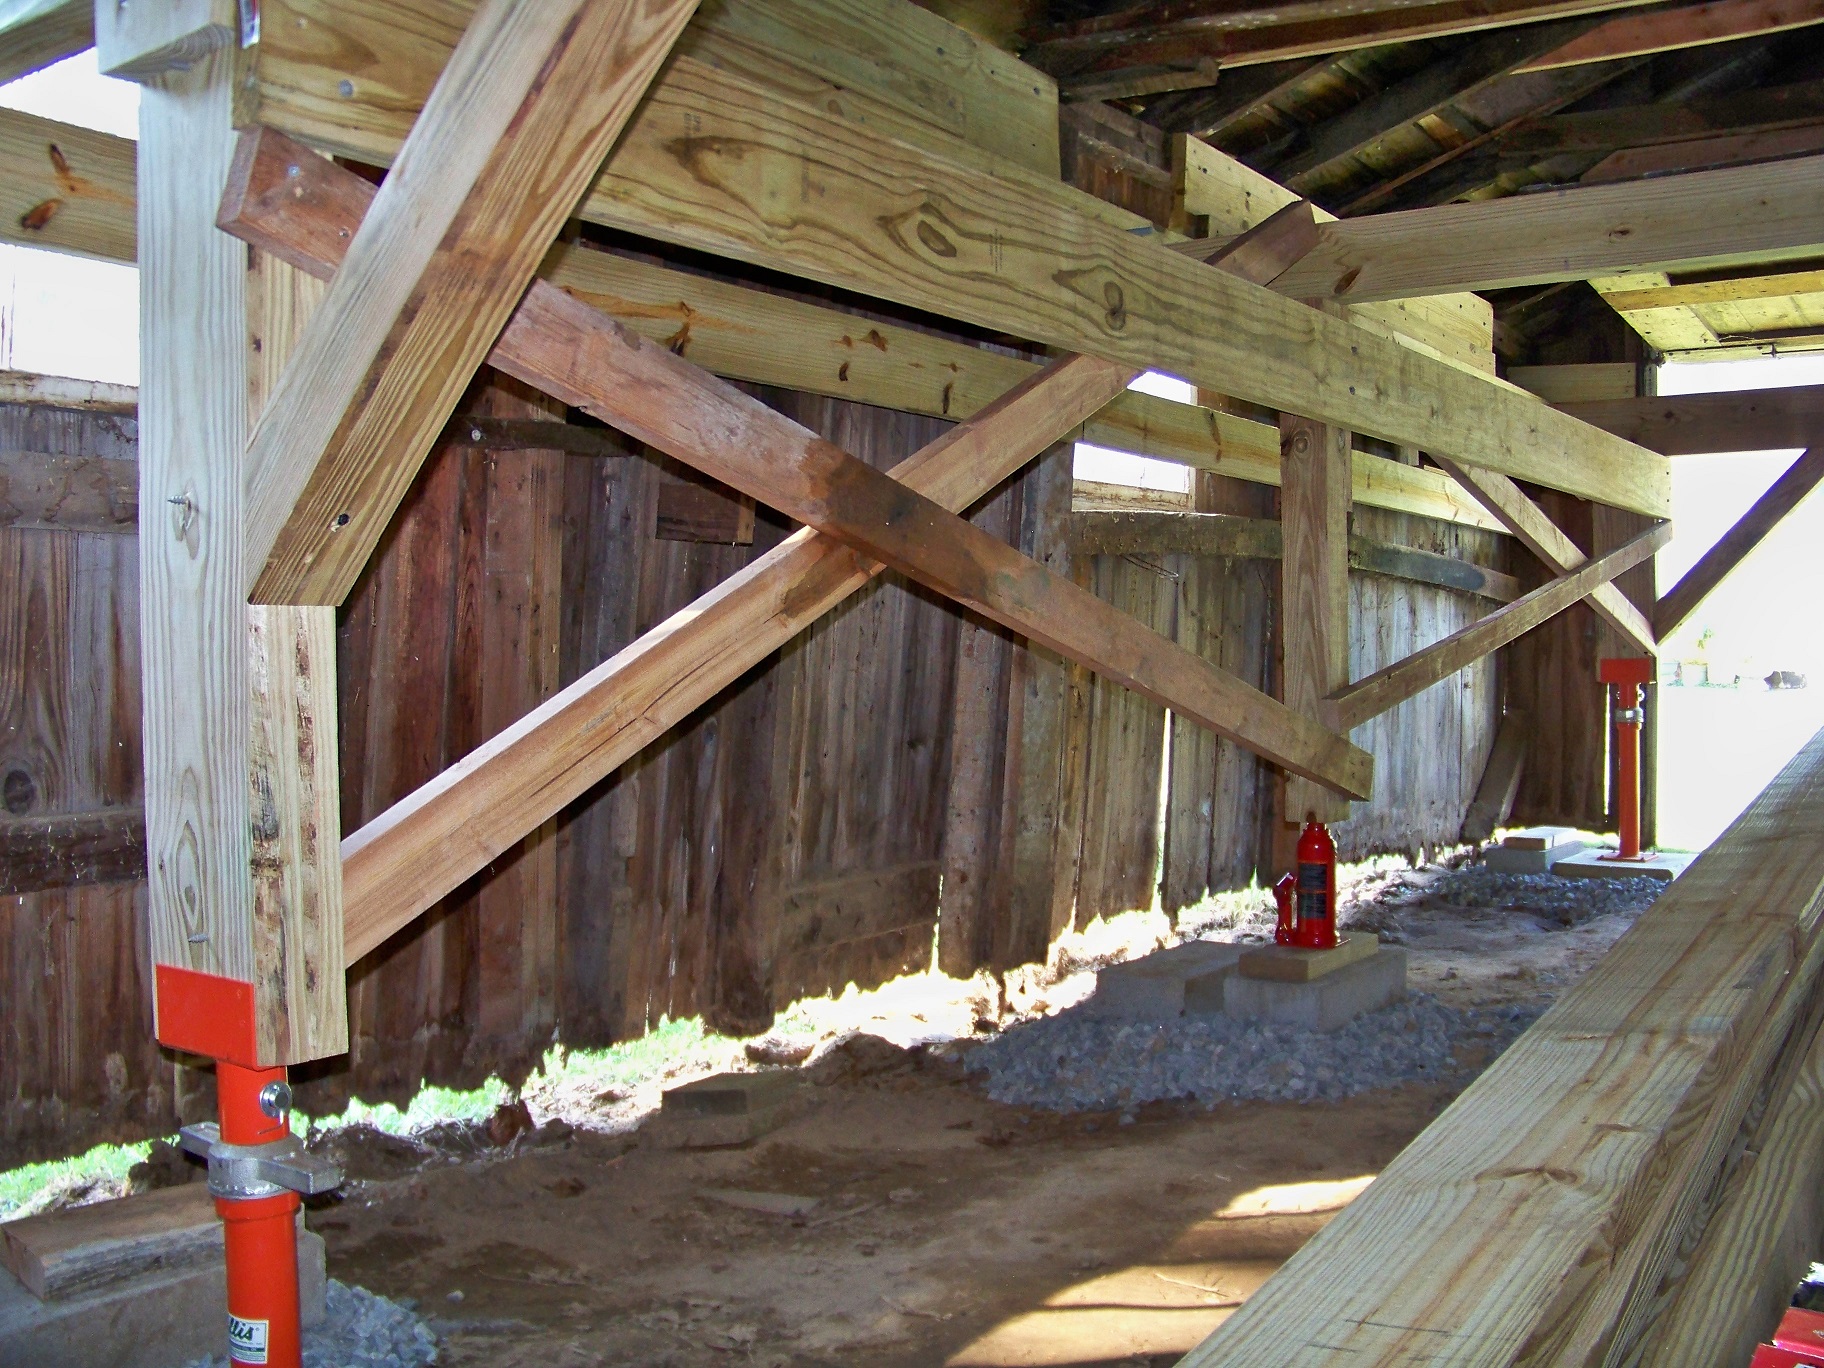
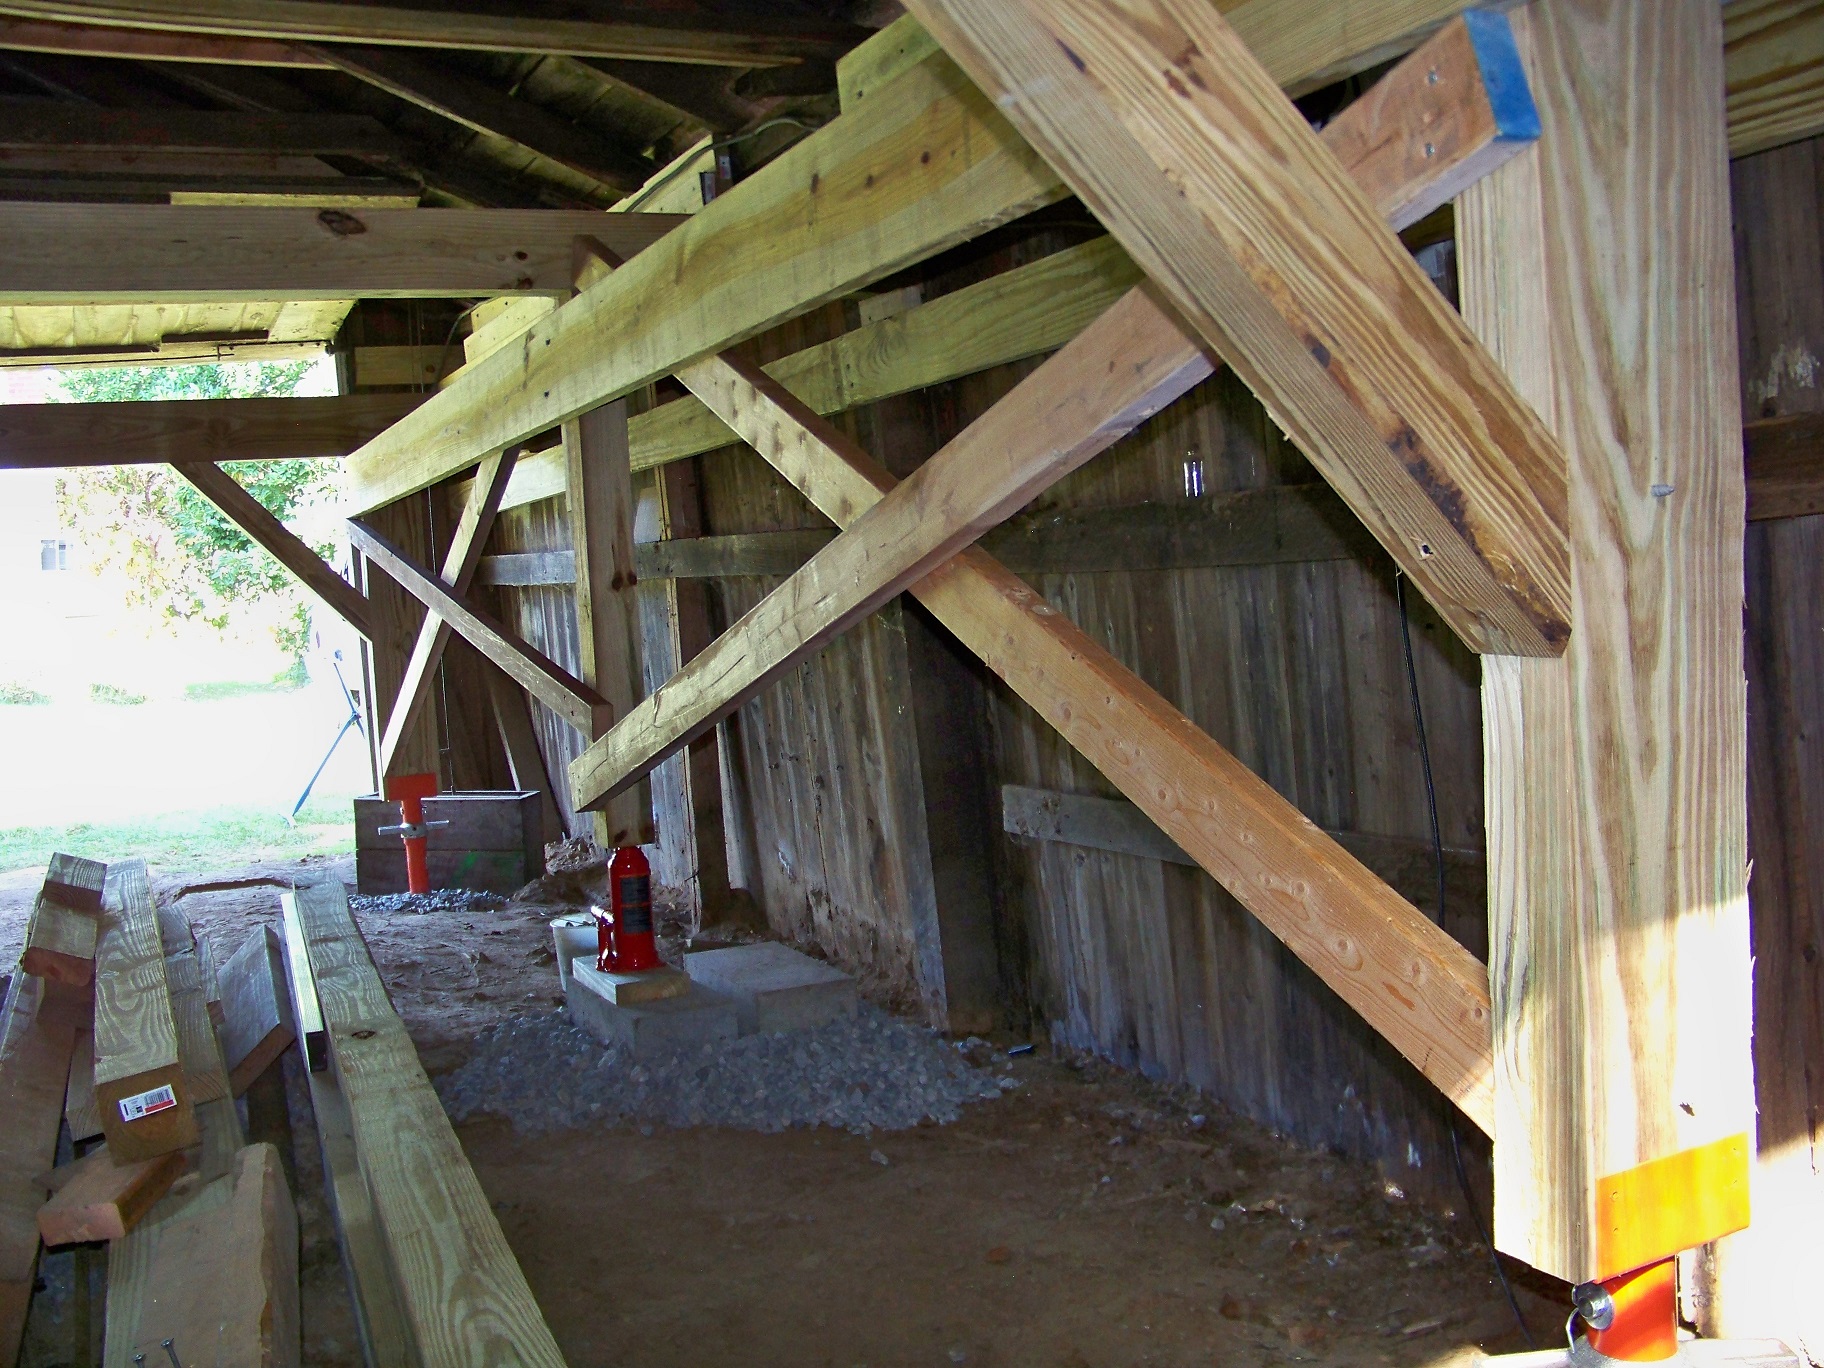
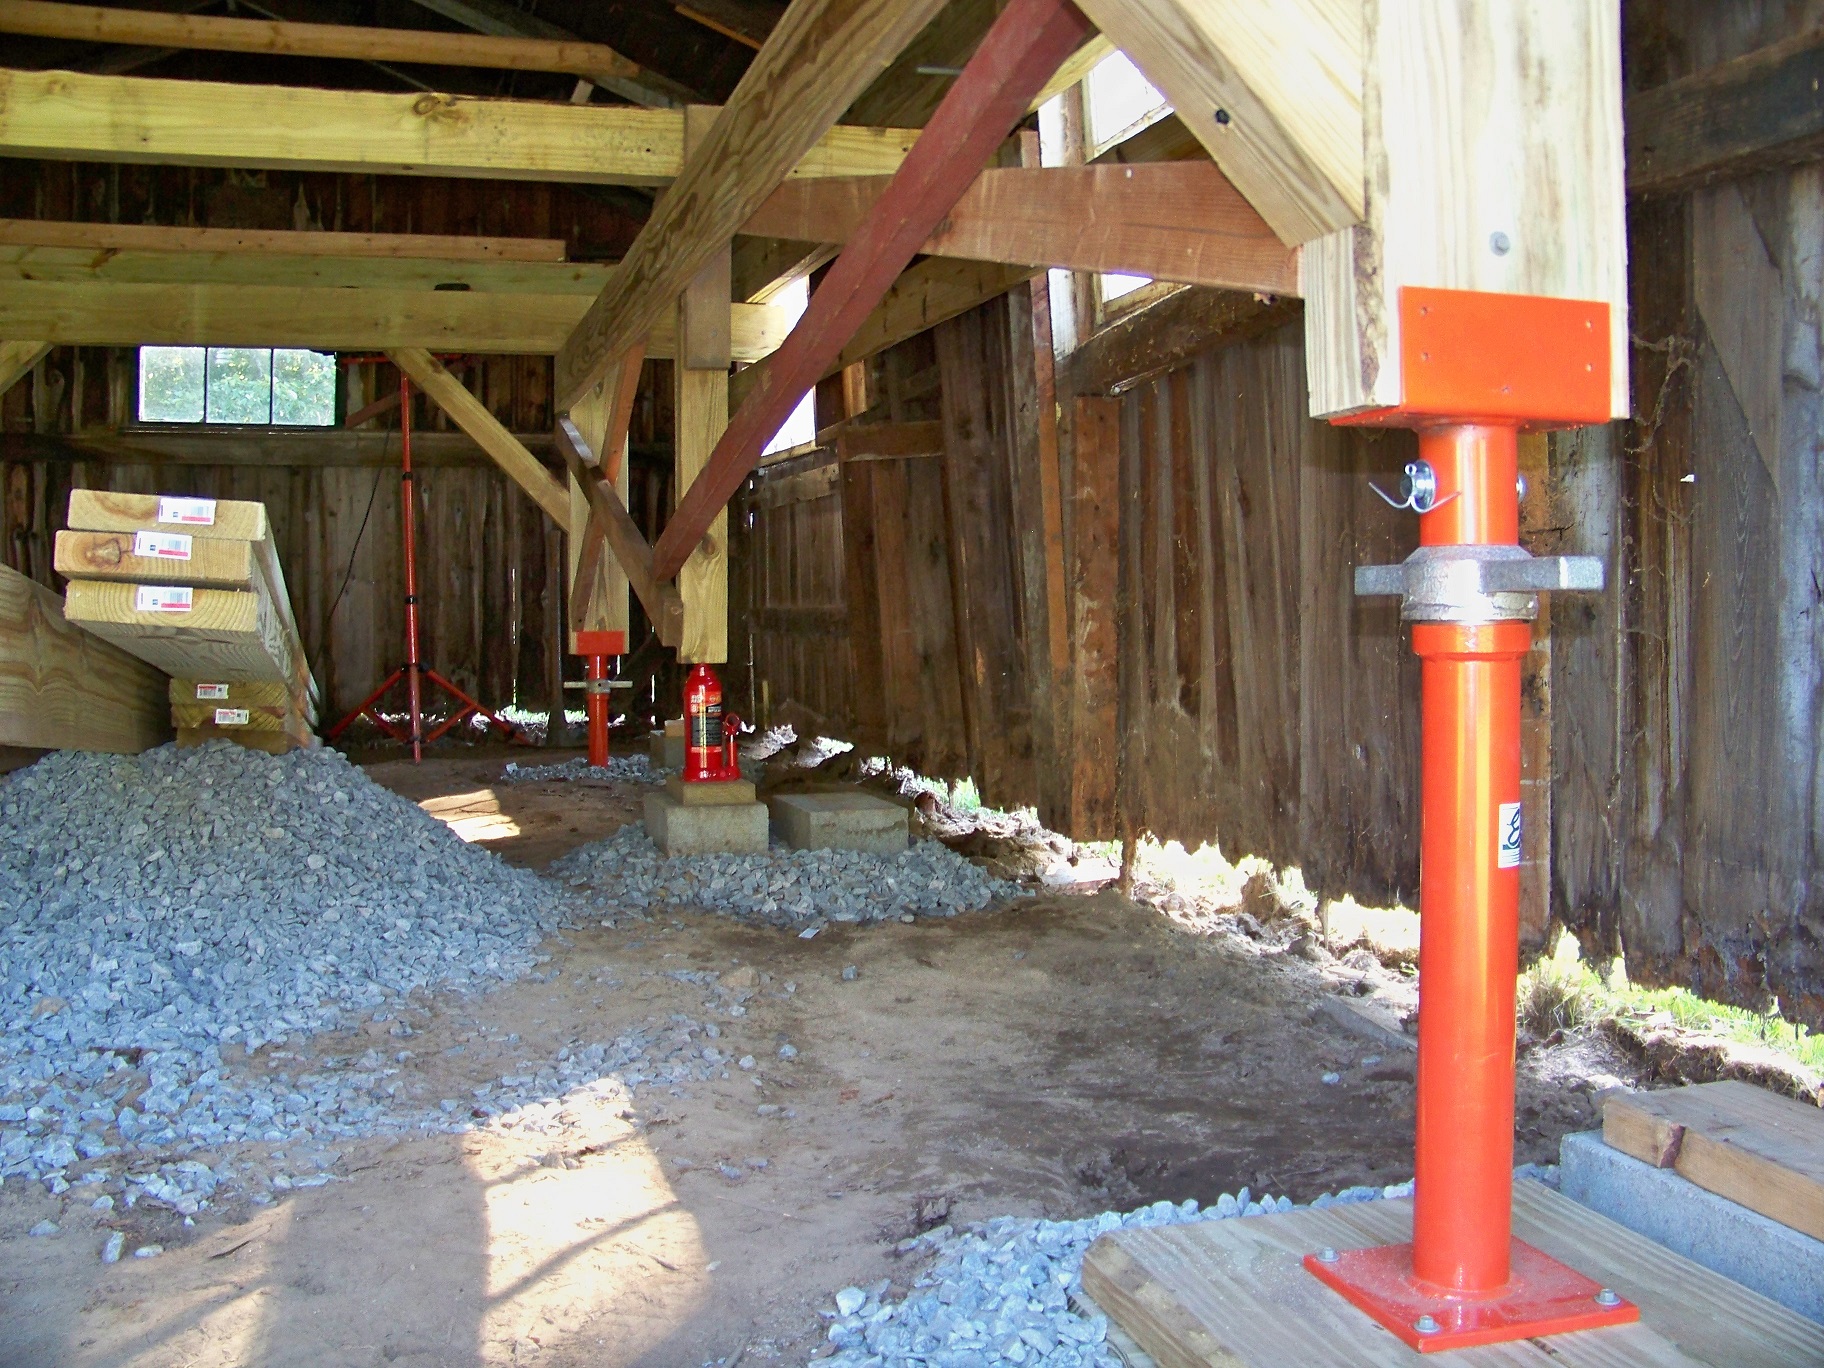
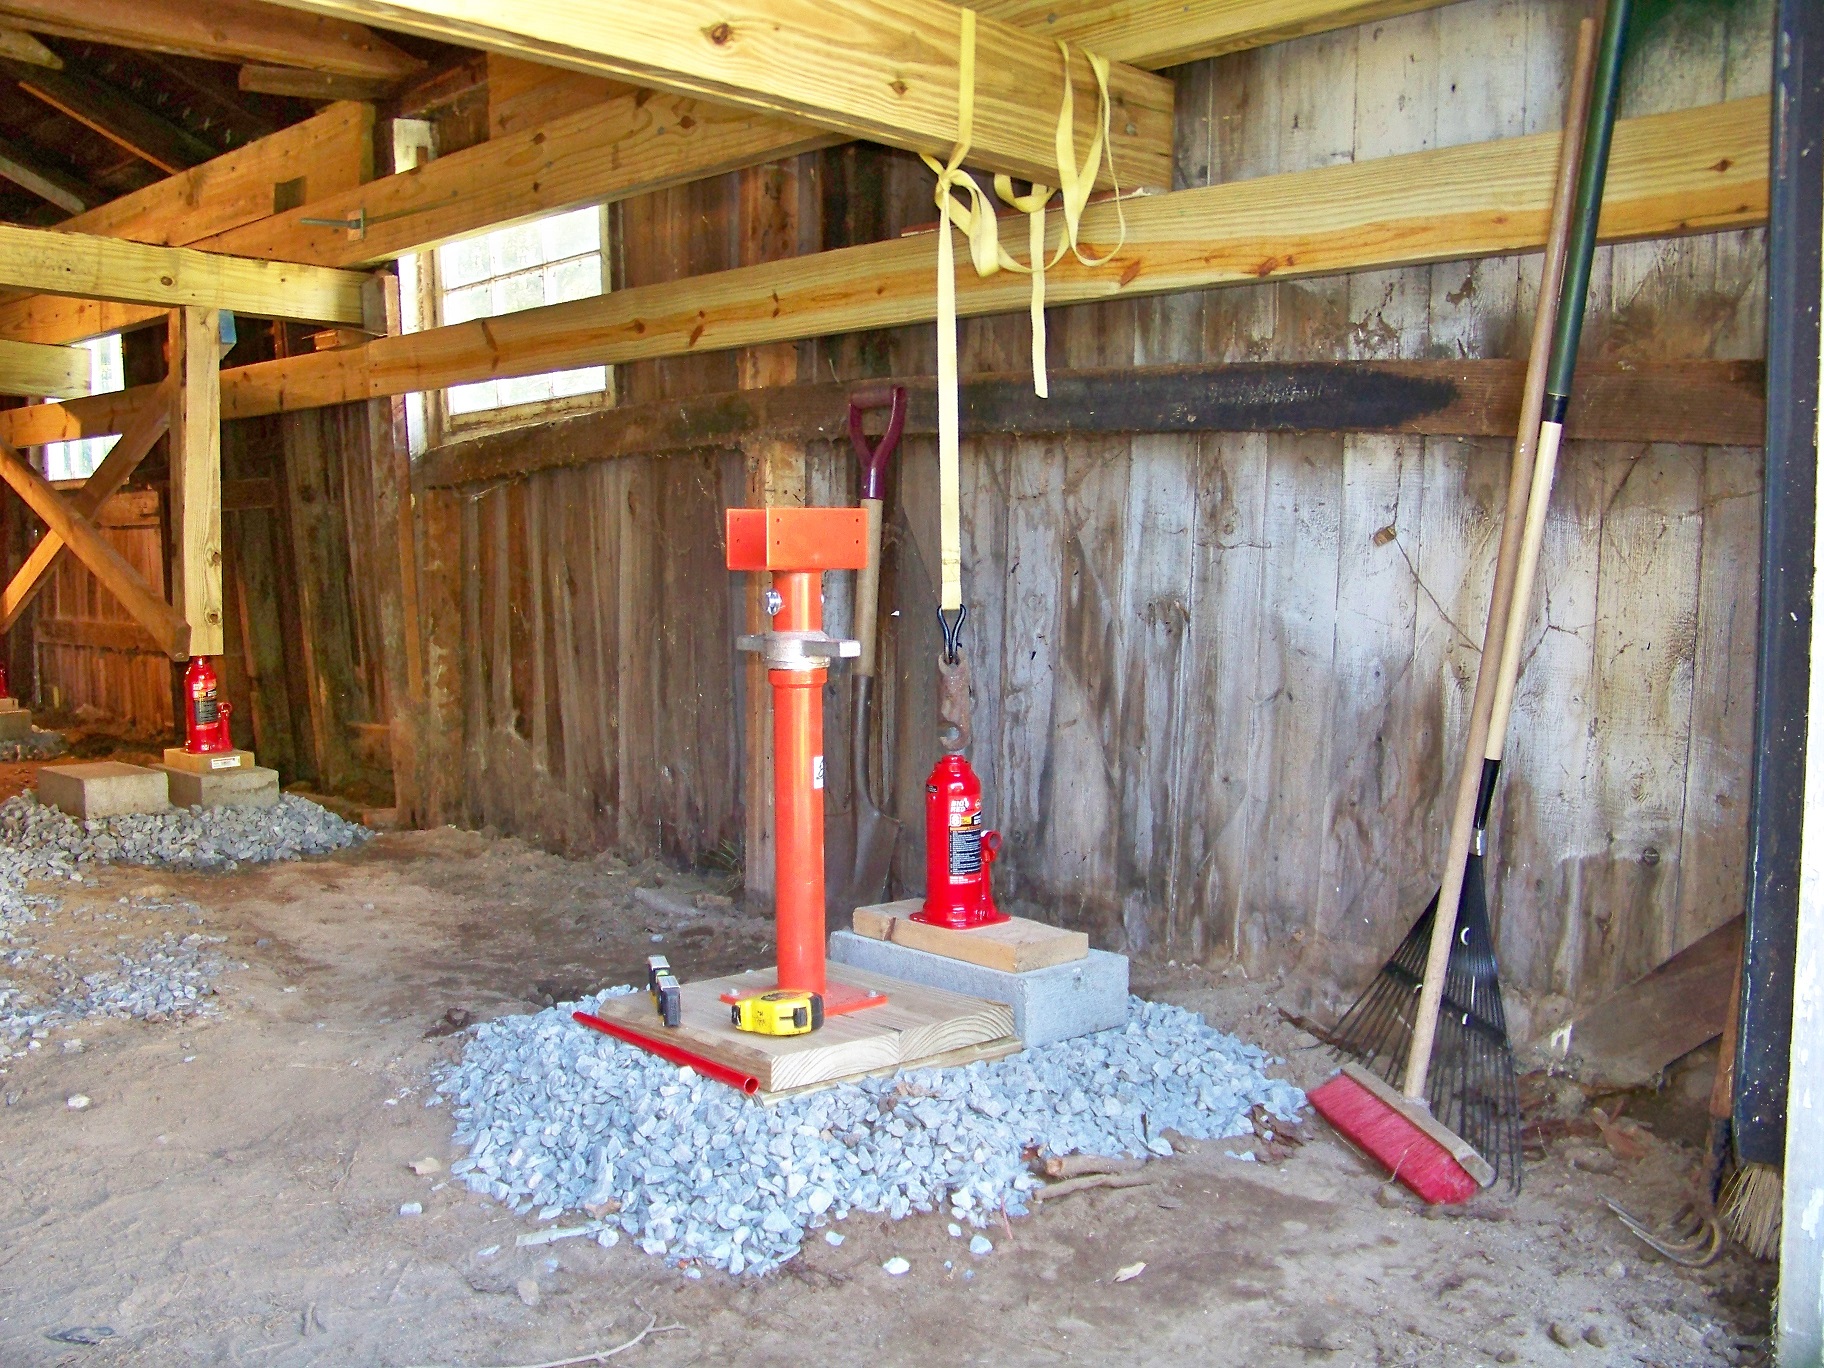
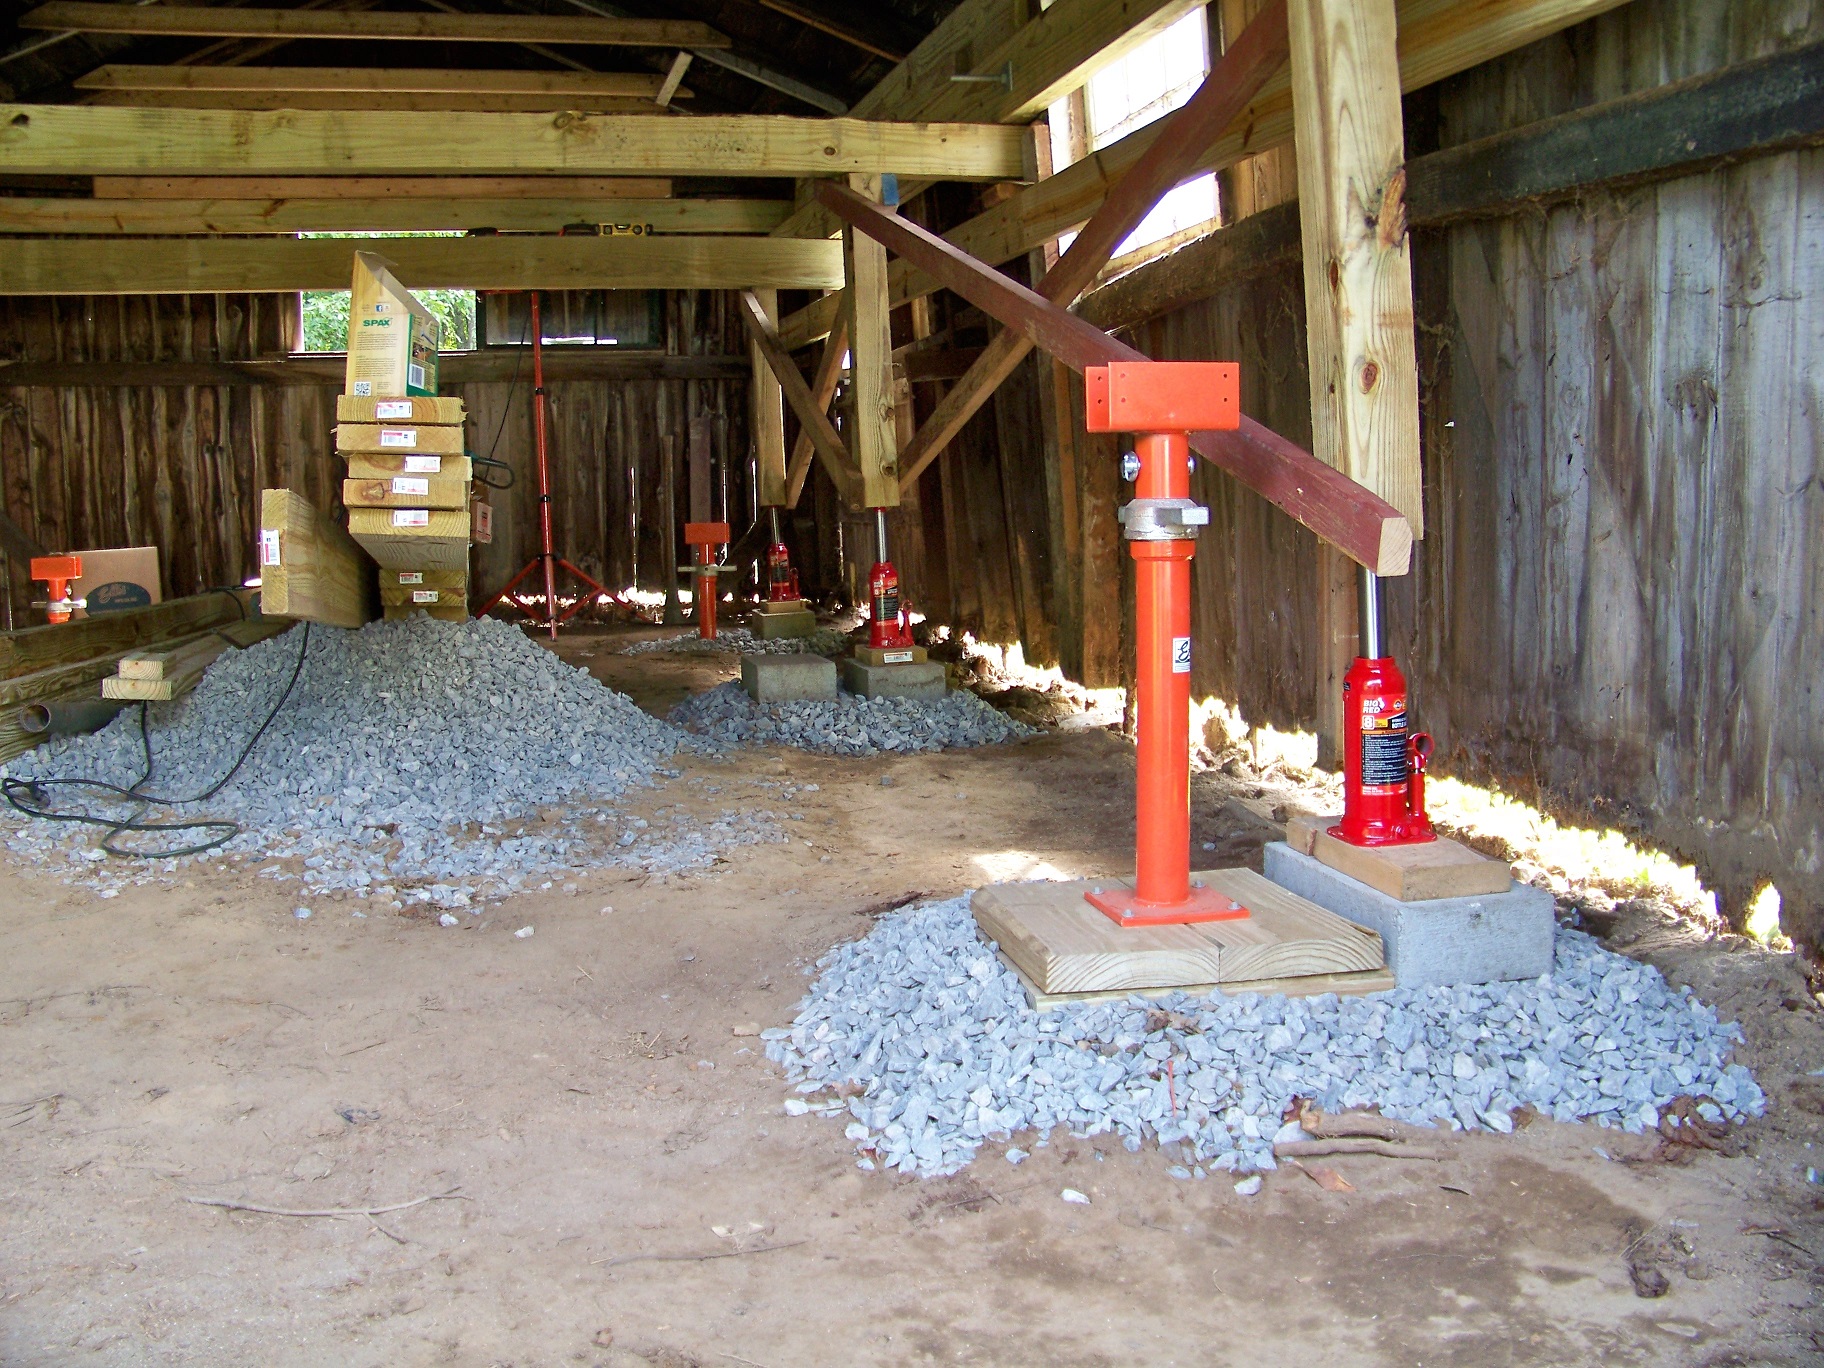
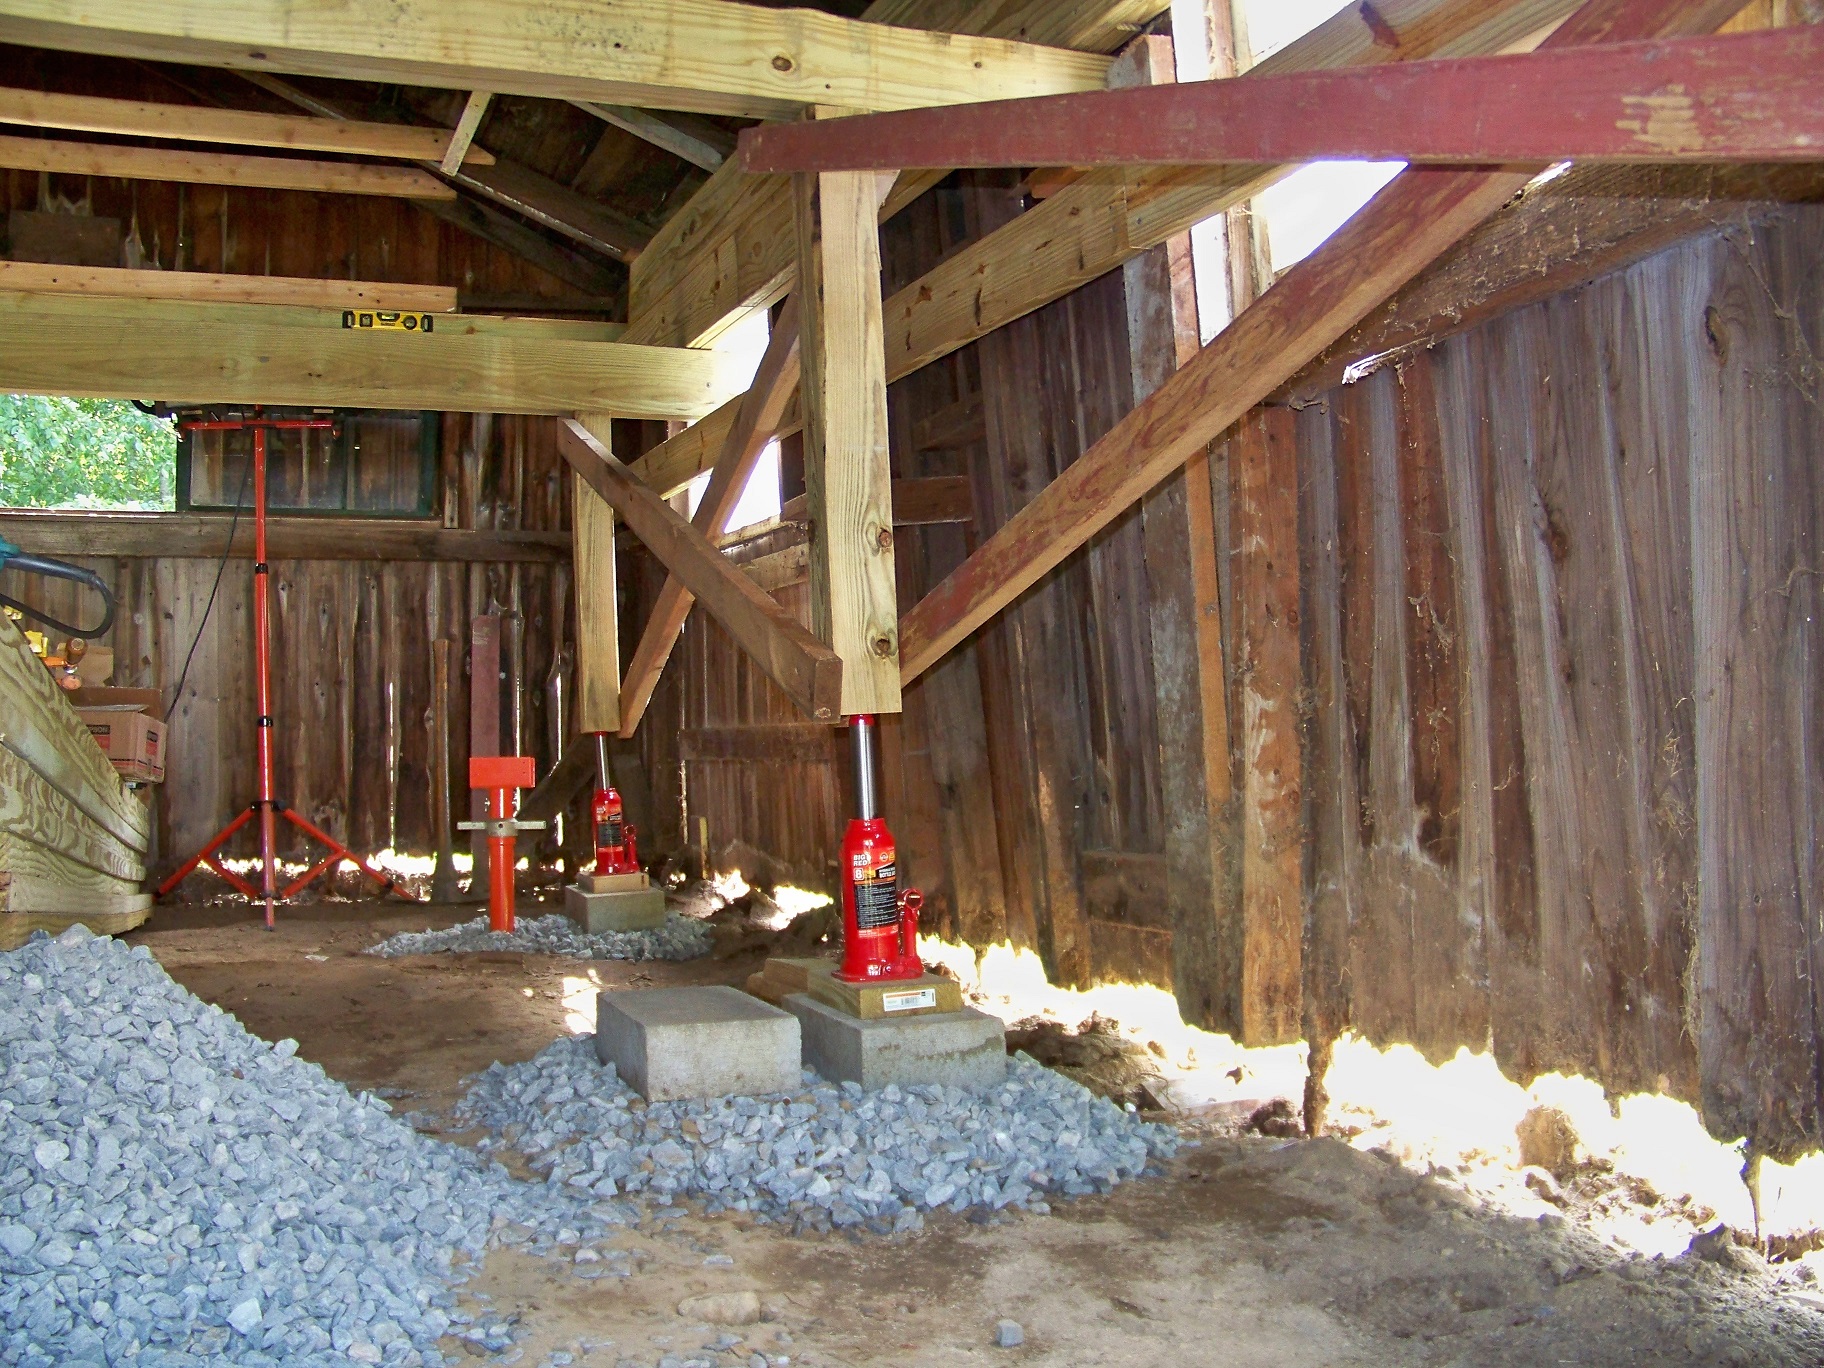
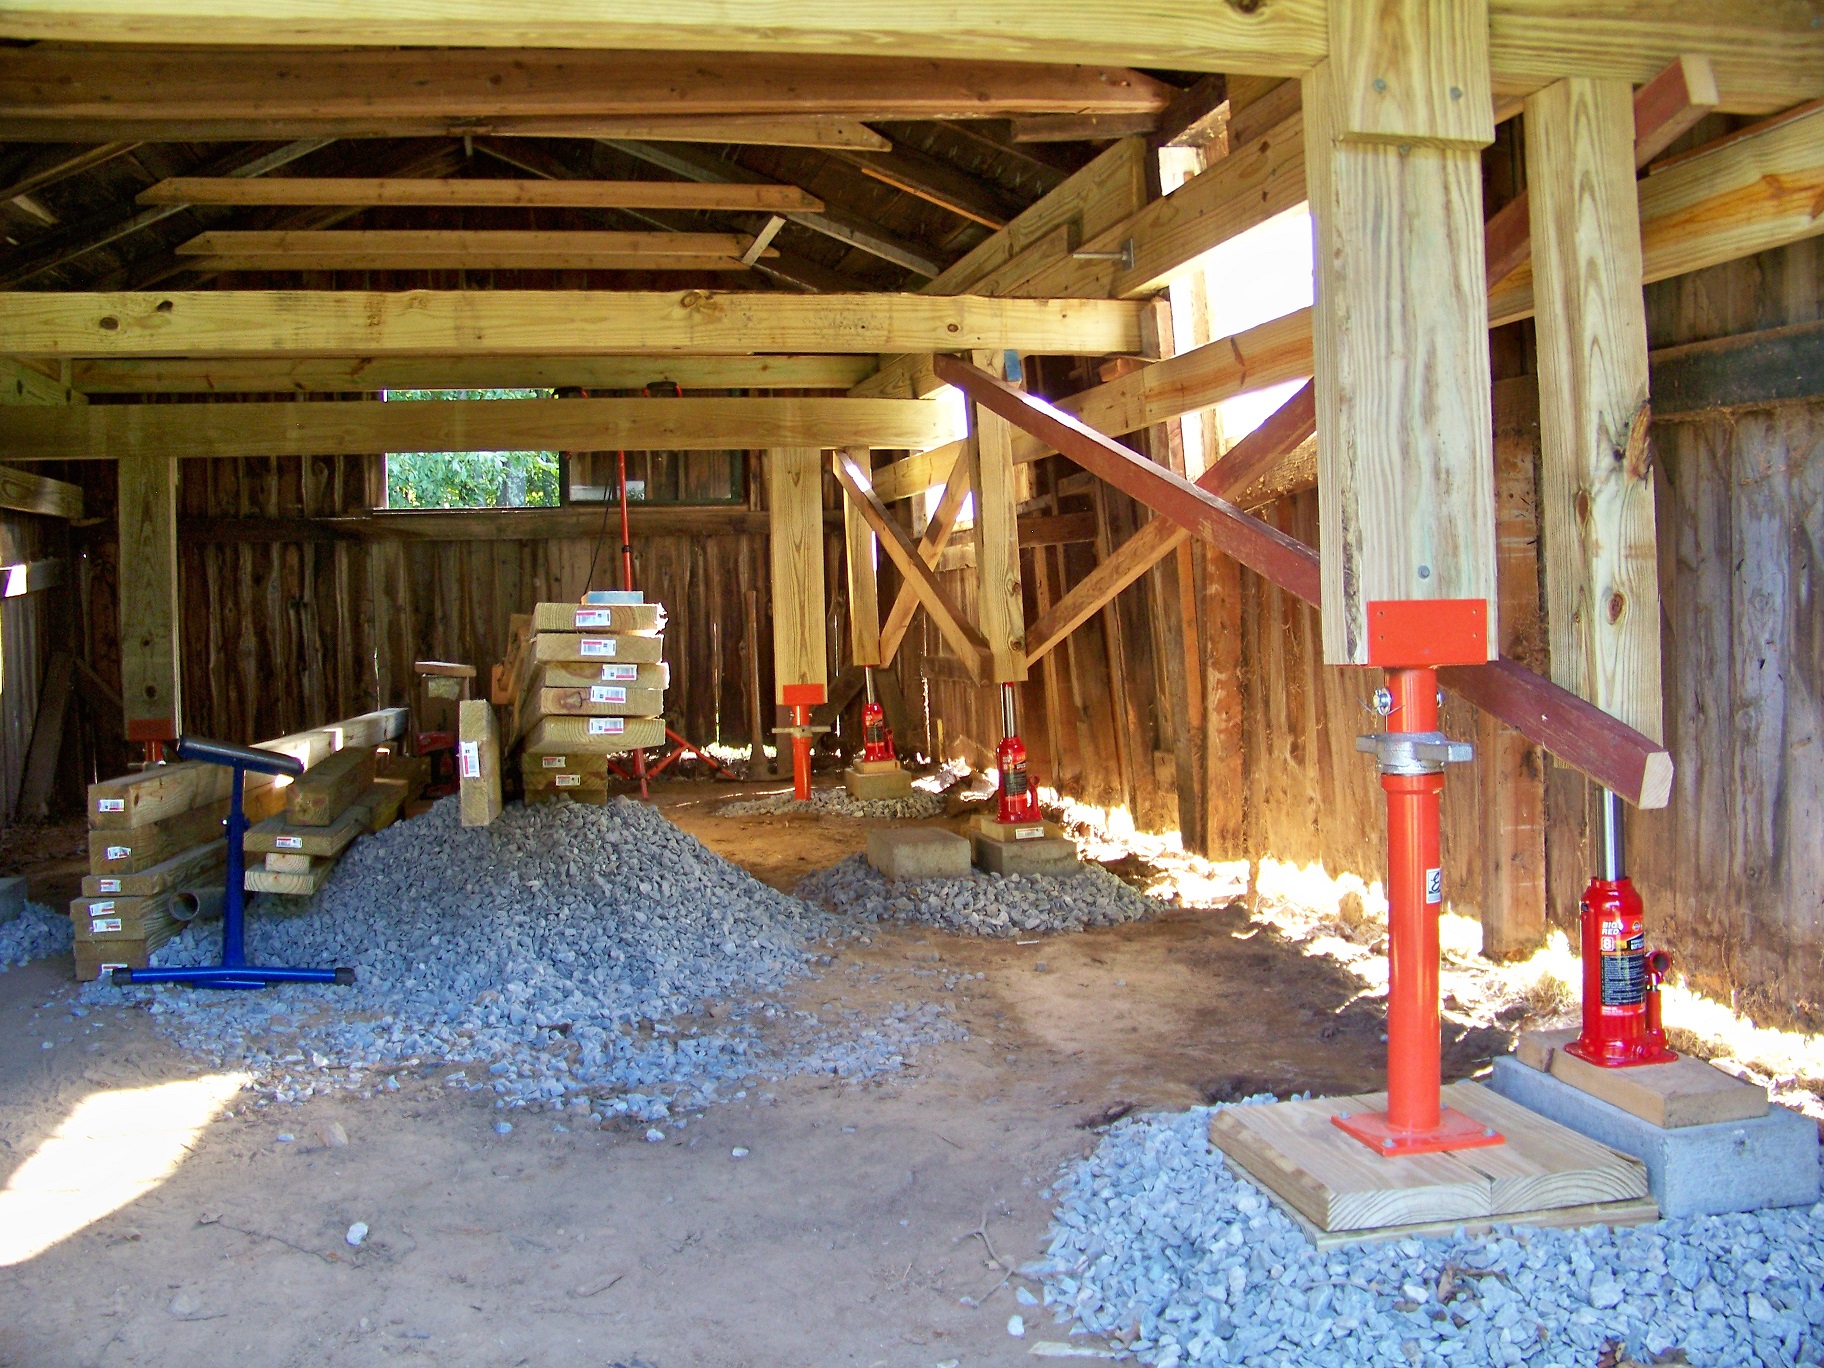
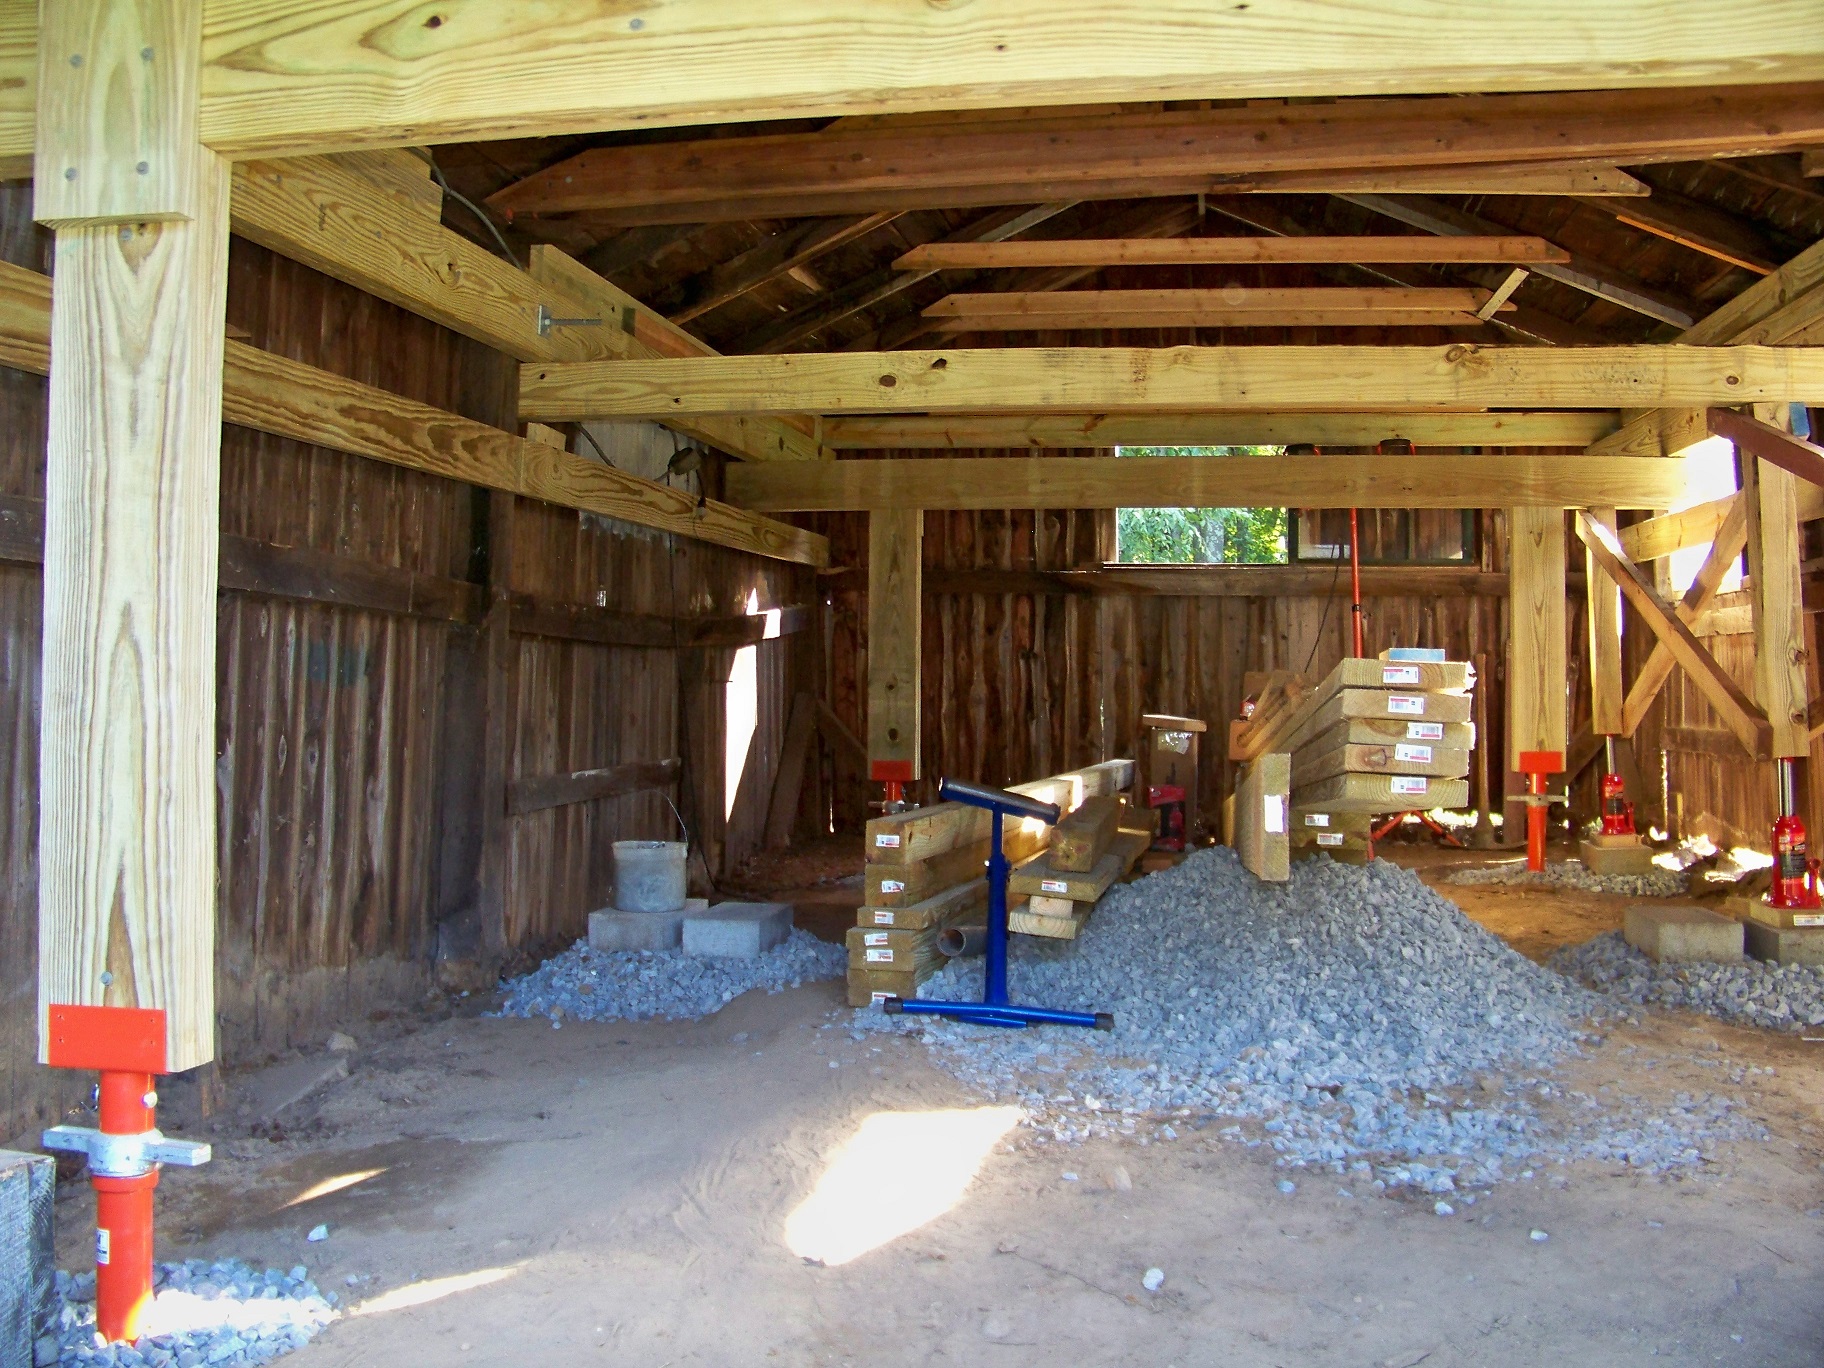
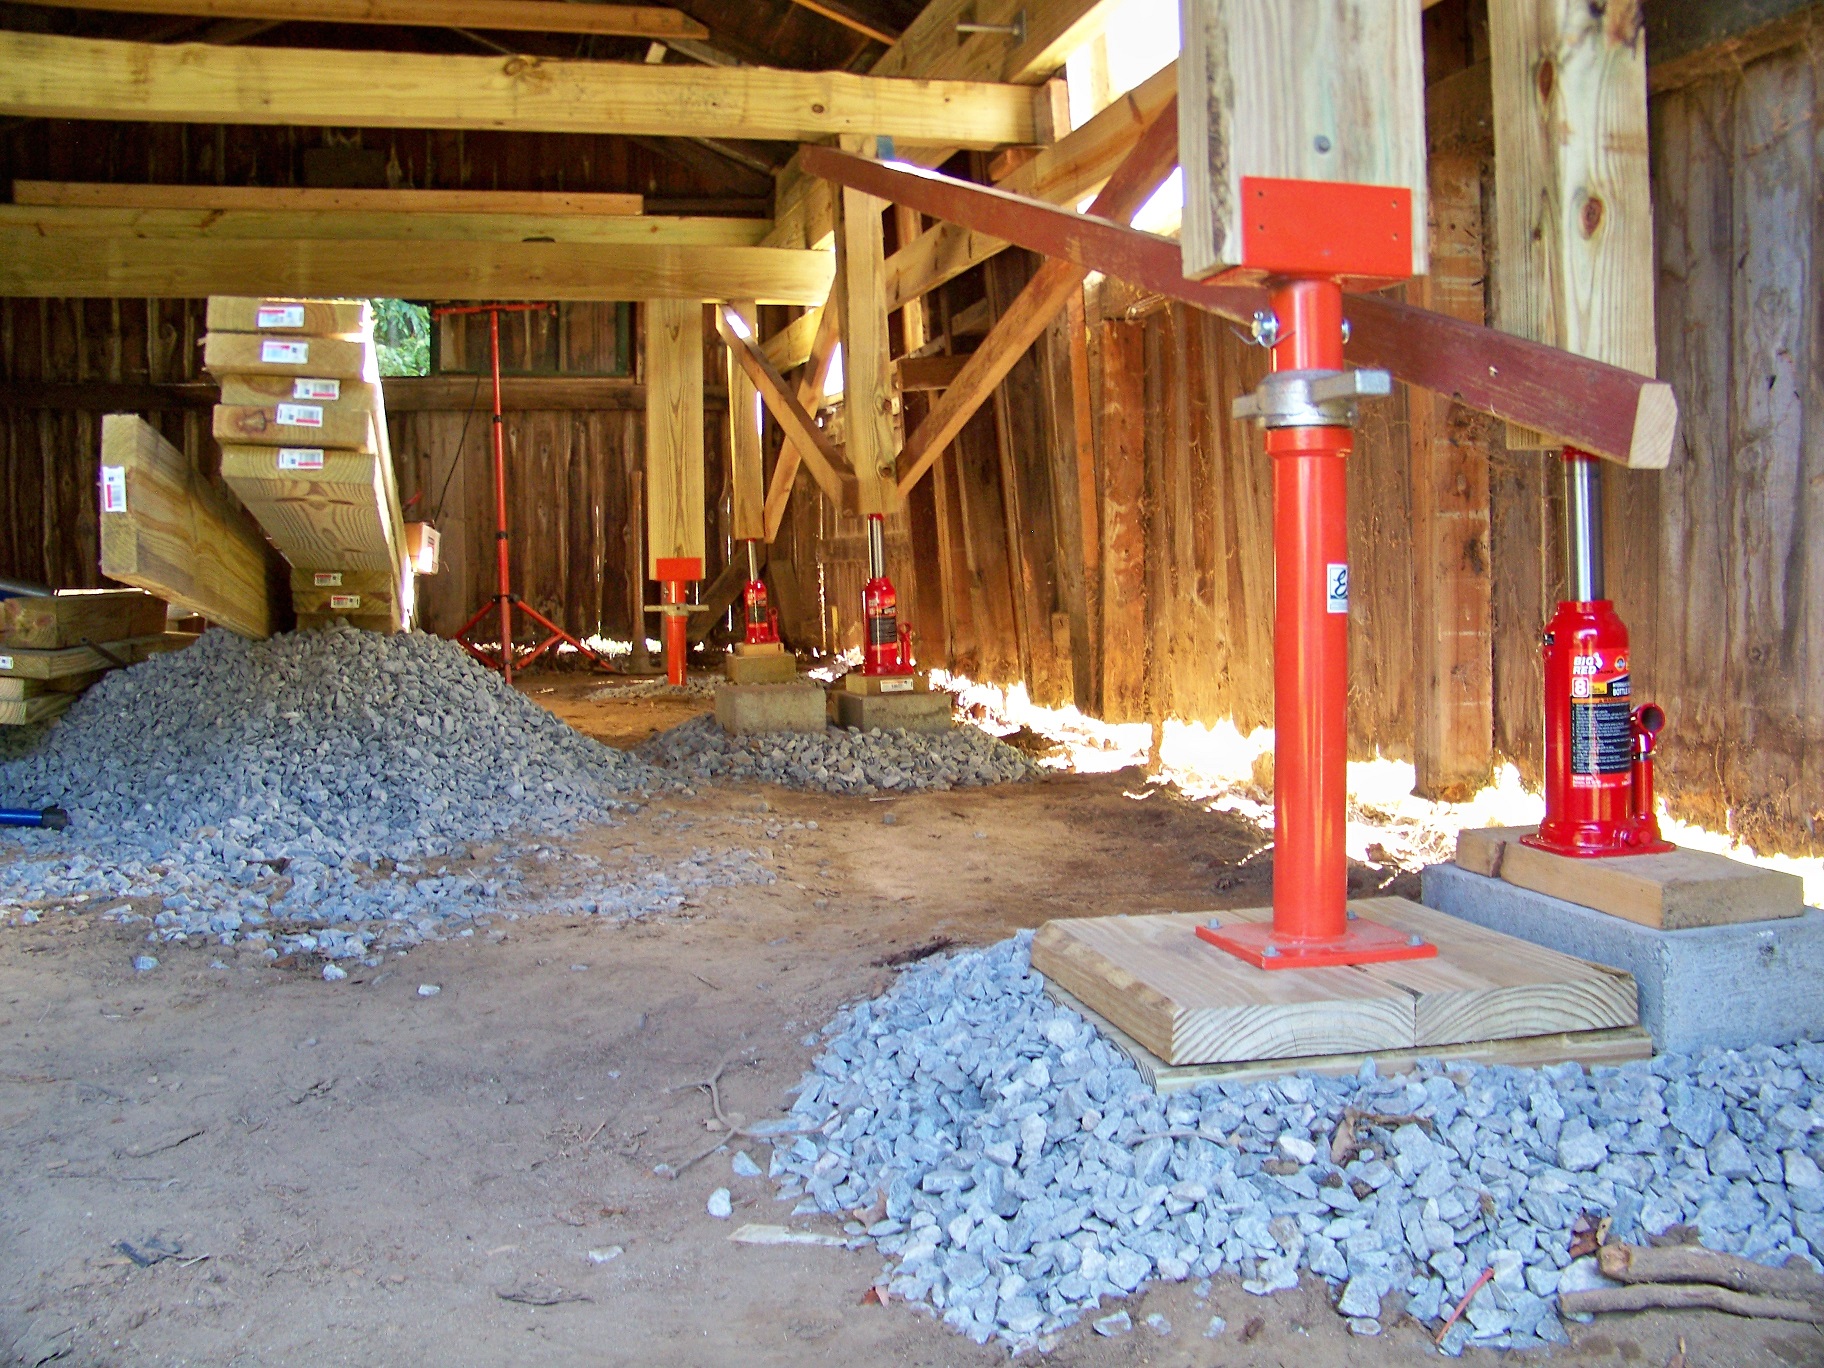
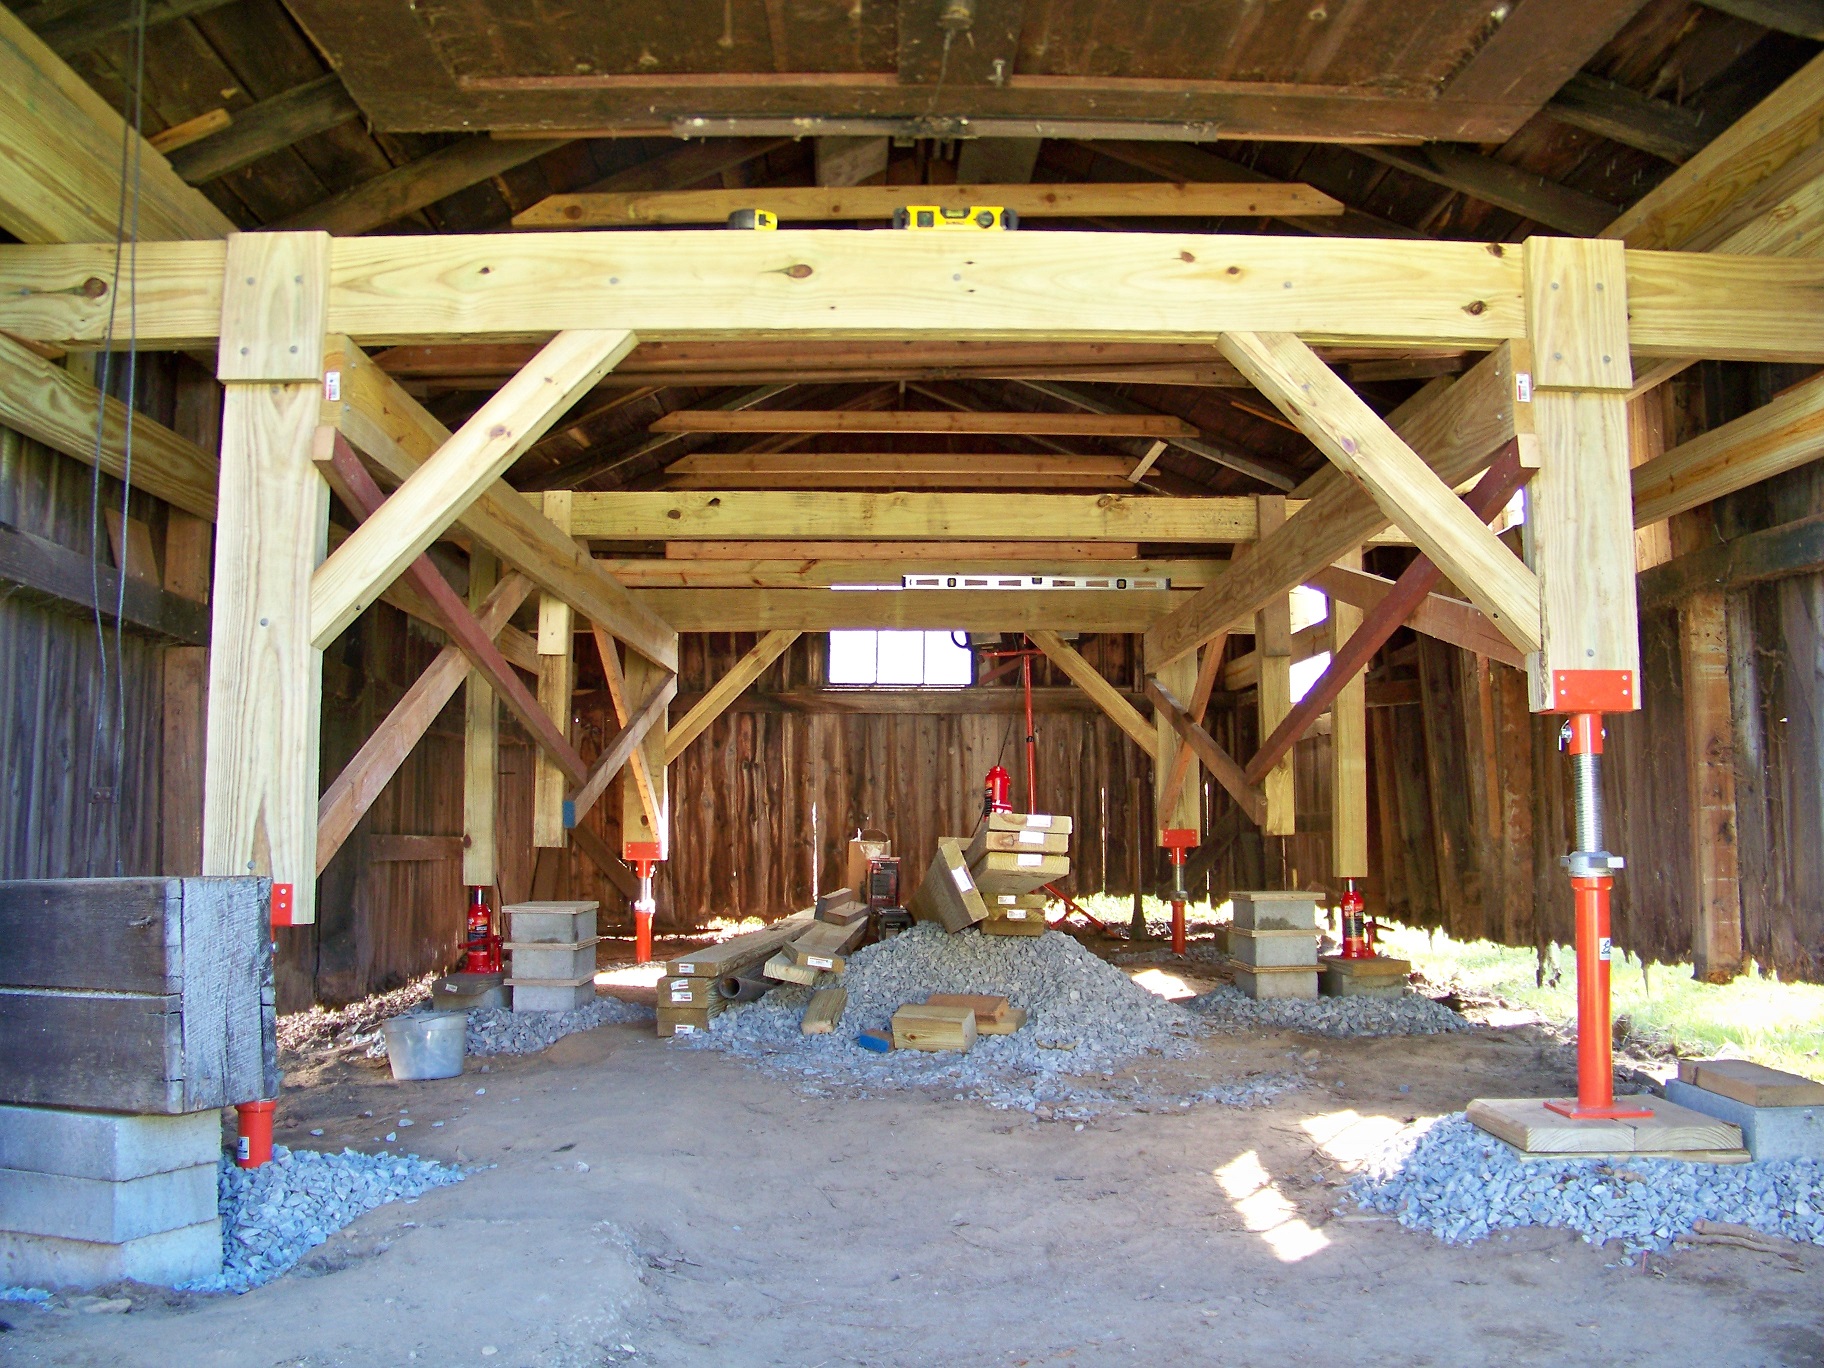
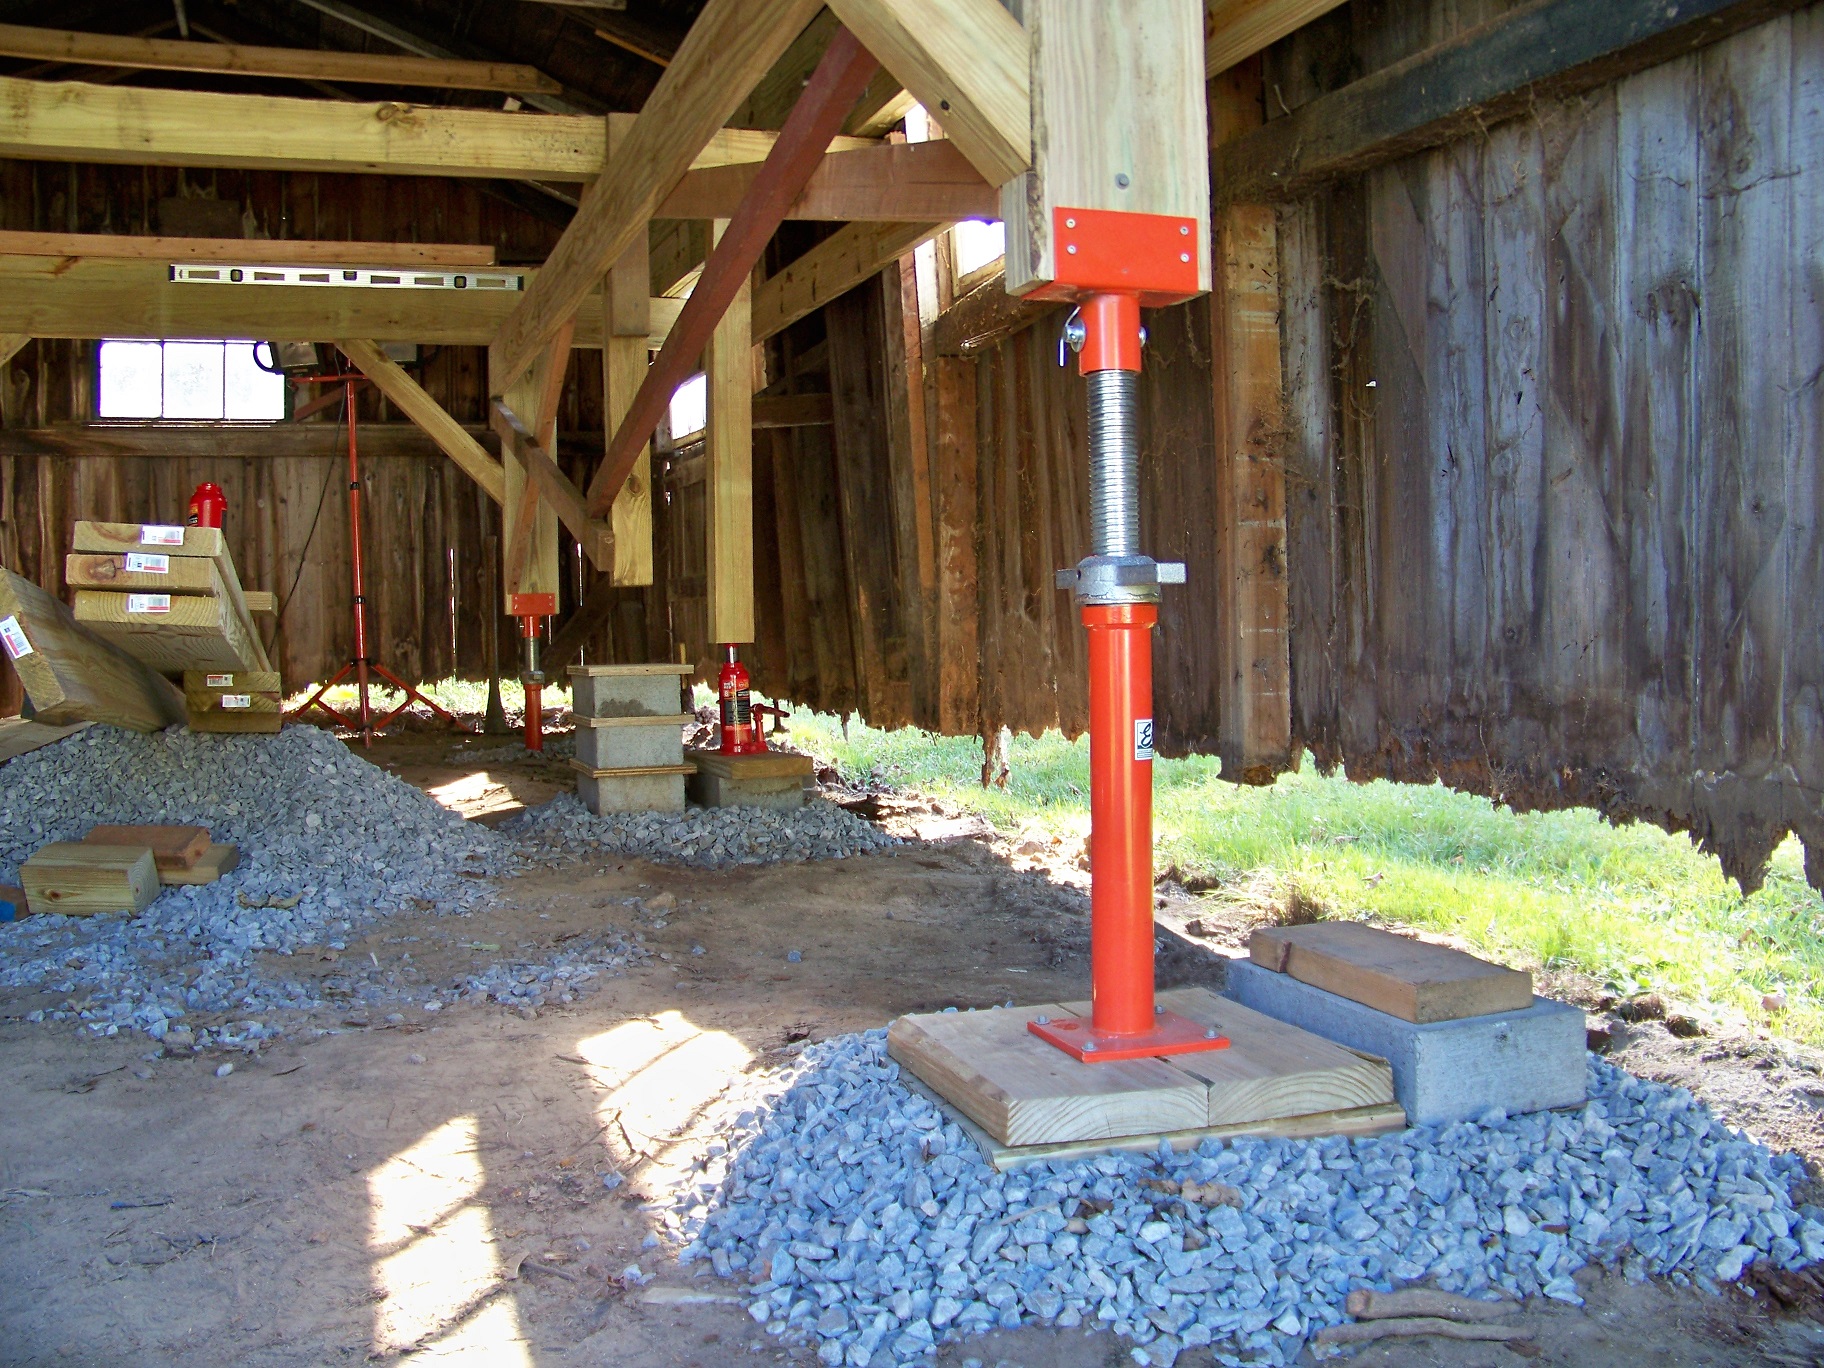
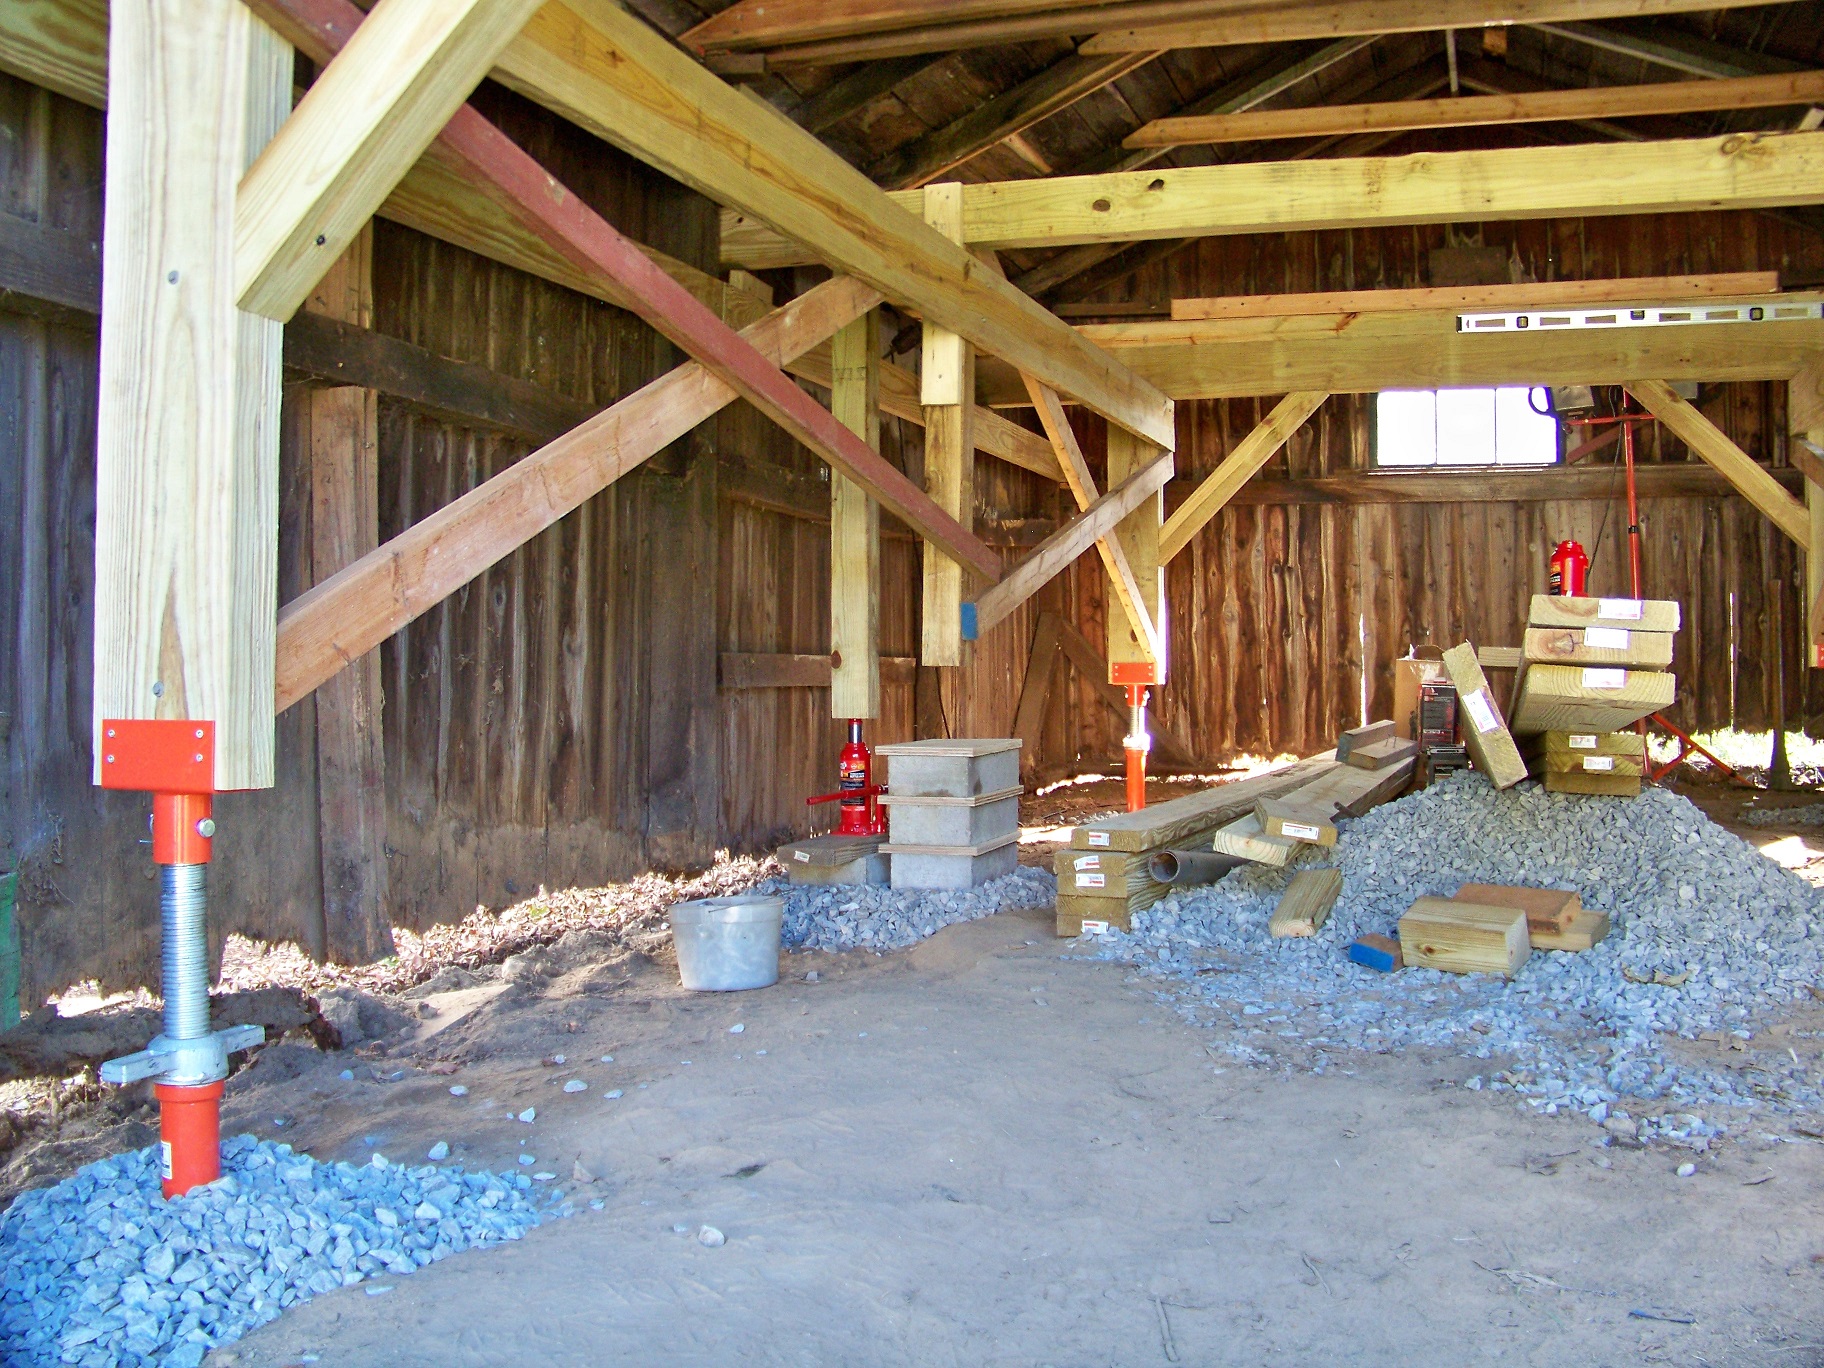
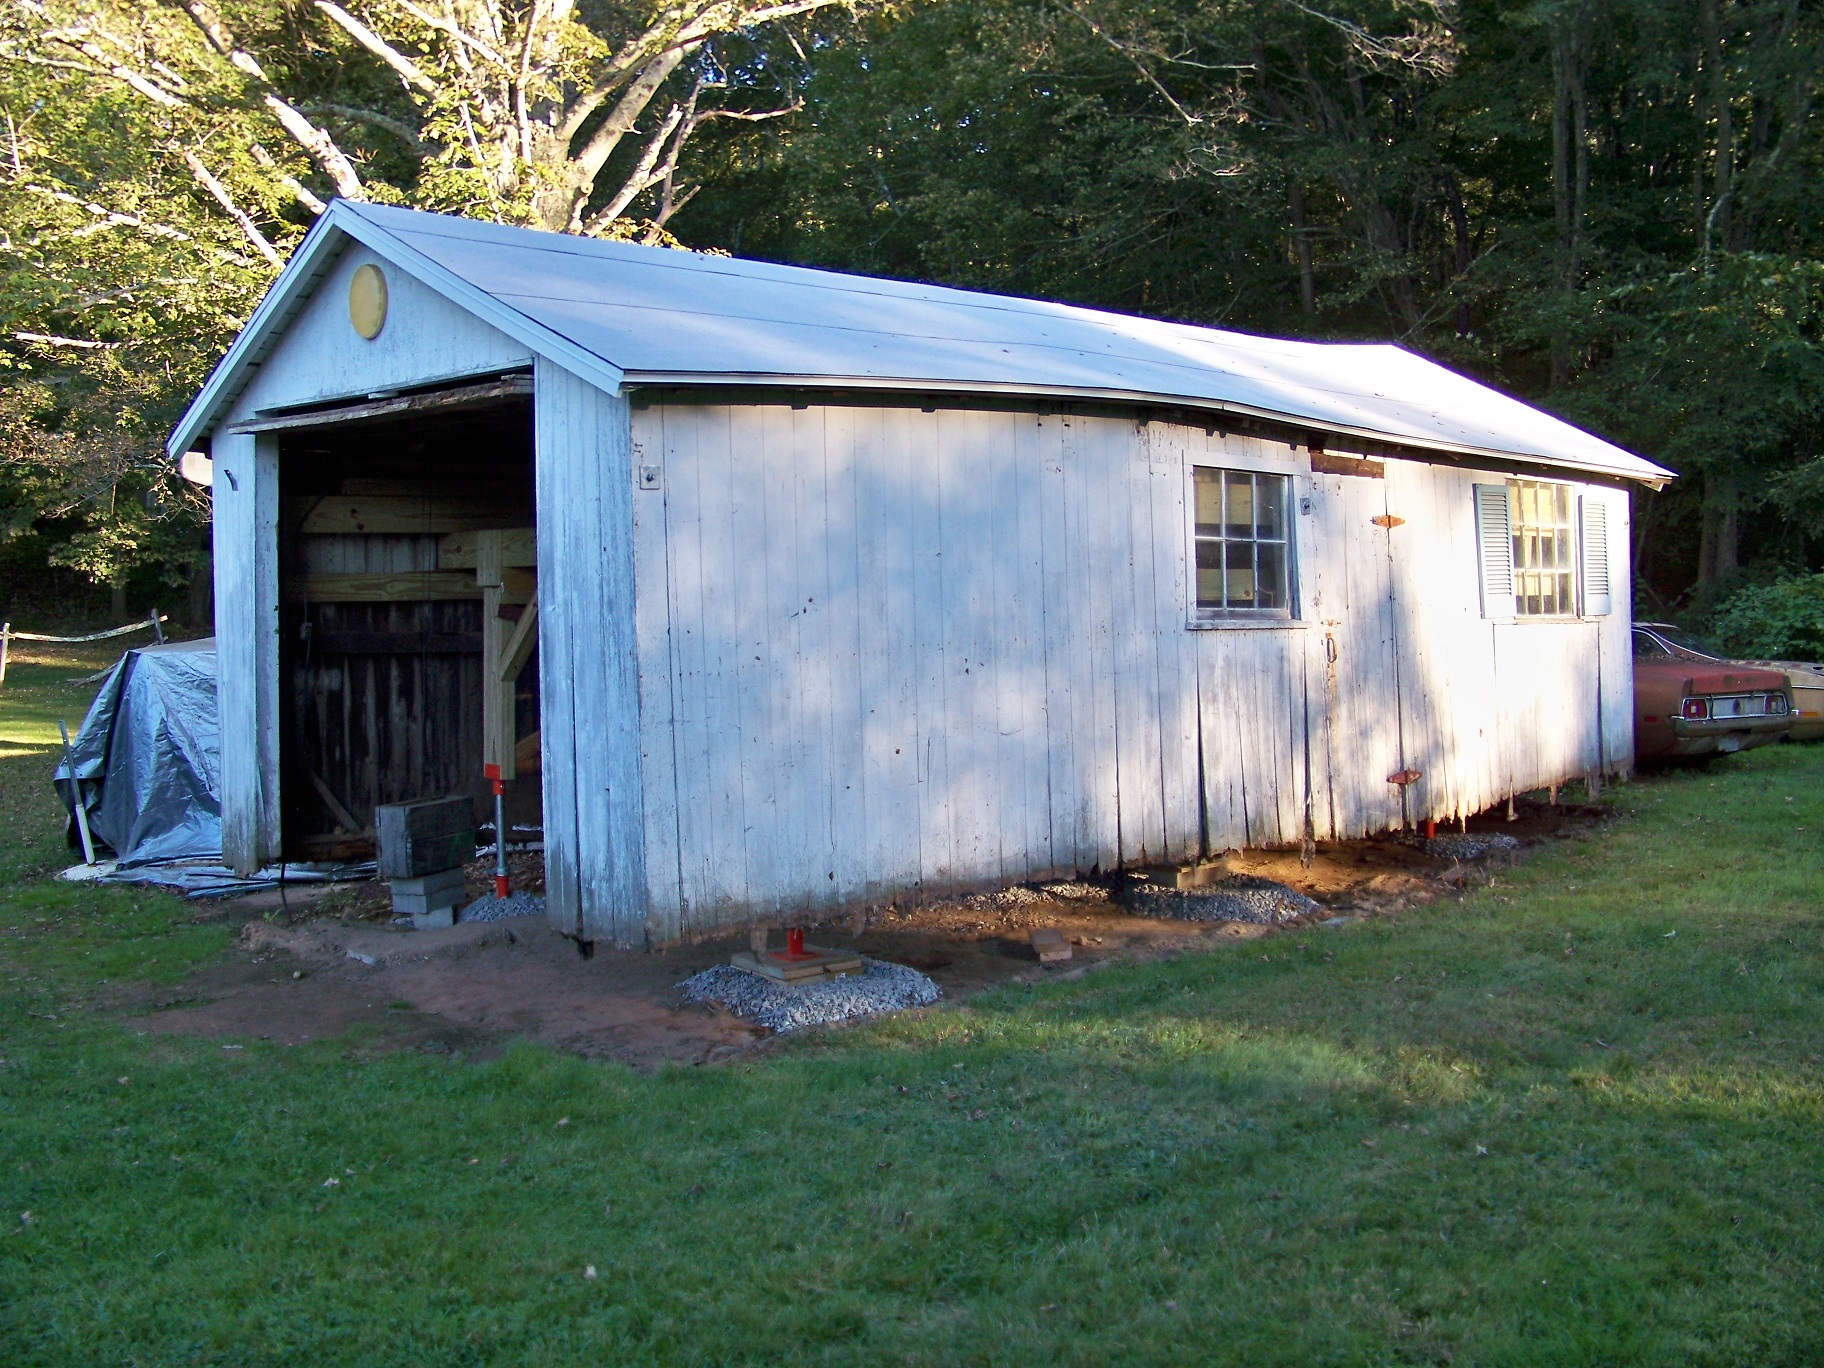
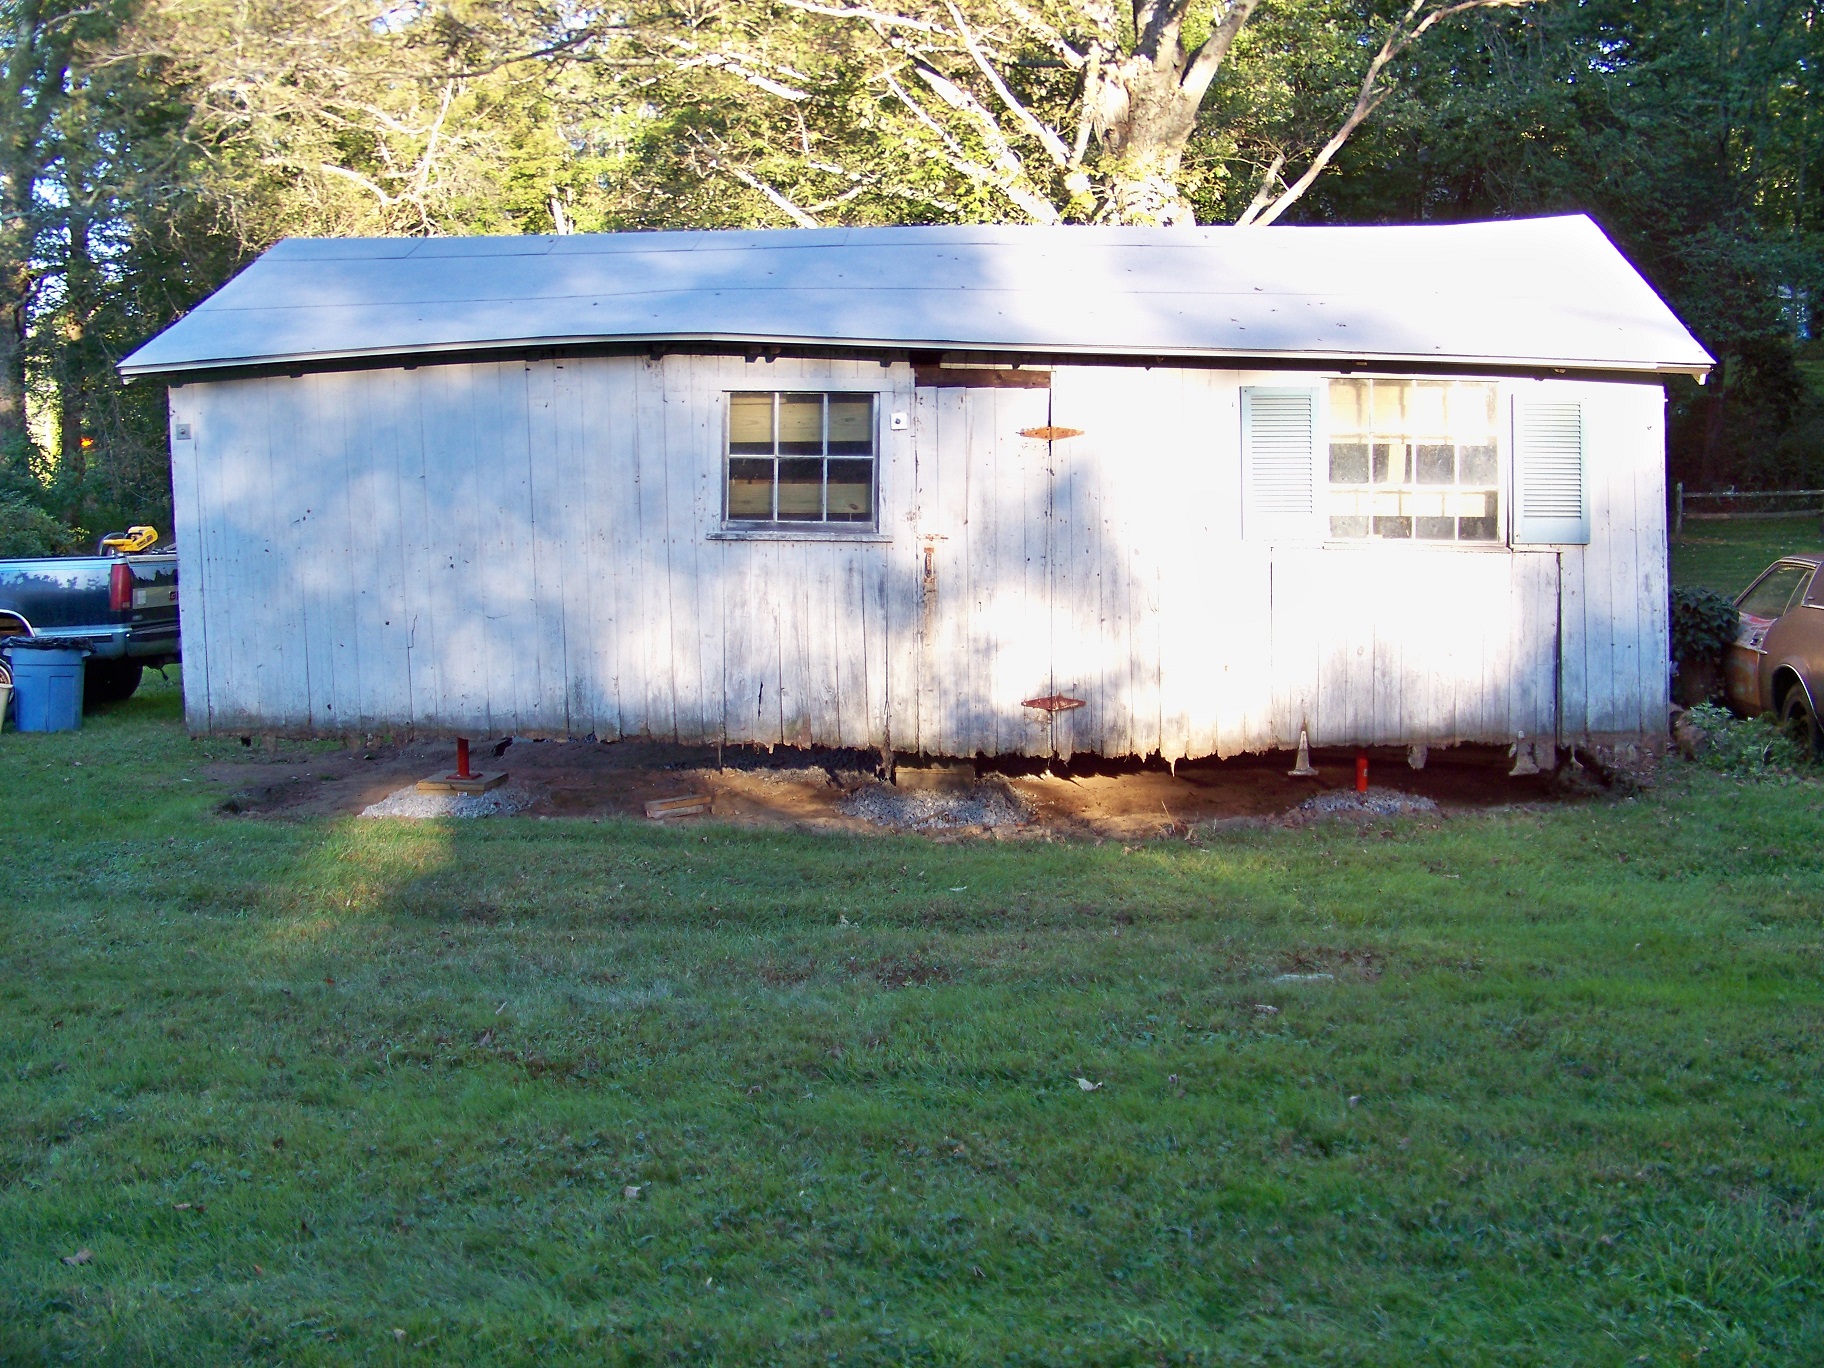
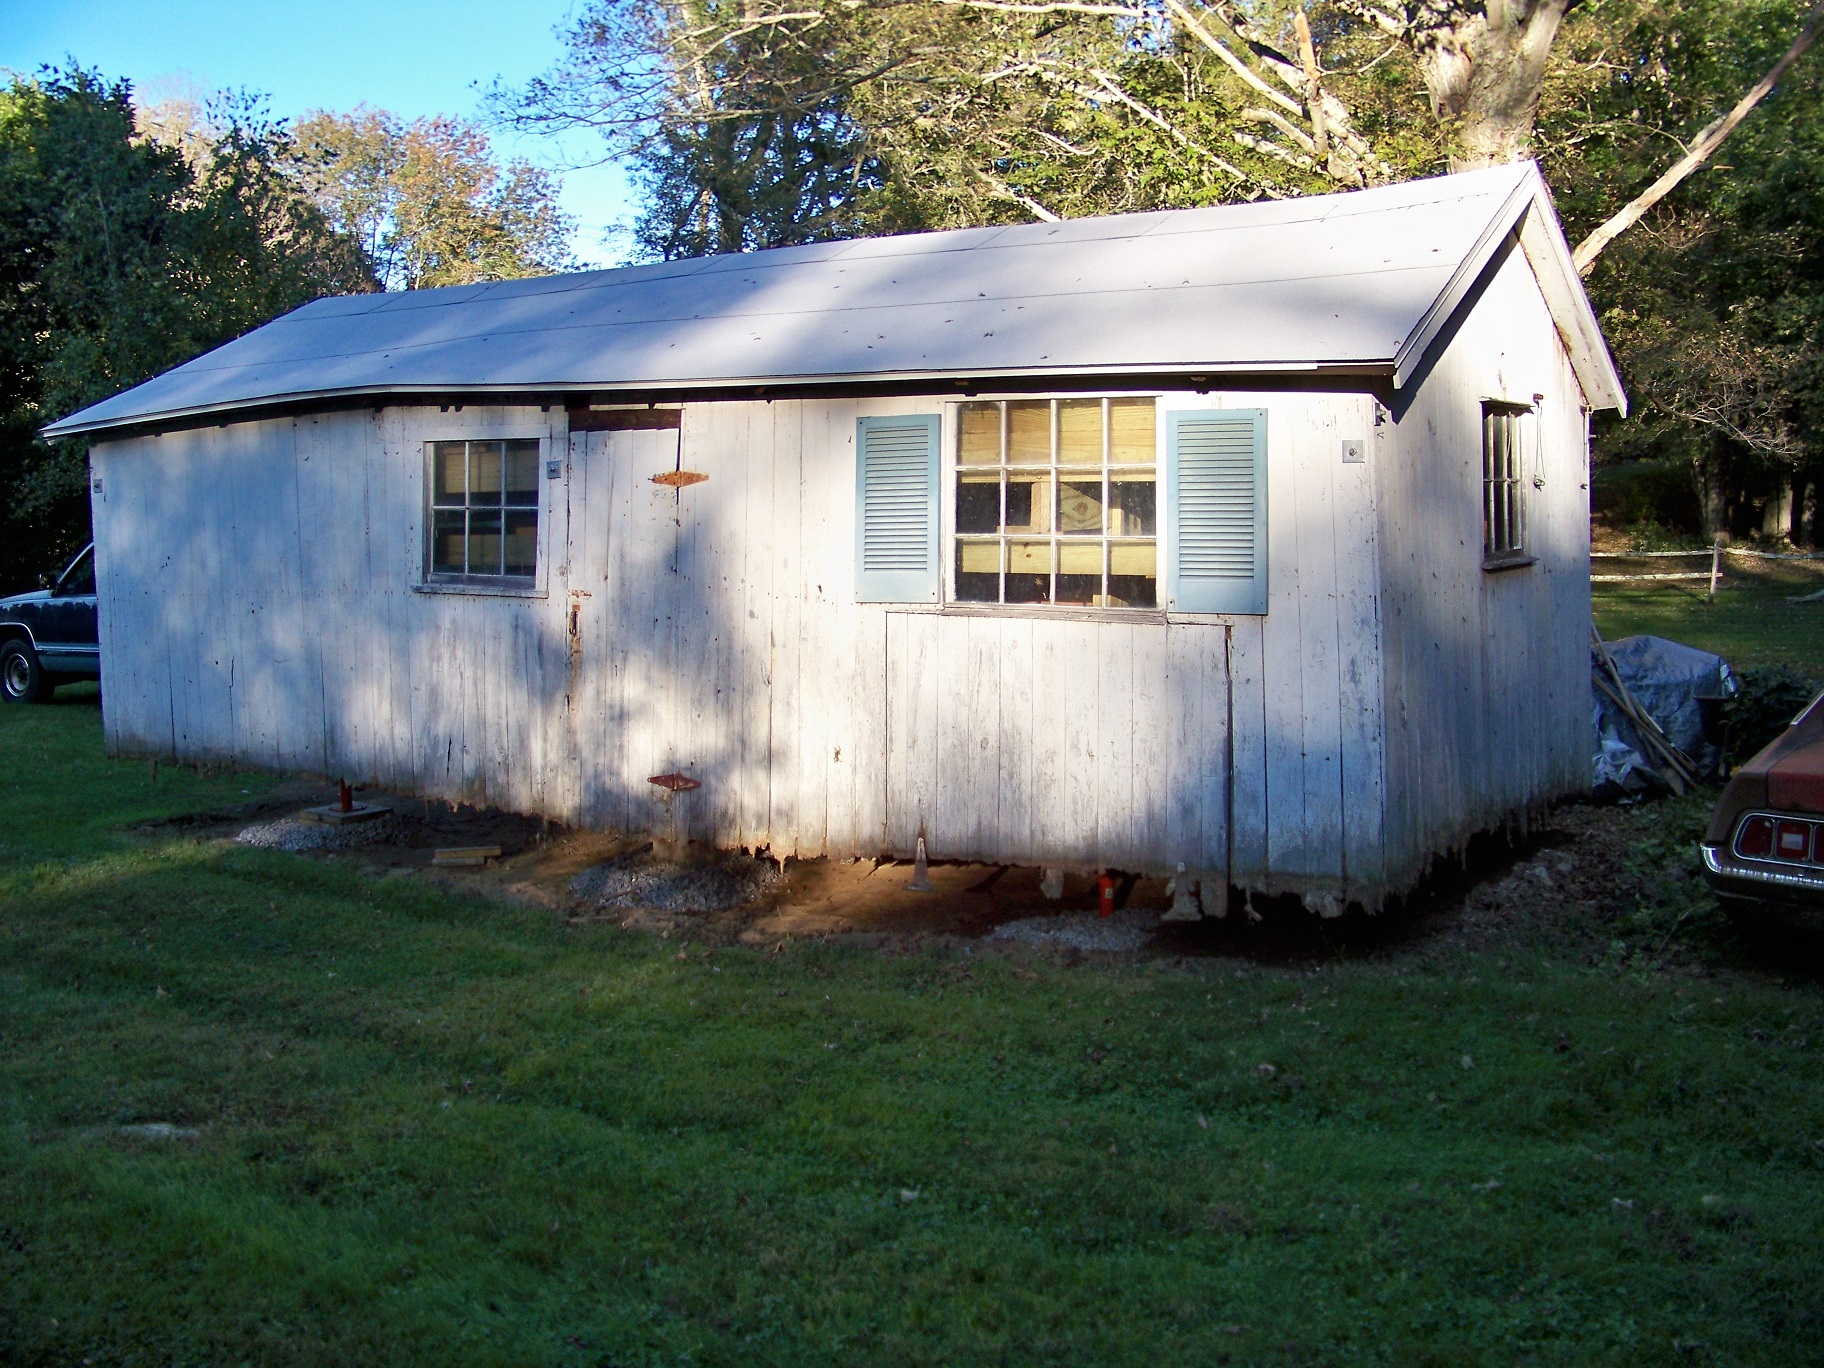
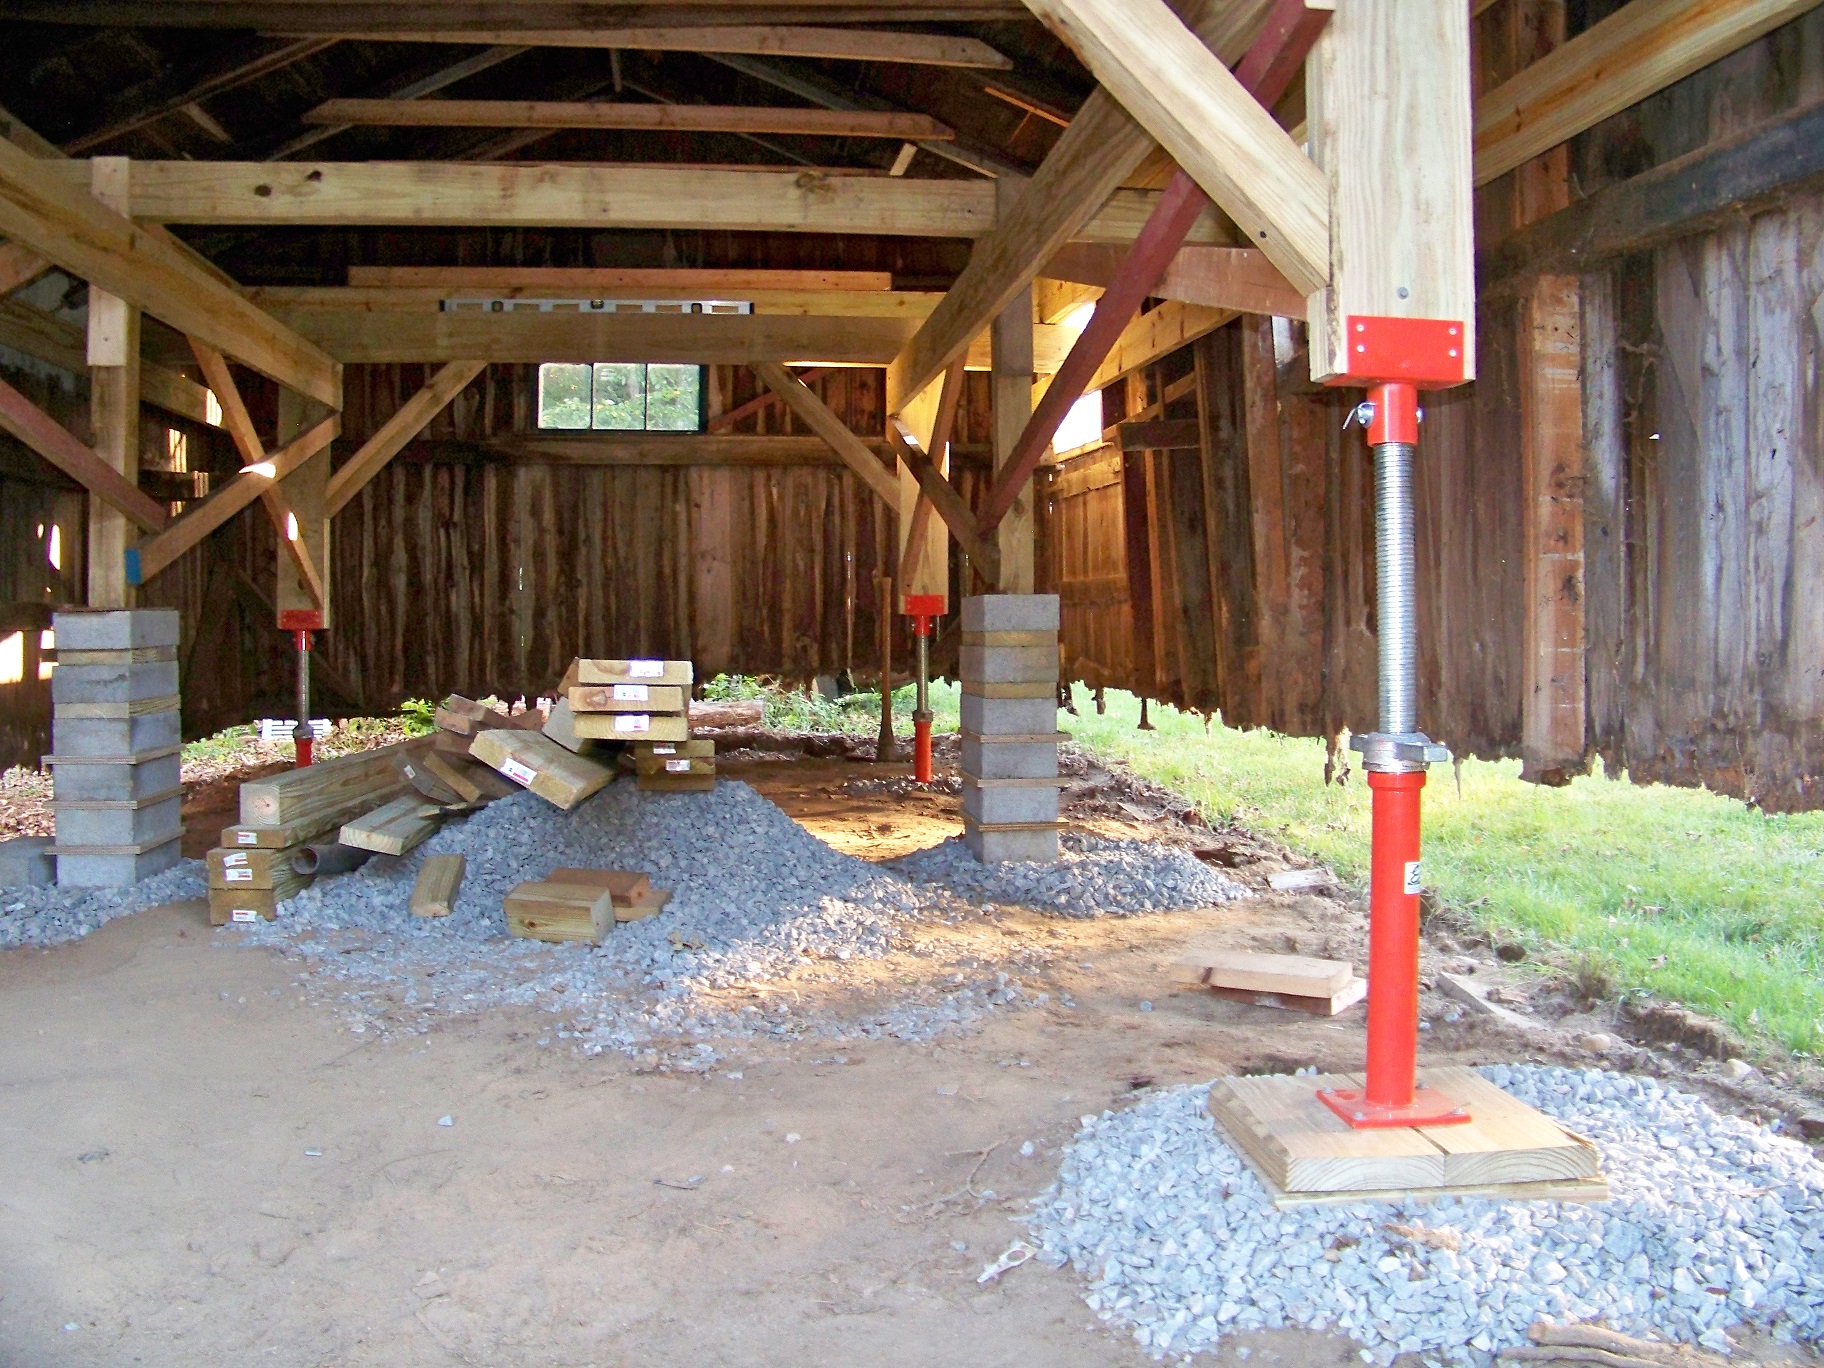
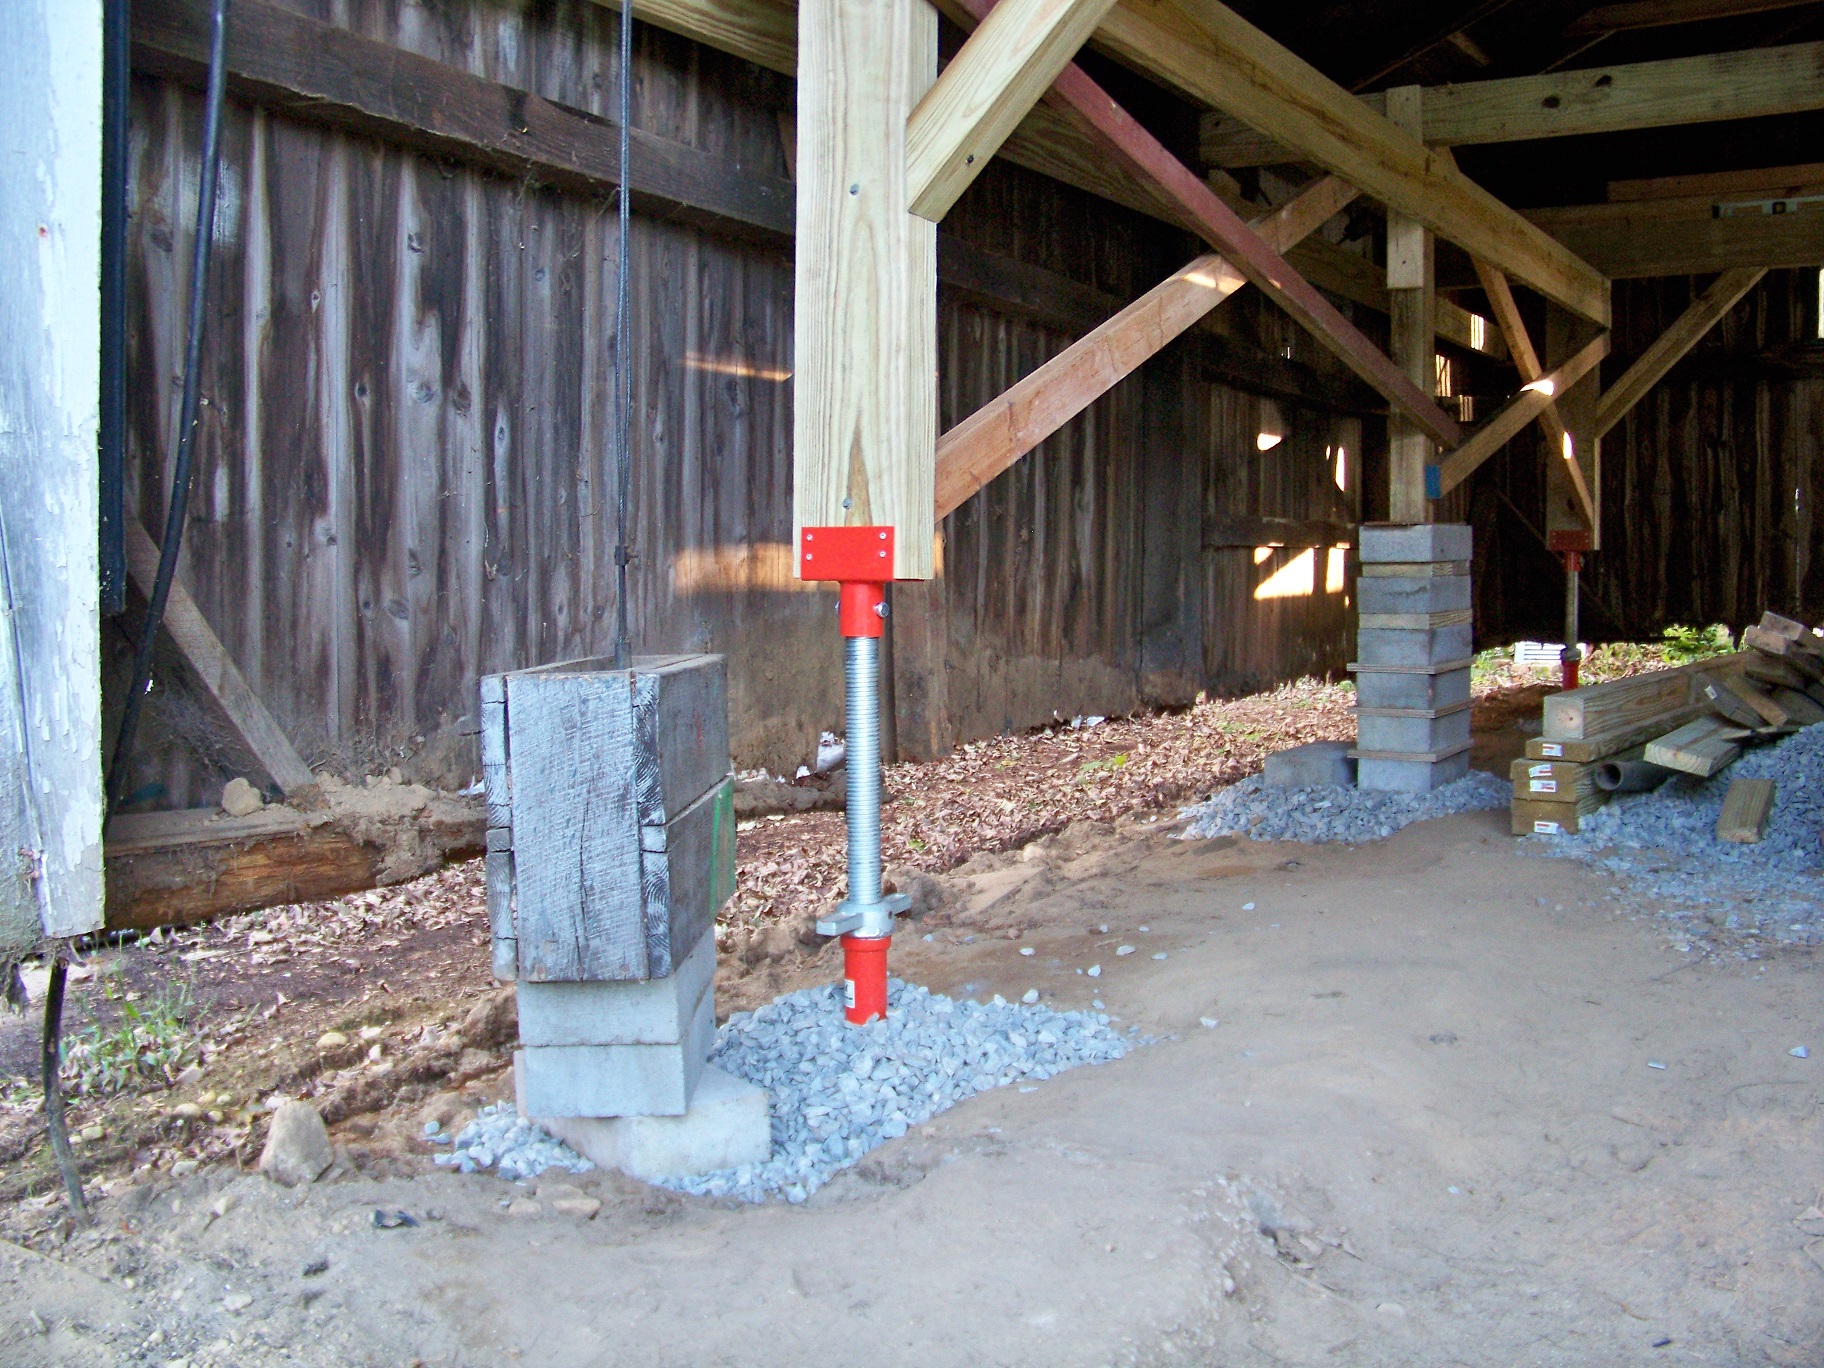
Progress Pics:
I'm officially ready to lift! As much as I wanted to go for it, I decided to wait till next time as there's no point lifting the building and then leaving it up there for a week with no progress. It's also like mid-summer temperatures today and I was starting to slow down from the heat. I debated putting some cross bracing on top, but I'm 50/50 on whether that's really necessary. I've got X and Y direction bracing covered, just not sure about Z. If I add Z cross bracing I'll be ducking even more than I do now during the raising process.
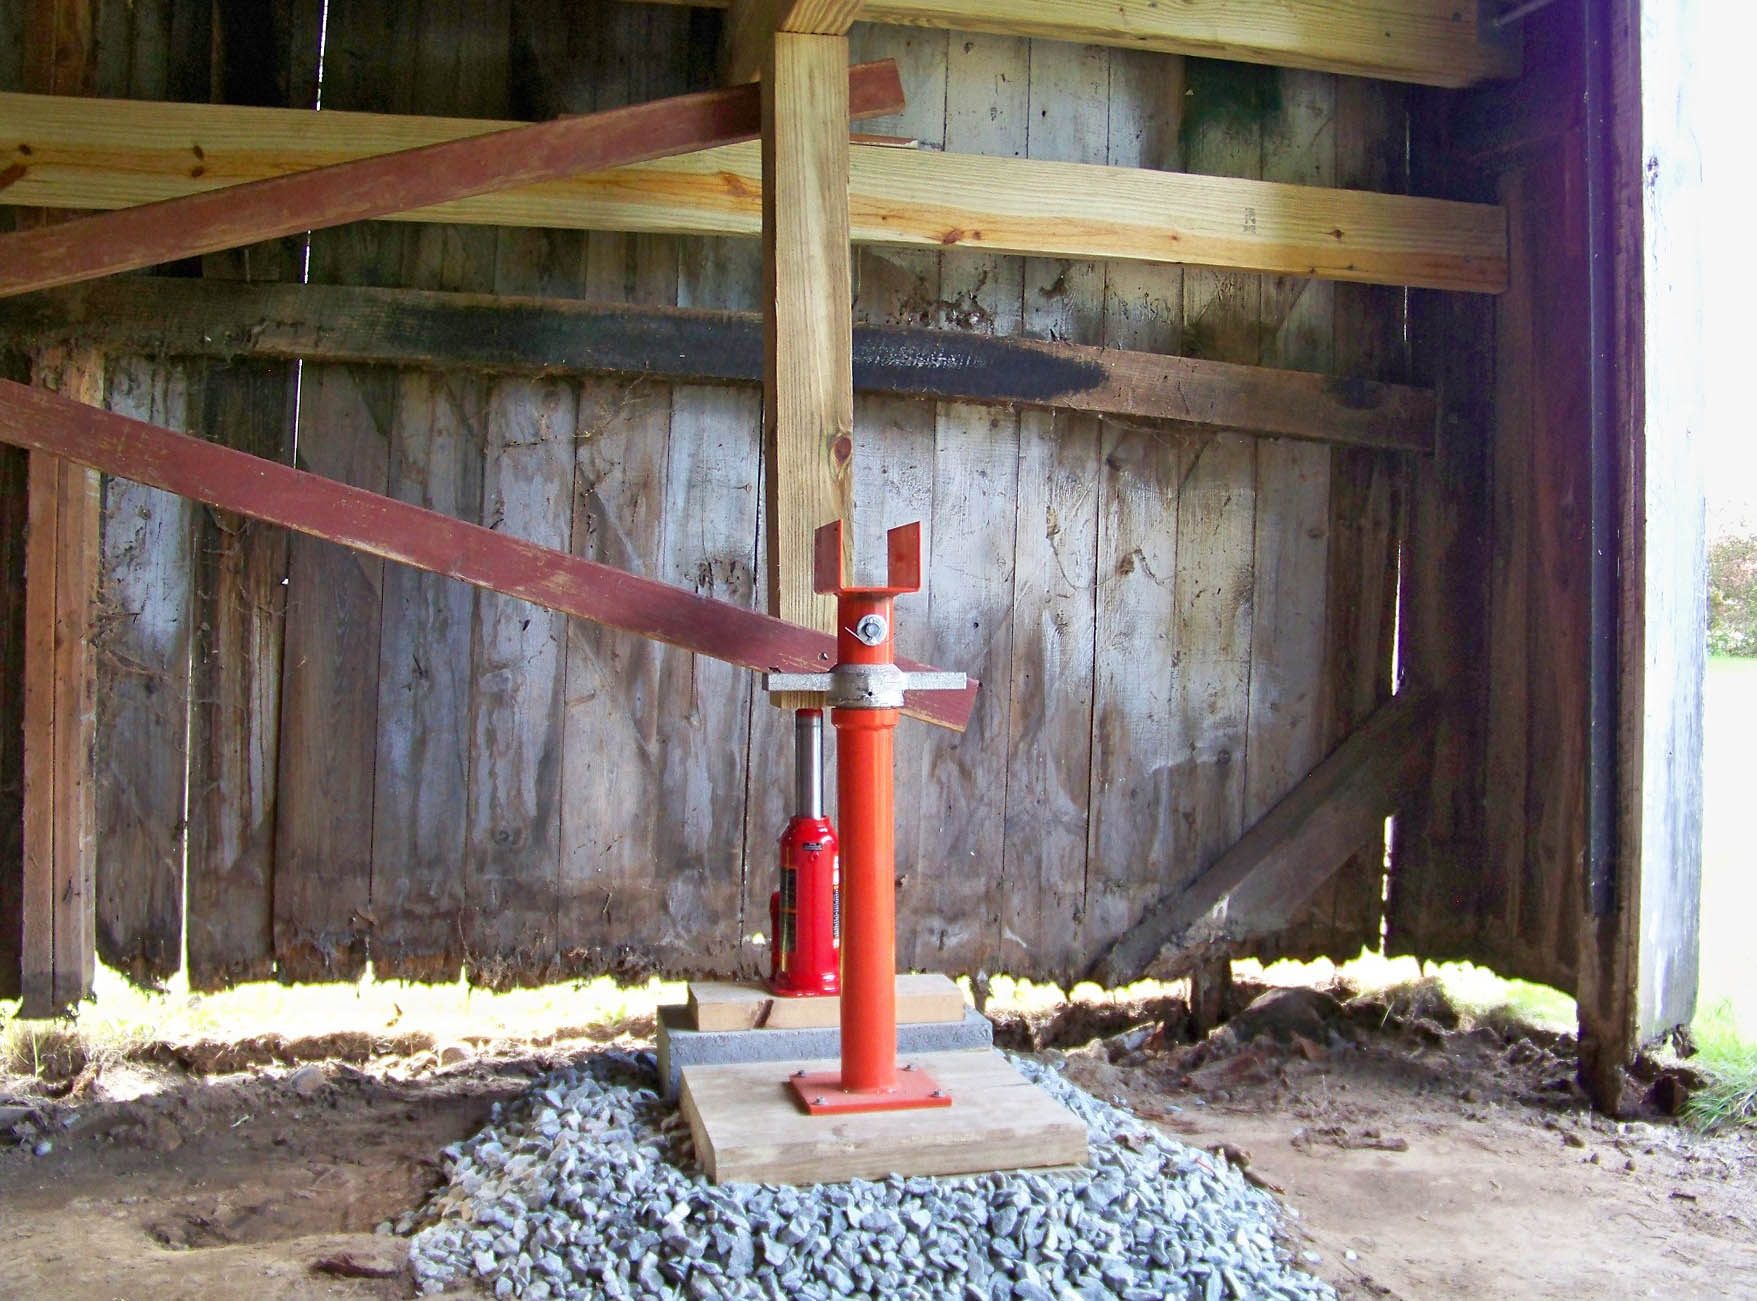
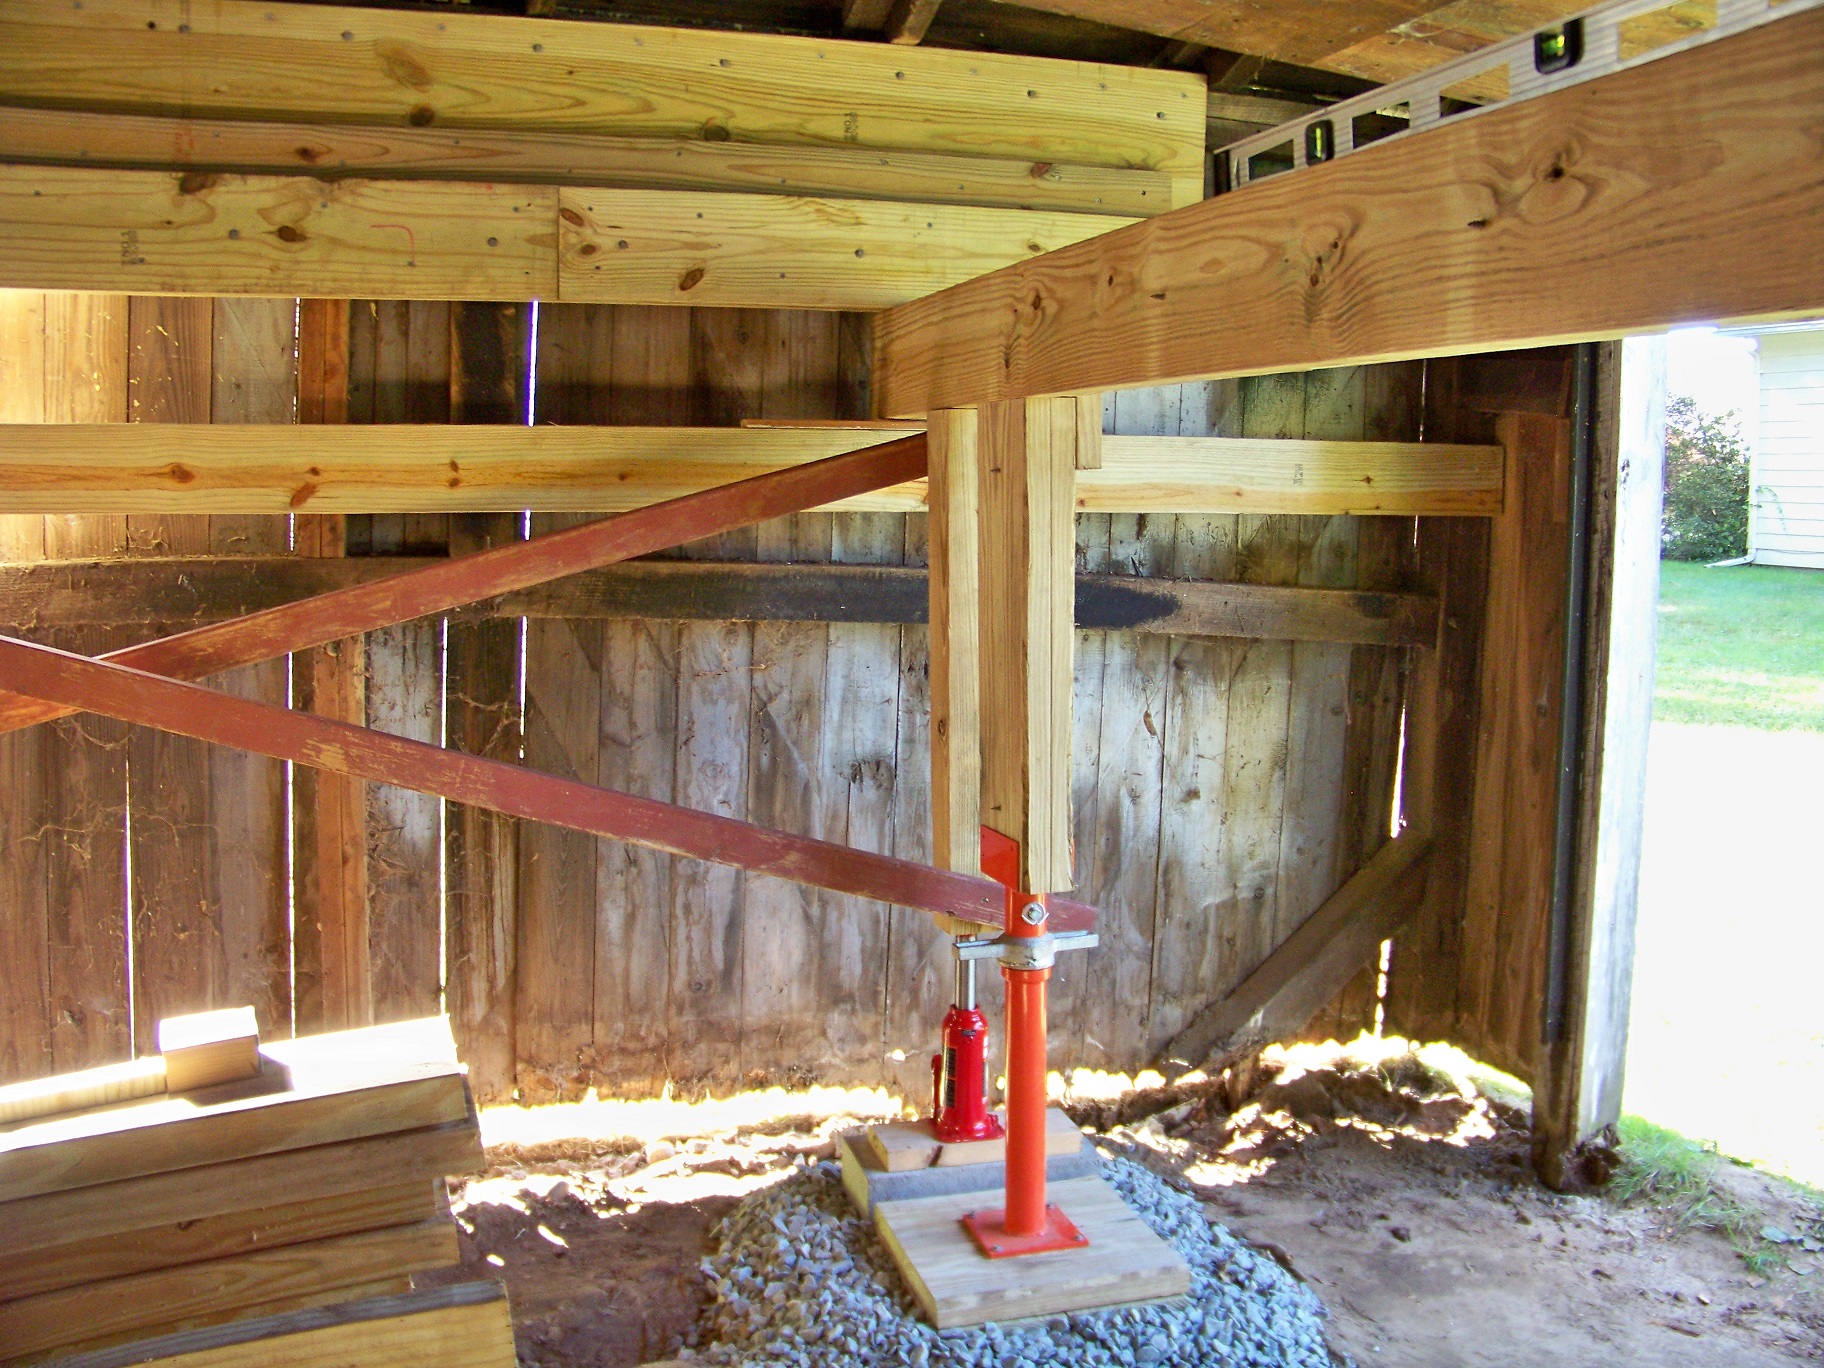
If I jacked under the top plate the walls would fall off. Do you have pics of your restoration? I assume you had some sill to actually block against. As you can see, I have nothing.I lifted mine with a single 20 ton hydraulic house jack and a 4x4. I just raised a spot a couple of inches jacking under the top plate. blocked it, and moved a few feet. A couple of laps around the building and I was up high enough to knock out the rotten sill and slide a treated 4x6 under the studs. After that it was toenailing and scabbing studs to the 4x6, and then pour a floor inside.
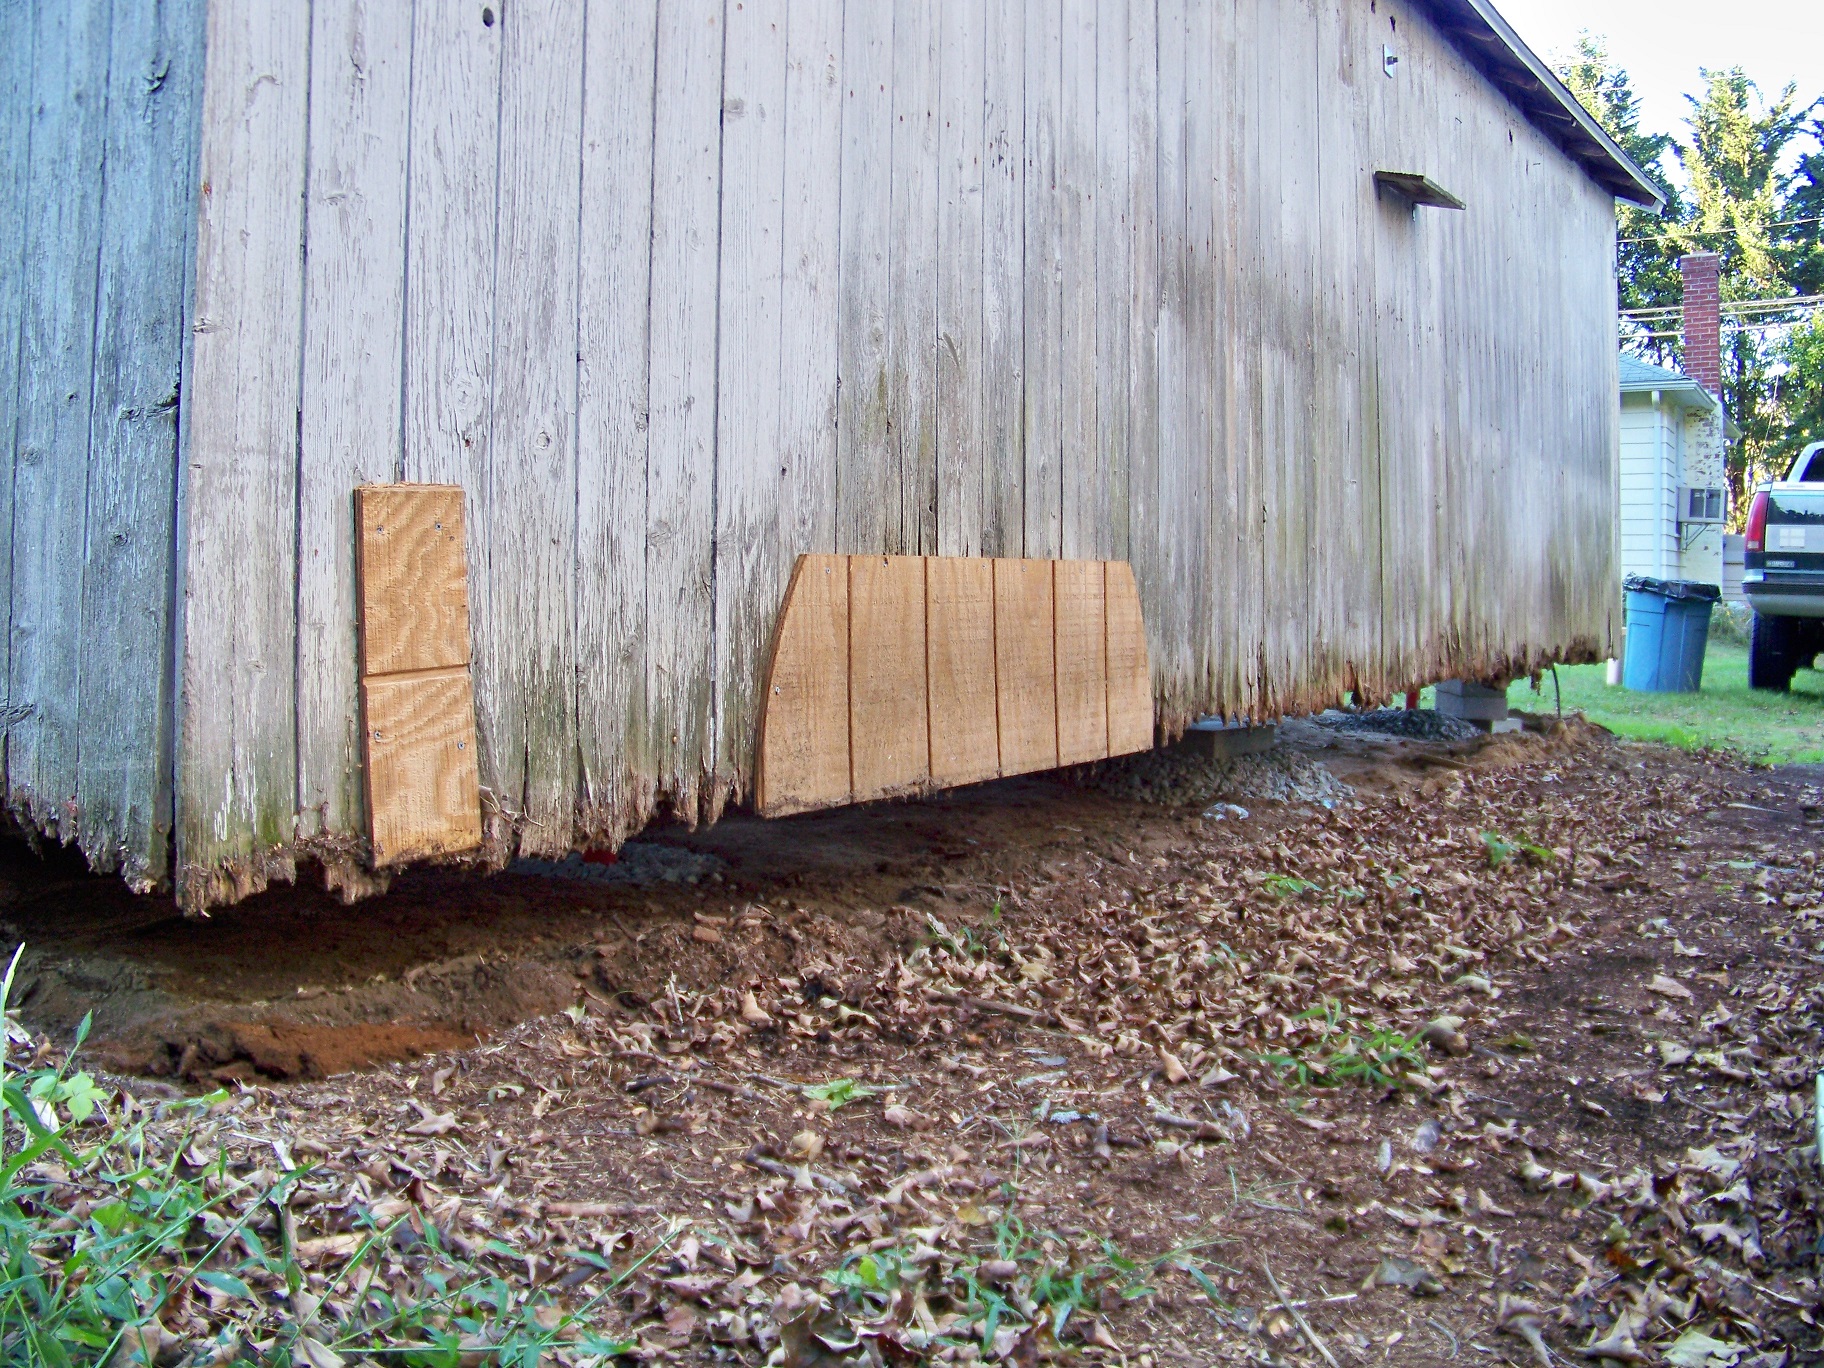
Next step - Cut the bottom off.

If I jacked under the top plate the walls would fall off. Do you have pics of your restoration? I assume you had some sill to actually block against. As you can see, I have nothing.
lakeroadster - No foundation, that's beyond the scope of this project. Just PT lumber on gravel with a PT wood floor on top. To have a foundation of any kind, I would have to build on another location on the property due to this shed’s close proximity to the septic tank. As soon as we start talking foundations, then it's no longer worth saving this structure.
lakeroadster - No foundation, that's beyond the scope of this project. Just PT lumber on gravel ...
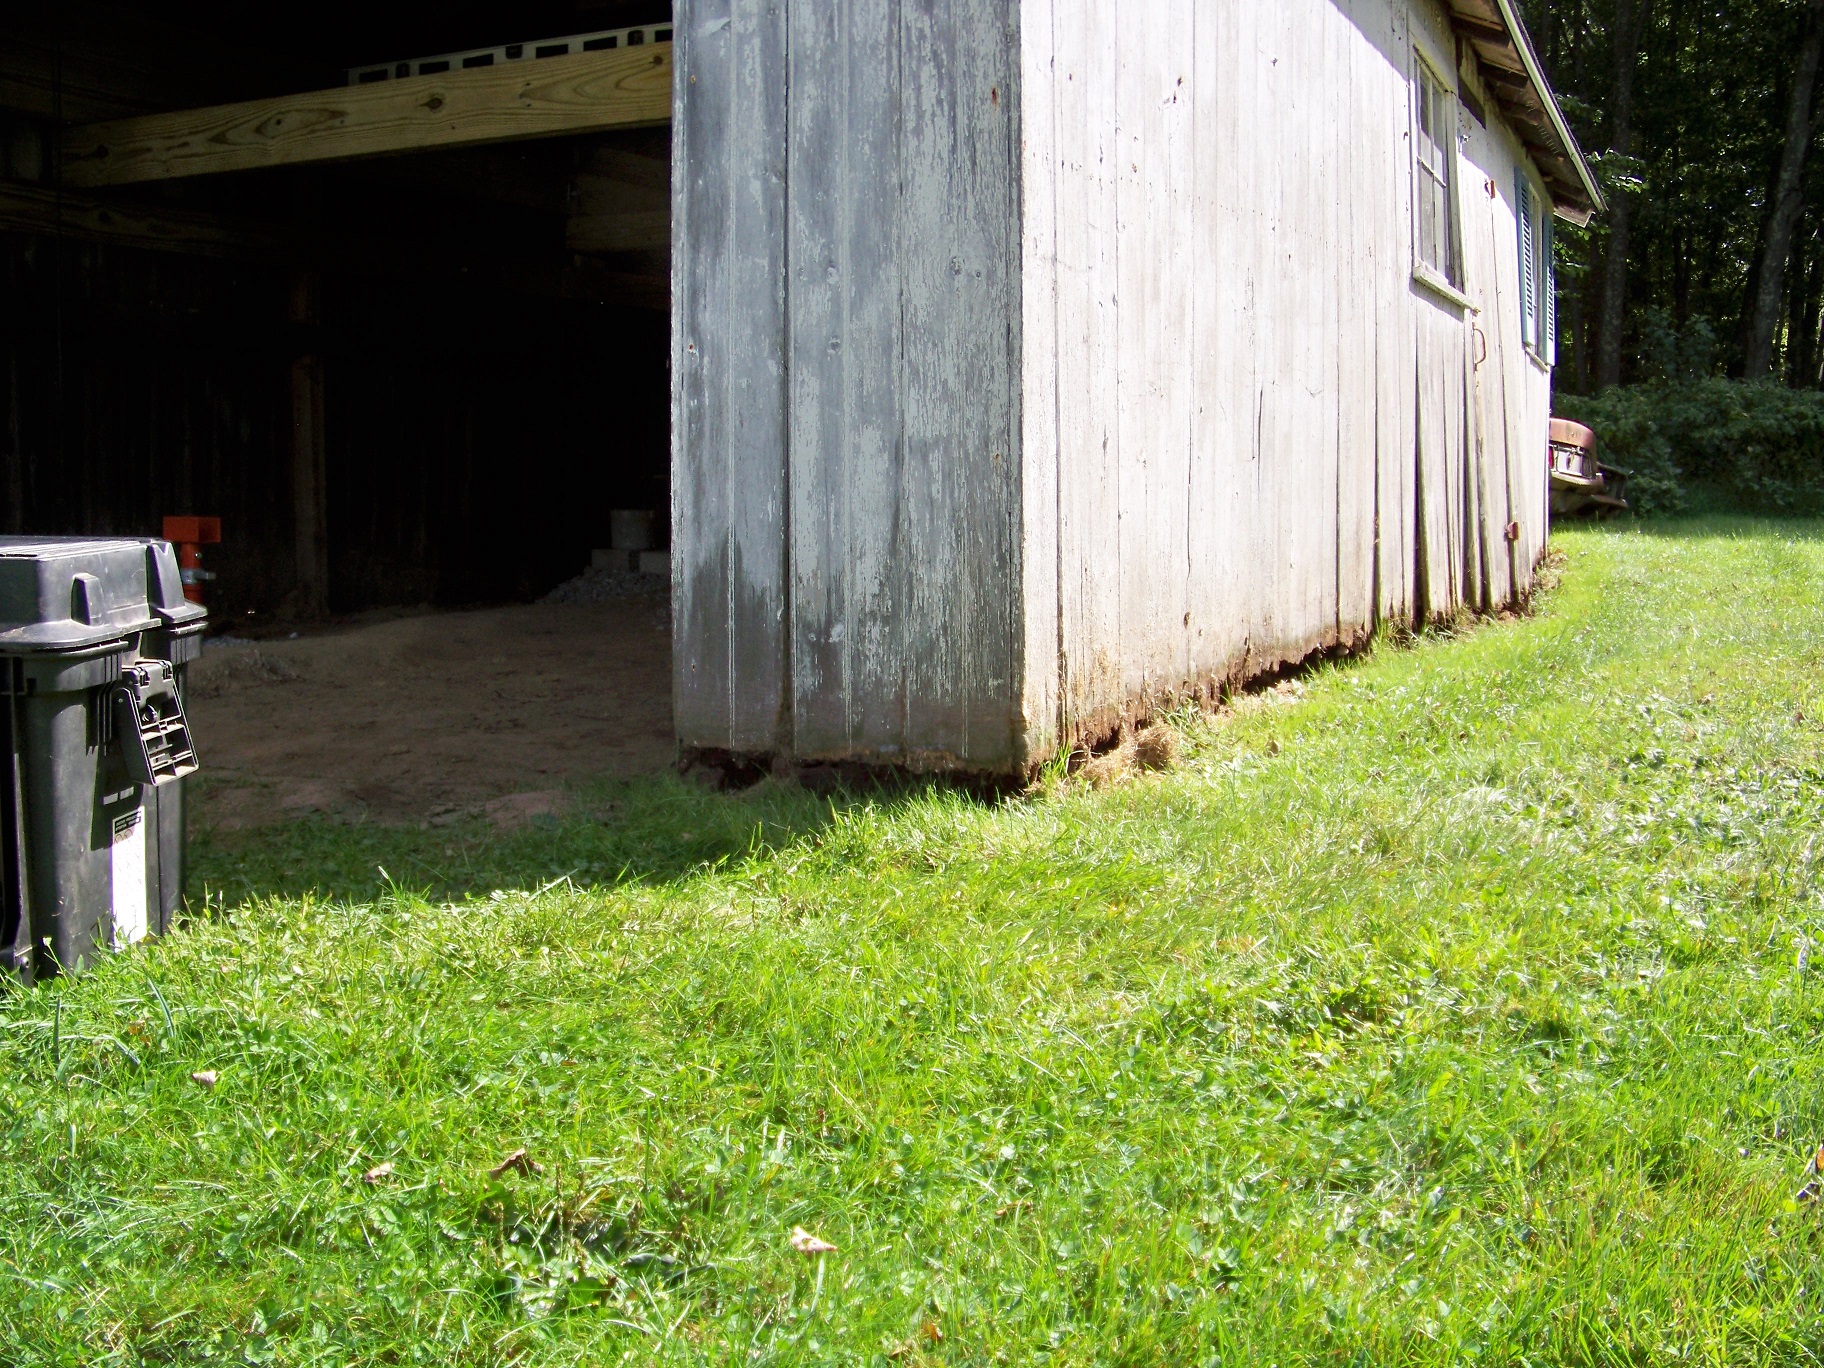
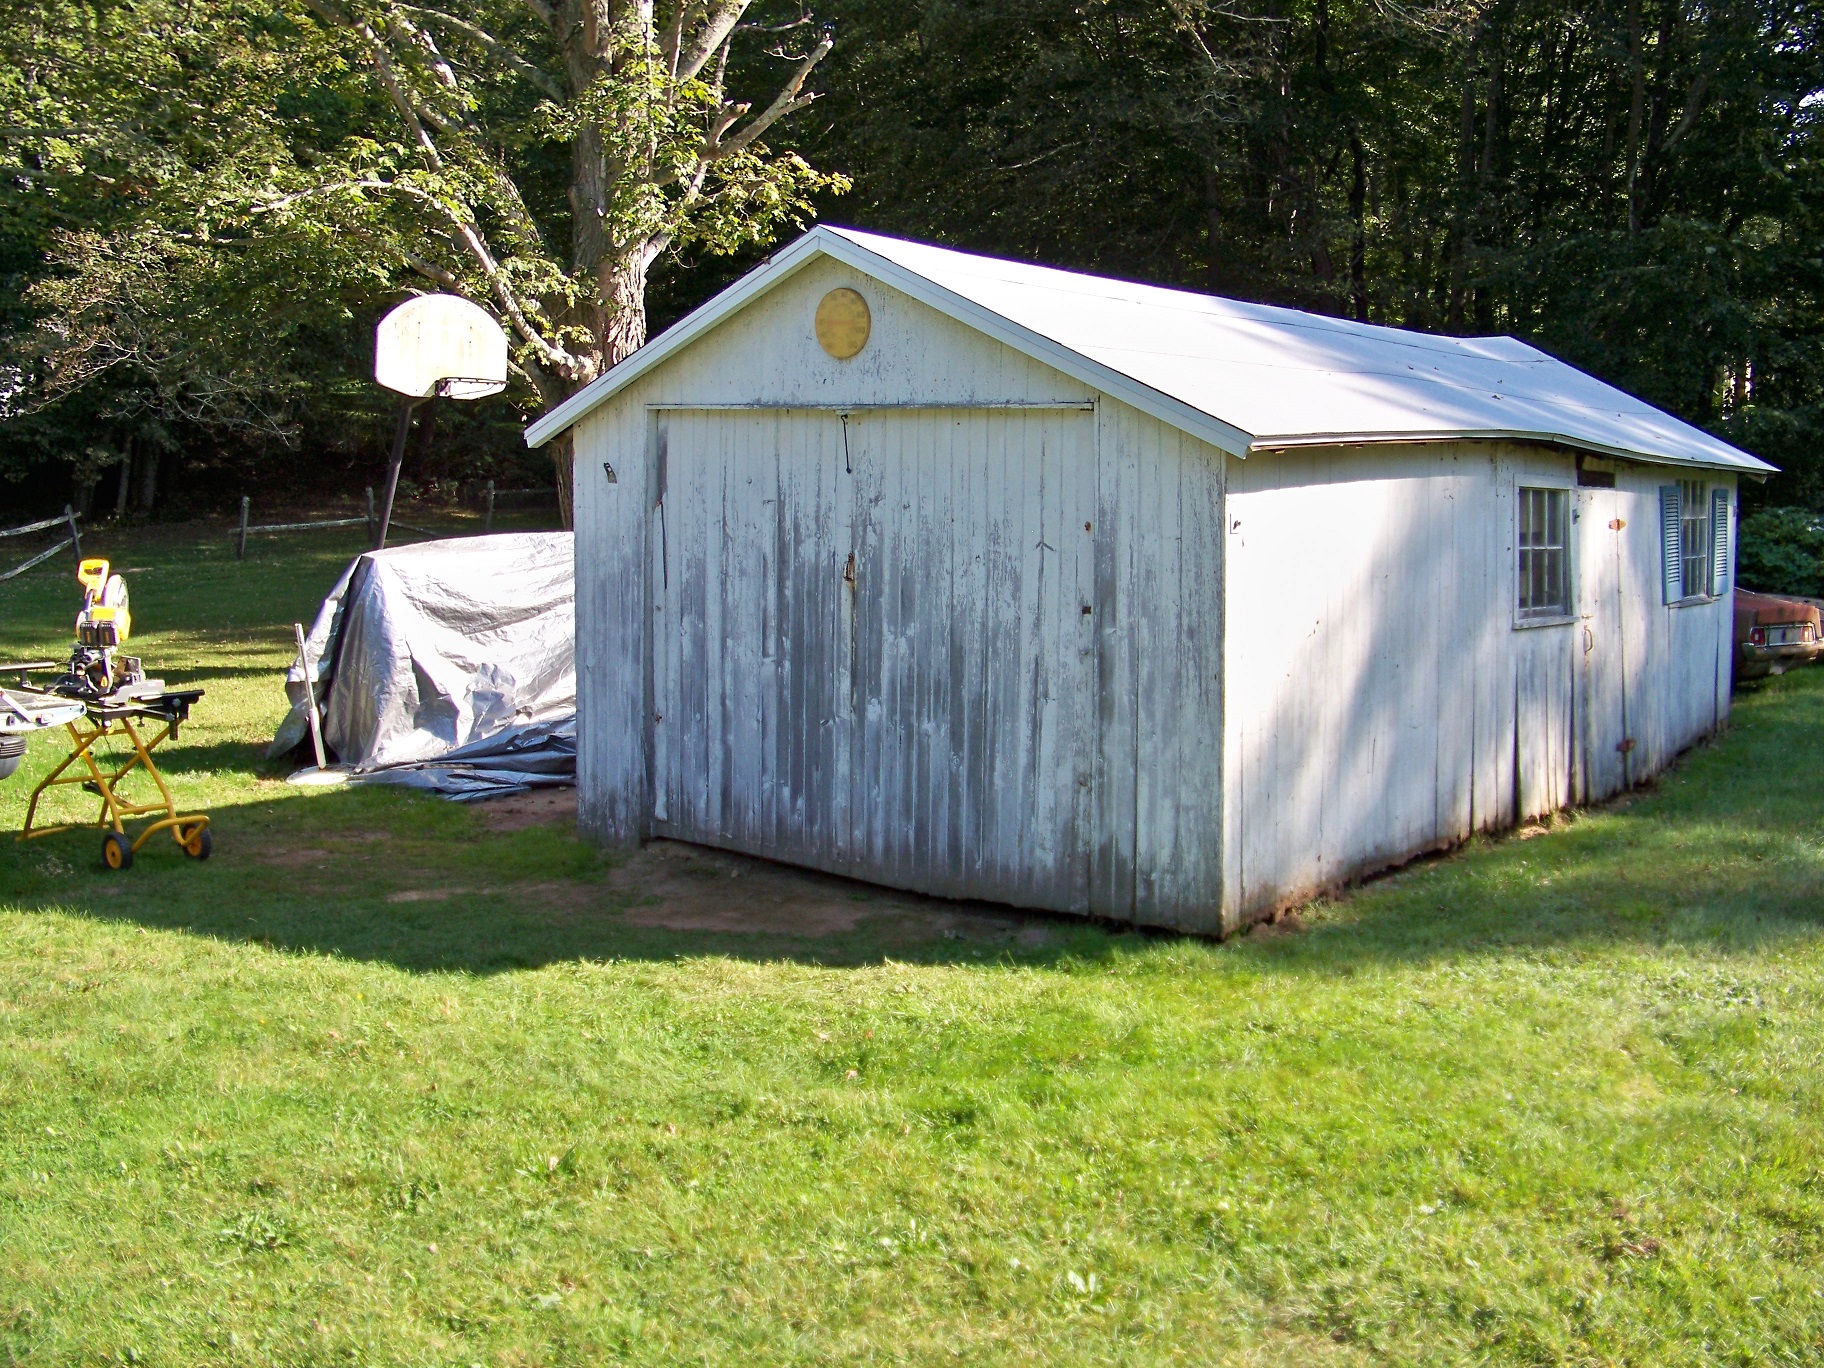
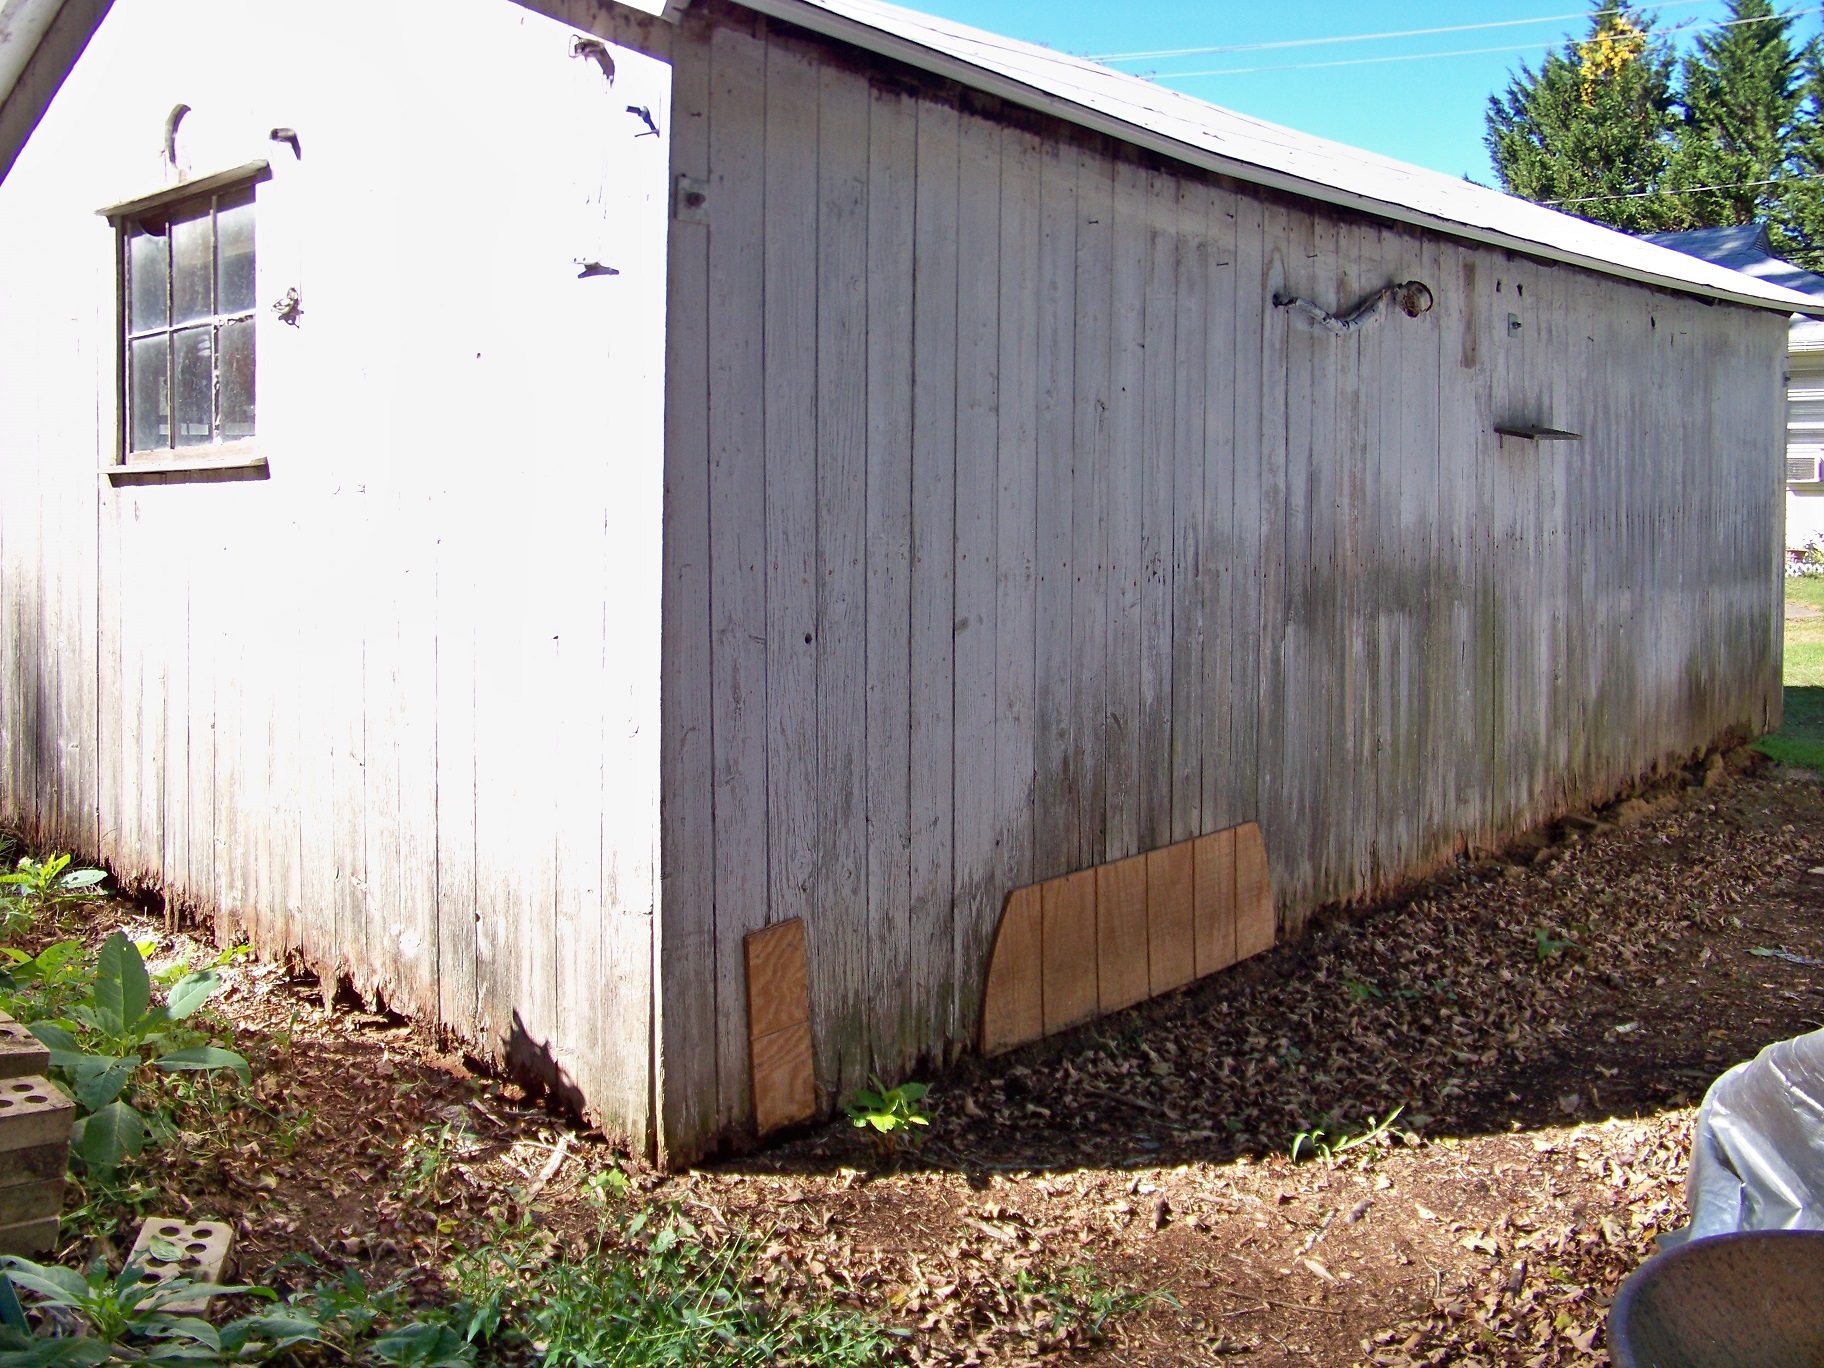
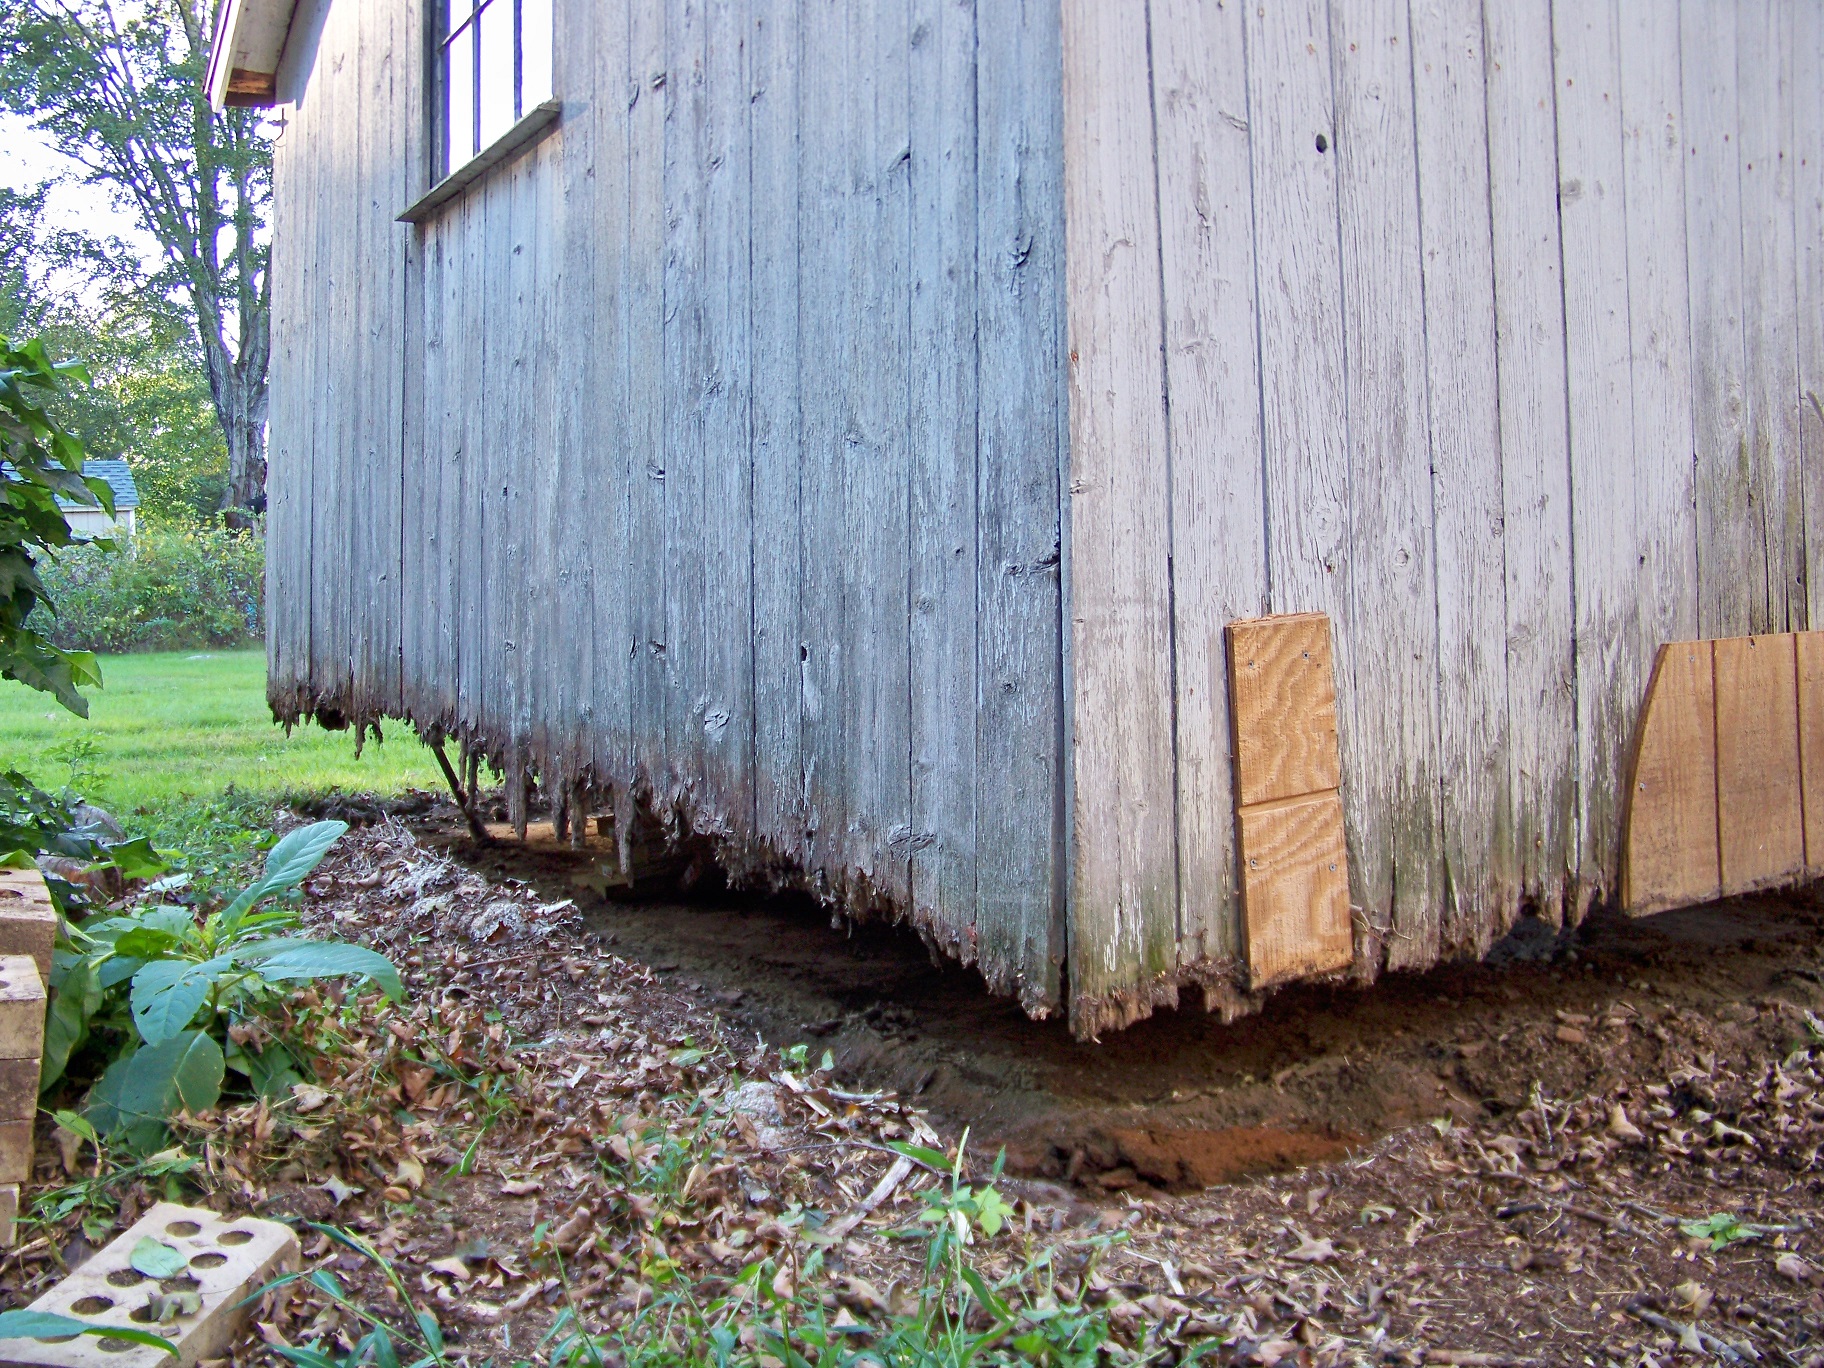
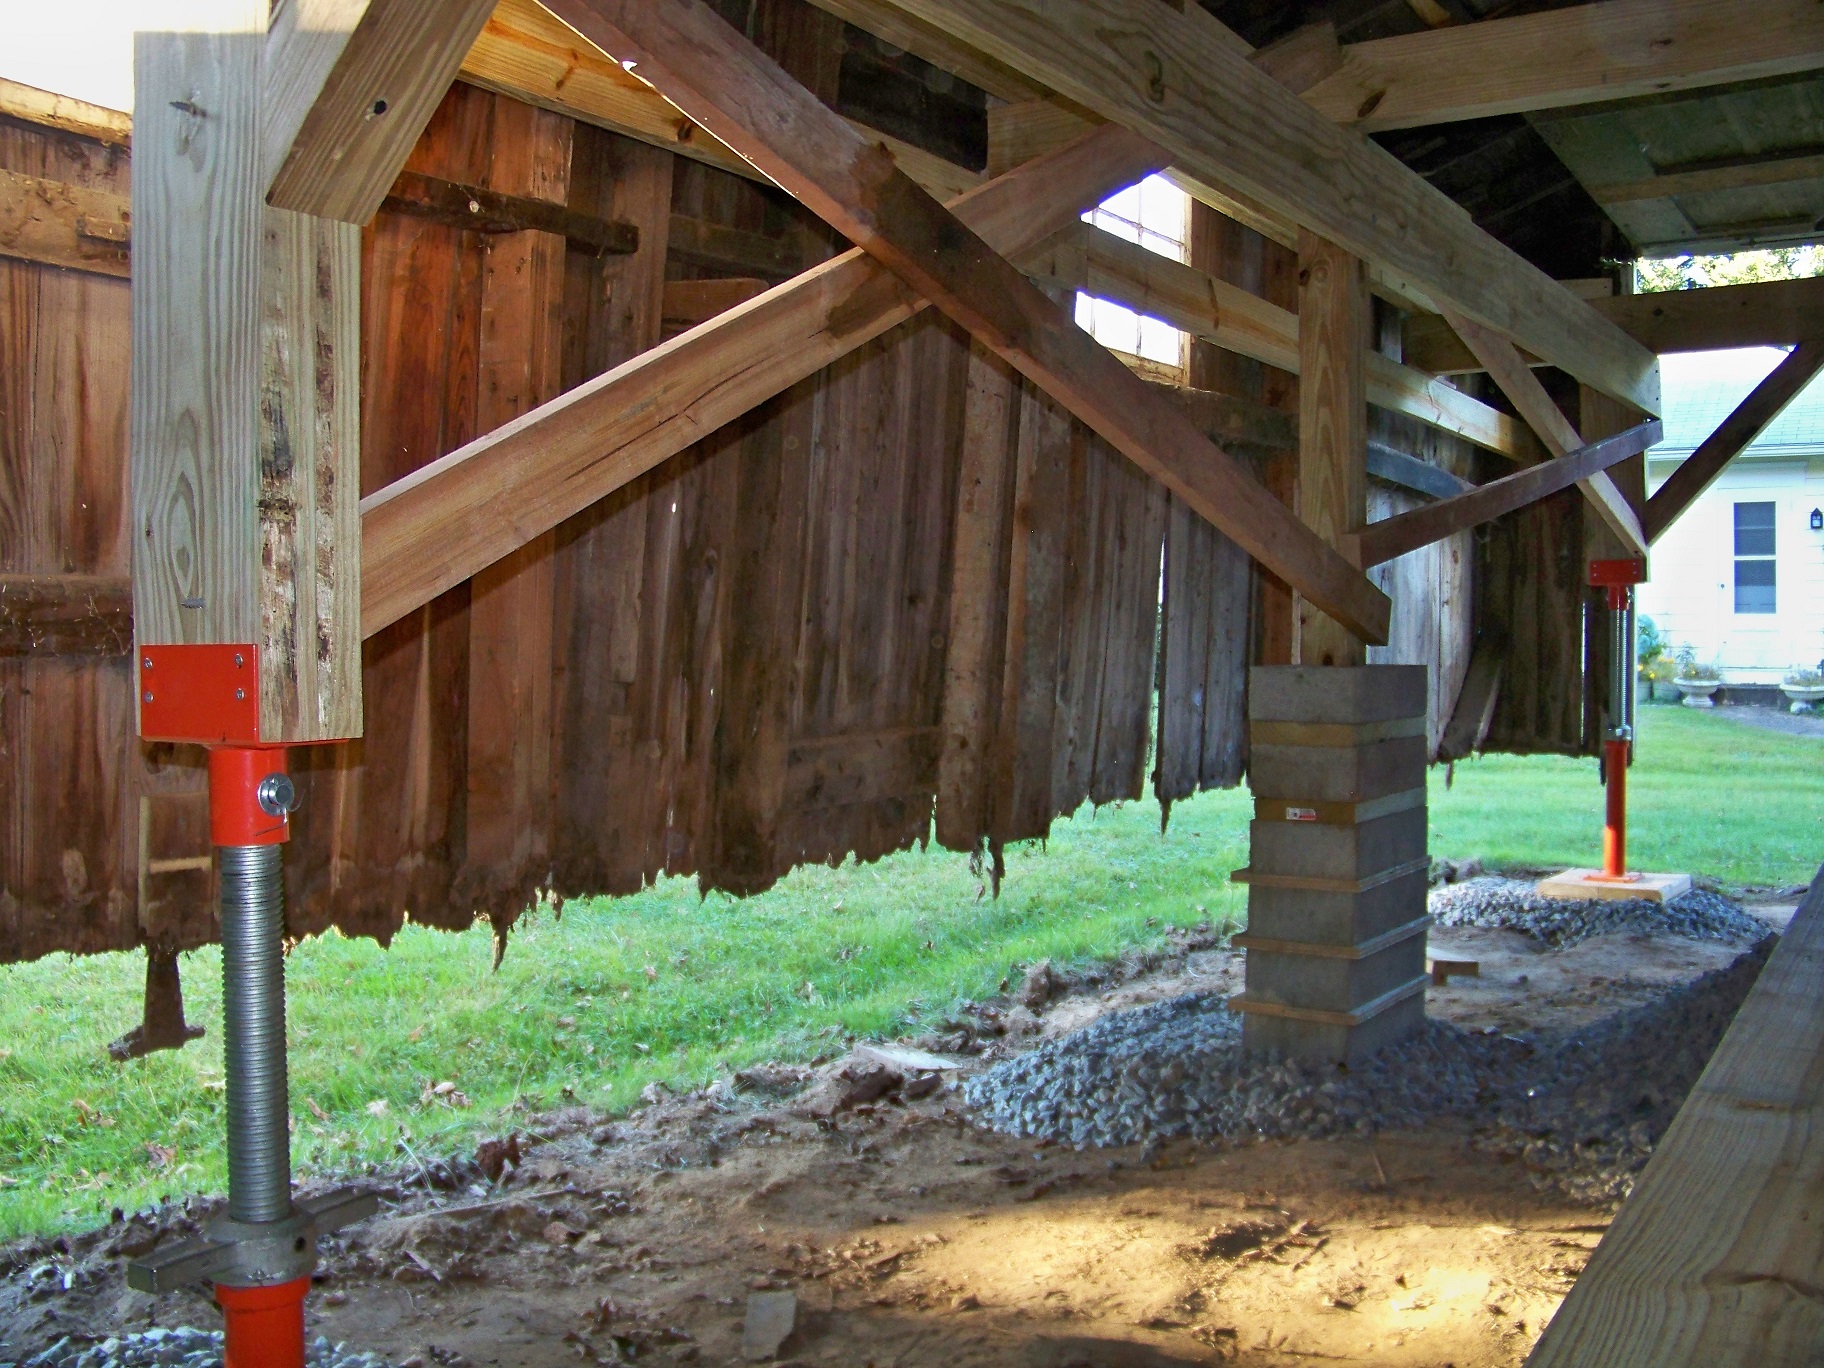
It's no different than the prefab sheds/garages that they deliver and drop onto a gravel pad. I've never heard of any of those blowing over - at least not in CT. The only difference between what I'm doing and the way it was originally built over 80 years ago is that I'm putting it on gravel instead of putting it on dirt. It never had any posts sunk into the ground. Here's a pic of the original sill:So what will keep the wind from blowing it over?
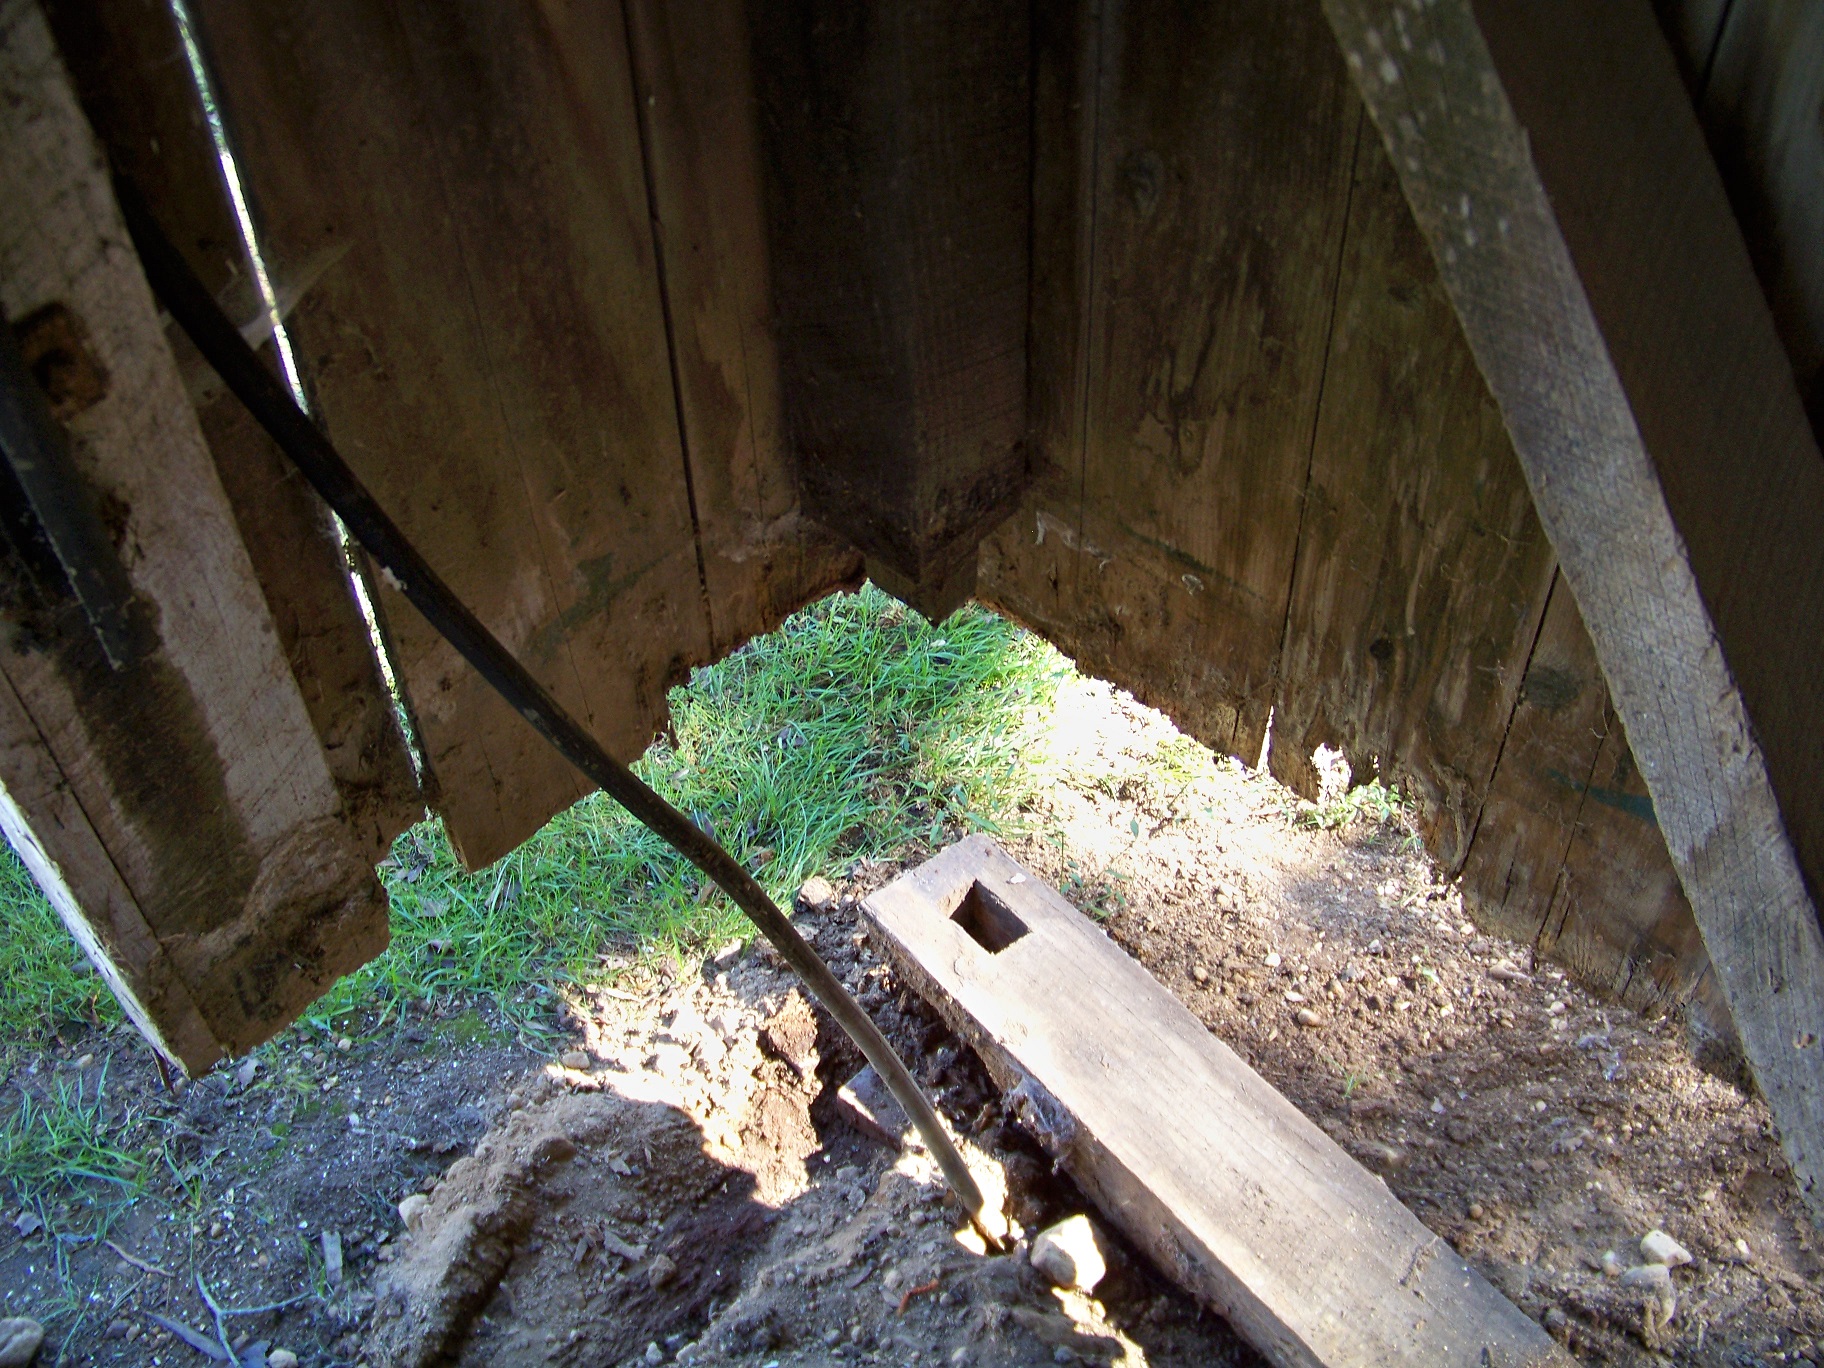
It's no different than the prefab sheds/garages that they deliver and drop onto a gravel pad. I've never heard of any of those blowing over - at least not in CT. The only difference between what I'm doing and the way it was originally built over 80 years ago is that I'm putting it on gravel instead of putting it on dirt. It never had any posts sunk into the ground.