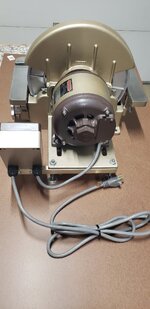
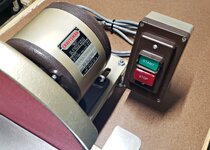
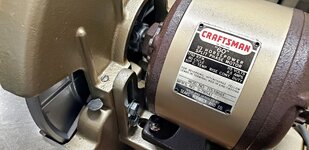
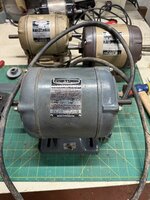
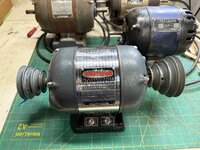
Wow, you guys have some really cool looking motors. I love the older Craftsman (30s and 40s) motors. Thank you all for sharing.
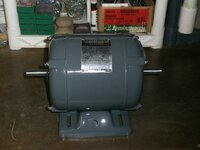
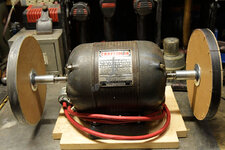
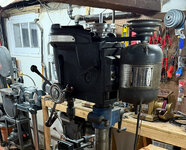
I finished rebuilding another 115 motor for my 150 drill press. here is a pic of the motor with the sardine can capacitor.
And this is that motor assembled.
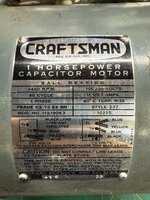
113.19063
The 113.19063 is a beast of a motor. This motor is a 1 HP capacitor start, 3450 RPM, 115/230-volt, 60 cycles motor and is reversable with dual shafts. The motor weighs 45.5 pounds and is 13 ¼” to each end of the shaft. The housing is 9 ½” long and 7 ¾” in diameter and the keyed shafts are 5/8”.
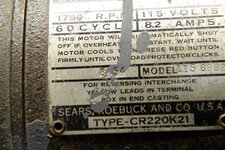
I am not sure about the age of this motor. I suspect it is a mid- 50s motor but the stamping on the data plate says 15A 33. I will look more closely at the capacitor tonight and see if there is a date on it. This motor was attached to my 113.27520 10” table saw. I relaced the cord and powered up the motor to see if it run and it worked perfectly.
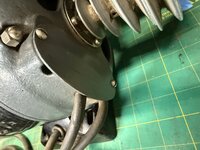
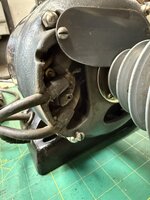
One of the unique features of this motor aside from its size is the capacitor and where it is housed. In this pic you can see (through all the saw dust) capacitor is housed inside the terminal end frame. Both of the end frames are made from cast iron and the stator band rolled steel about ¼” thick.
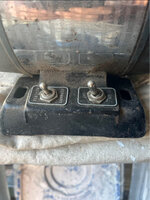
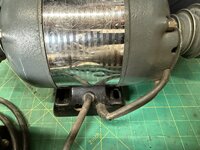
The base on this motor is removable and previous owner did a fine job of splicing in the toggle switch (not really).
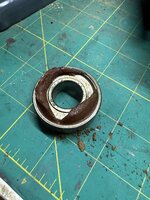
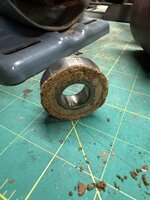
The original bearings for this motor were New Departure 77503 (double shielded). The bearings are 40mm x 11mm with a 17mm bore.
I disassembled the motor and placed all the metal parts in simple green for degreasing. I will add some pics as I work on the rebuild.
Working on this motor was a lot of fun and I learned a bit more about motors. Specifically, that for anything around the 1HP range you need a 1HP rated switch. The switch in this motor was only rated for ¾ HP and when I reassembled it, the switch was permanently on. I could move the switch to he off position, but the motor stayed on. This is because the switch was fused in the open connection position and is a common issue with switches not rated for the voltage and amps of a 1 HP motor.
I removed the data plate from the stator band and needed to redrill the panel screw holes.
I filled in the old holes with PC-7 and once the stator is painted you will never know anything was done to it.
I reached out to MattBlast to have the data plate reproduced. We worked together to build the graphics and I am very pleased with the final product. Here is a side by side of the new and old data plates.
Anyway, here are the parts being primed and painted.
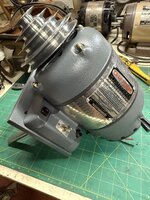
And here is the finished motor:
Thanks for the interest.