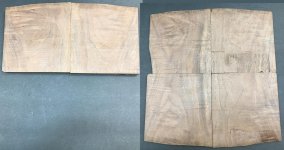
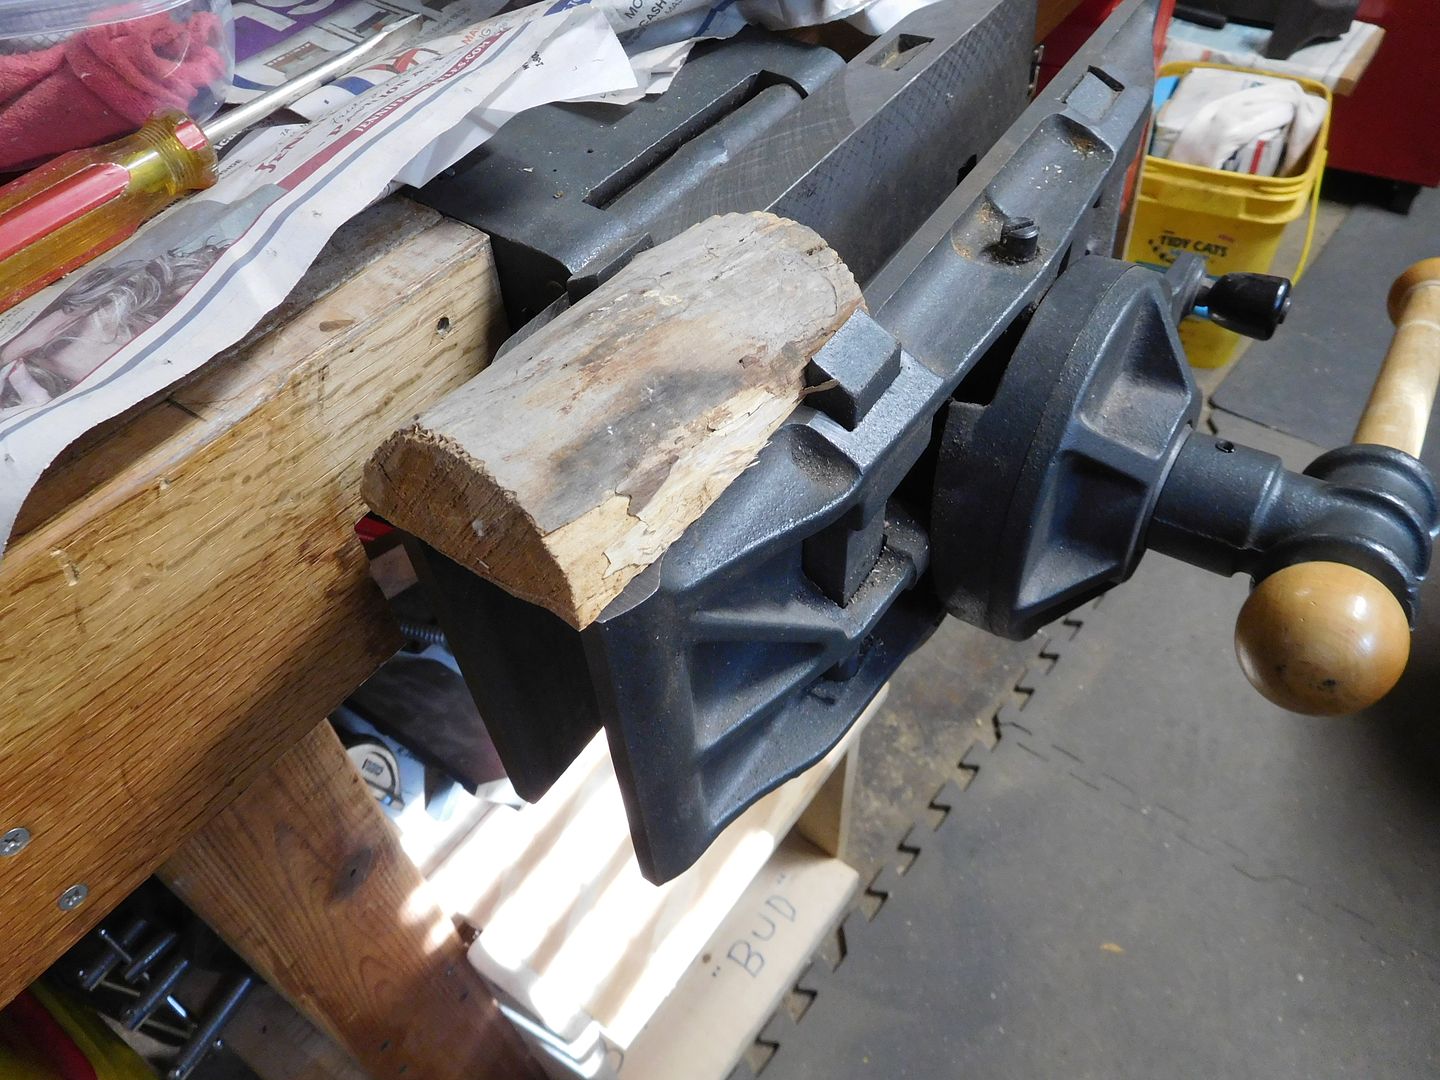
Jealous. Did you get it sooner rather than. Later since the price increase is coming?Unrelated to the table, but this showed up on friday. Other than a few test cuts I haven't had a chance to use it yet.


Sent from my Pixel XL using Tapatalk

Jealous. Did you get it sooner rather than. Later since the price increase is coming?Unrelated to the table, but this showed up on friday. Other than a few test cuts I haven't had a chance to use it yet.
Jealous. Did you get it sooner rather than. Later since the price increase is coming?
Sent from my Pixel XL using Tapatalk

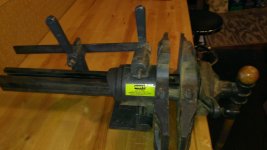
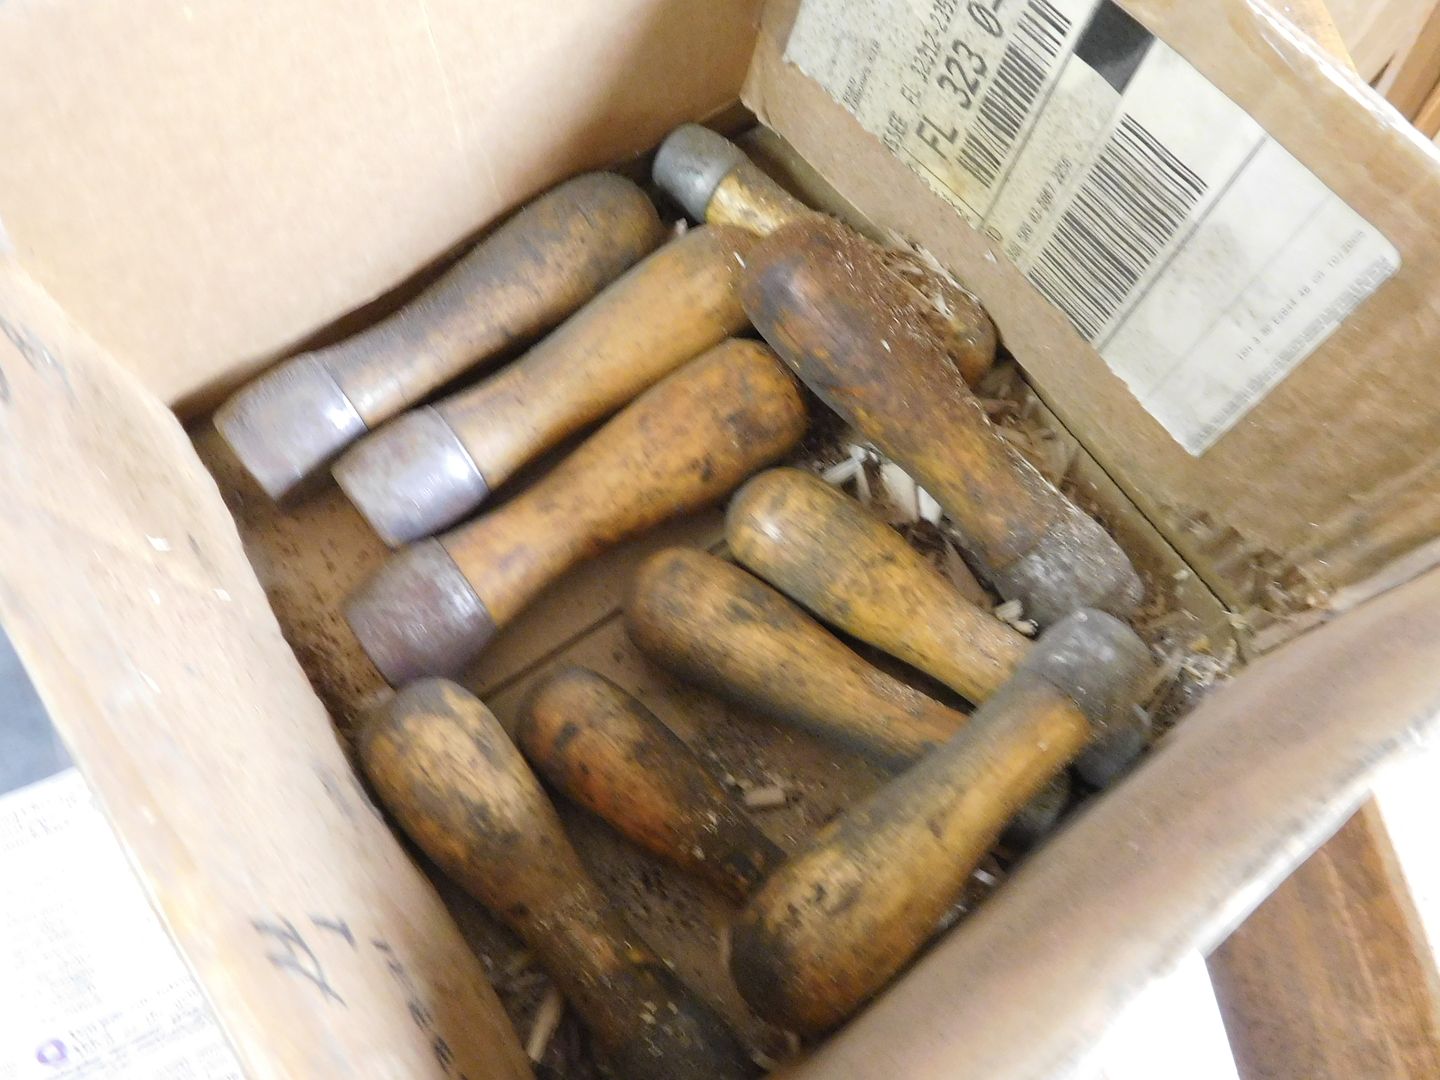
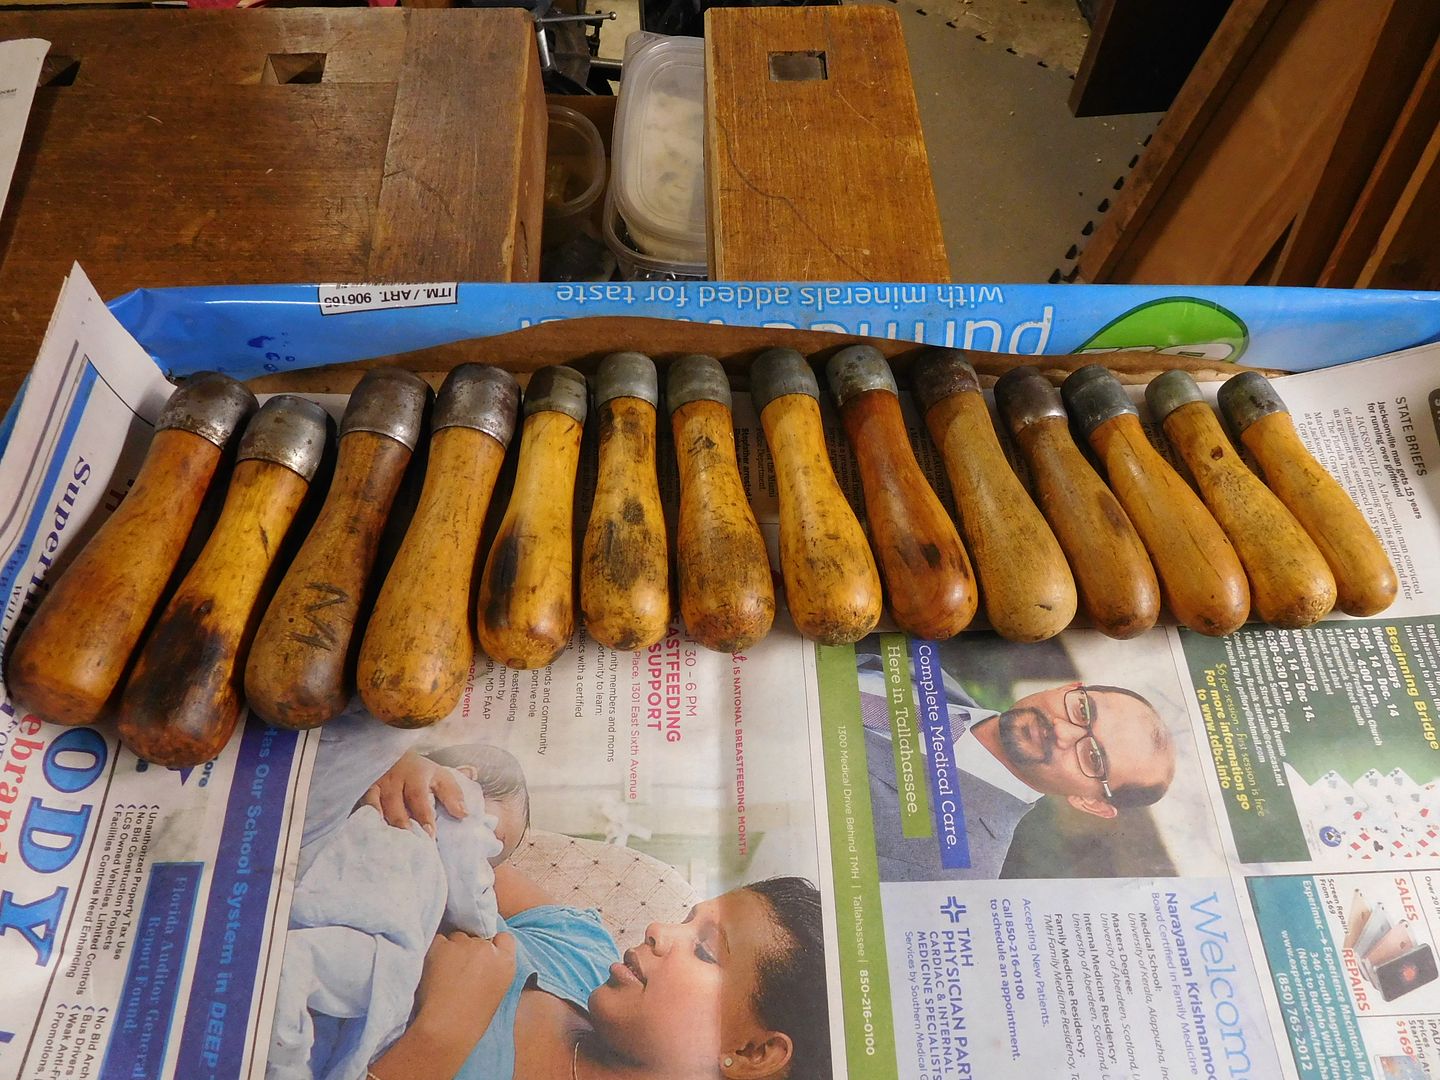
Mbat--Hello and welcome. I was a member of the WW Guild of GA from about 1995 until I moved to FL in 2004. It was a great group and I remember meeting at the community college near my home. Sorry to hear about the passing of a member. Glad to hear that her tools were appreciated. You made a good score on your sharpening items. The odd piece of metal belongs to an import patternmakers vise. It is a jaw accessory that helps clamp irregularly shaped objects. I have one just like it.


CR--thanks. Yeah, that plane is quite a nice piece of work. I'll re-post a photo of my other two Lie Nielsen planes, which are scraper planes I picked up last month, also from a private seller.
QUOTE]
EZ: Probably not a whole lot of times when you need a rabbet scraper plane, but when you do.... My wife just picked out her anniversary present to me. Keep posting tools - Christmas comes soon after that.
")


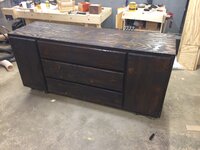
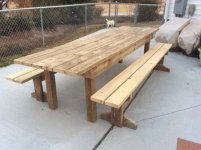
NG--Good looking table.
Thank you...I built it with lumber fro a deck I tore down.
 001 by Thomas Rausenberg, on Flickr
 002 by Thomas Rausenberg, on Flickr
 003 by Thomas Rausenberg, on Flickr
 004 by Thomas Rausenberg, on Flickr
 005 by Thomas Rausenberg, on Flickr
 006 by Thomas Rausenberg, on Flickr
 007 by Thomas Rausenberg, on Flickr
 008 by Thomas Rausenberg, on Flickr
 009 by Thomas Rausenberg, on Flickr
Here is a little tutorial I put together on the #80 many years ago...
http://www.myoldtools.com/table/stanley80.htm
and the end result...
http://www.myoldtools.com/table/20071216-20071216-_MG_6059.jpg
There is no glue and no metal fasteners at all in this table, just wood joinery. The top is splined with breadboard ends.
http://www.myoldtools.com/table/spline.jpg
http://www.myoldtools.com/table/20071202-20071202-_MG_6049.jpg
The base is mortise and tenon.
http://www.myoldtools.com/table/20071216-20071216-_MG_6060.jpg
The two are joined with sliding dovetails.
http://www.myoldtools.com/table/20071202-20071202-_MG_6051.jpg


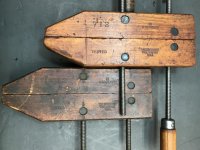
CR--that is fine for clamps you are just going to use. But I think you devalue them, especially if you add a finish, like boiled linseed oil, that can contaminate new work.
I read your article on the #80 and bought a nice one on eBay. I saw the sweetheart logo and was so excited to bid that I failed no notice there was no iron. Once I got it home, I bought a Hock. Can't fault the seller, she didn't know anything about tools.