Cockups (the British have such a way with words) happen often enough even when you mind its clear. I'm amazed if I get through a project without one.
I actually glued in a raised panel backwards the other day. Didn't notice until it was already clamped and pinned together. Had cut the panel out before the glue set as I couldnt get the door apart at that point.
Thanks for the story, glad it's not just me that makes cockups

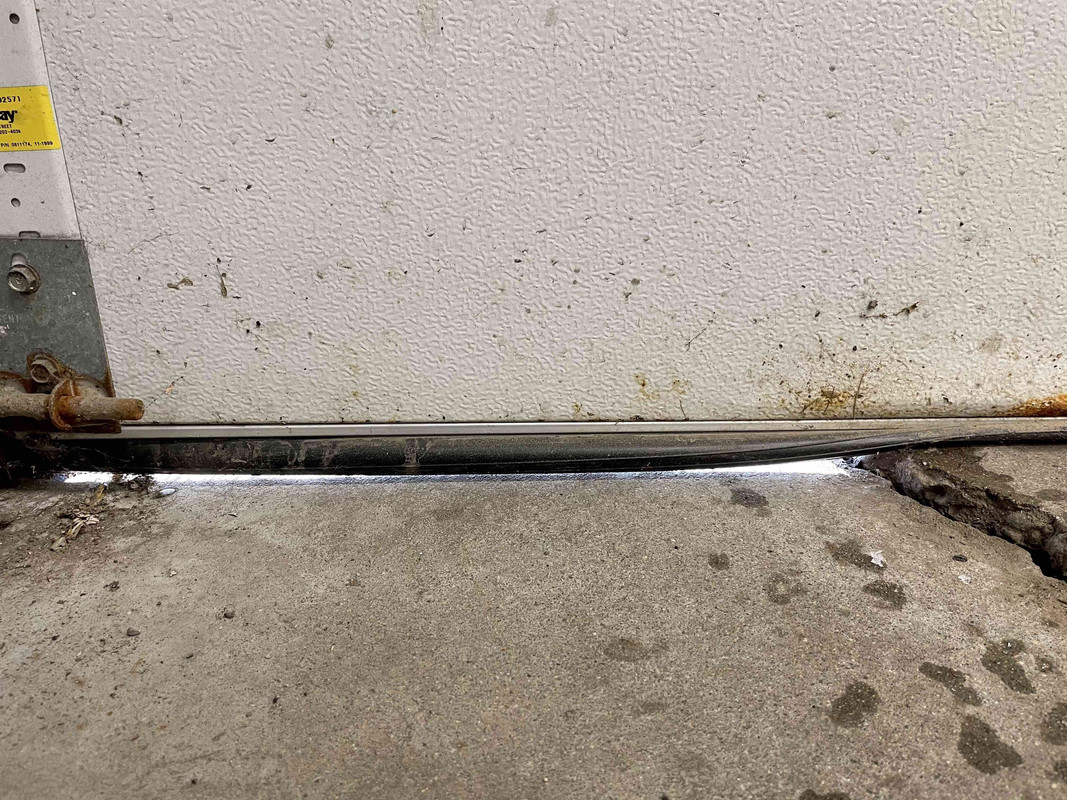
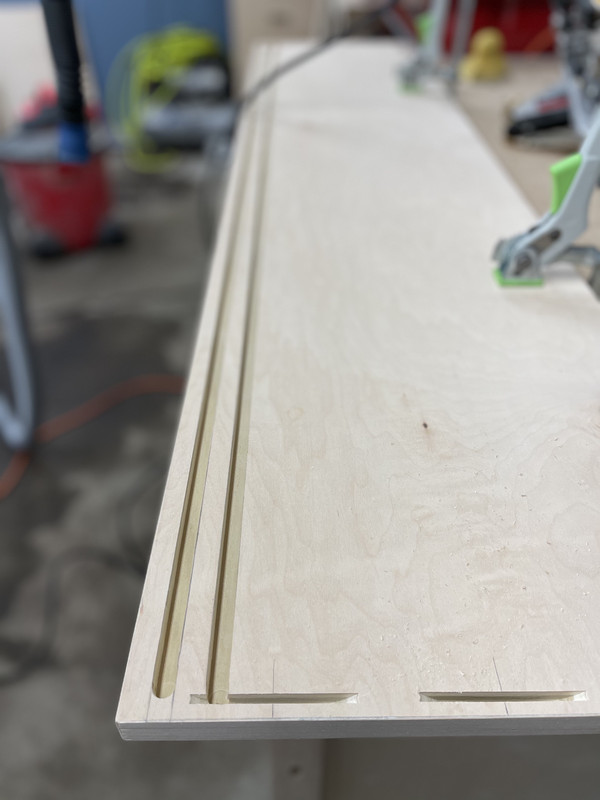
Those tracks look great as slides. I'm not sure I can thank you for the source as I now see a new place to send copious amounts of time and money to. (
Are these what you used?
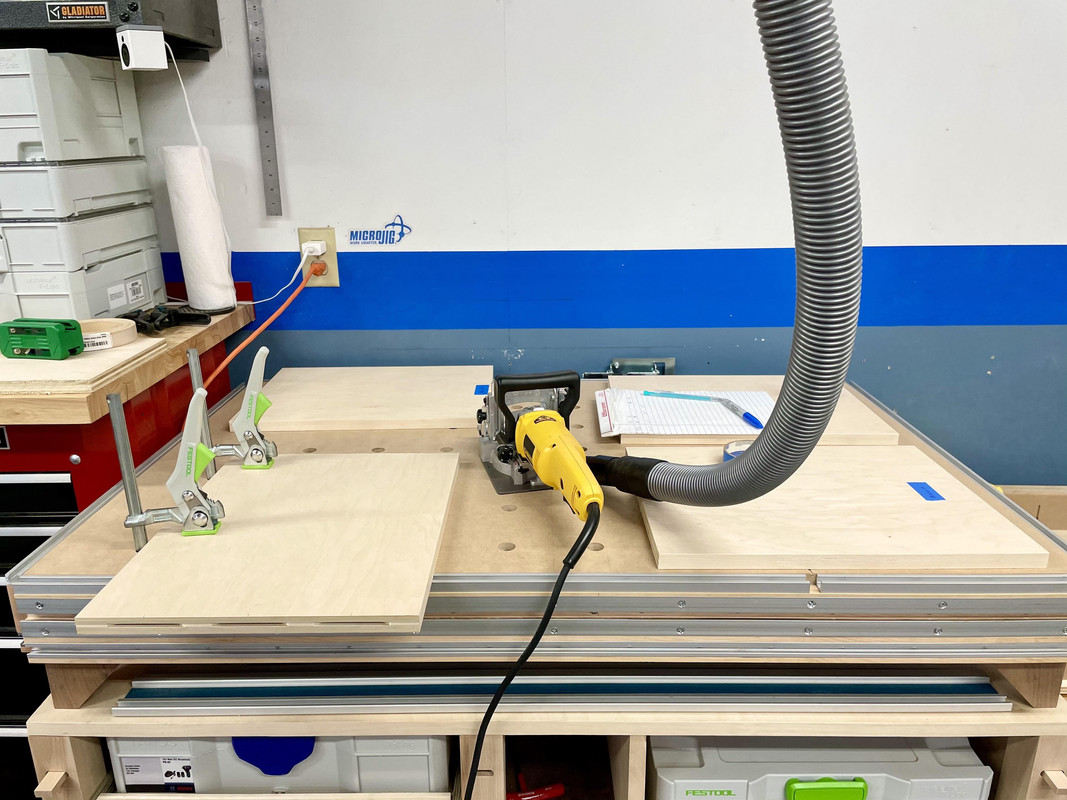
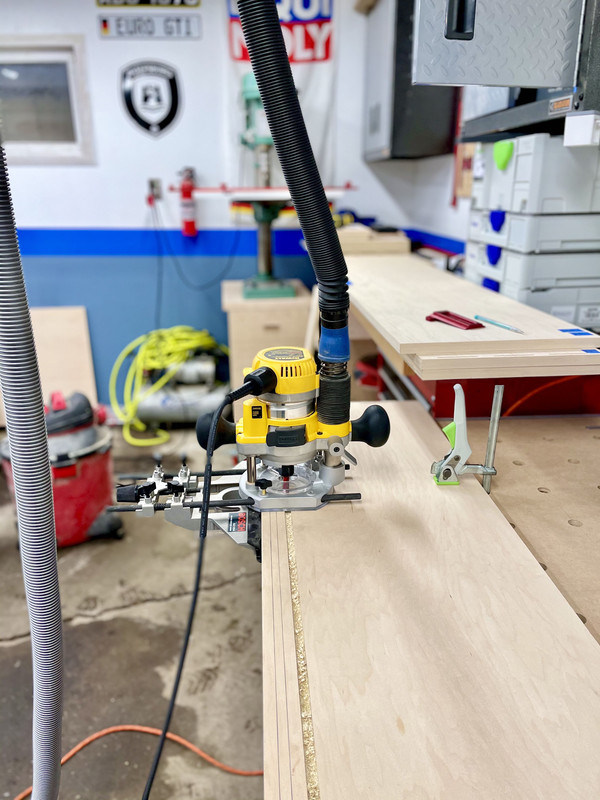
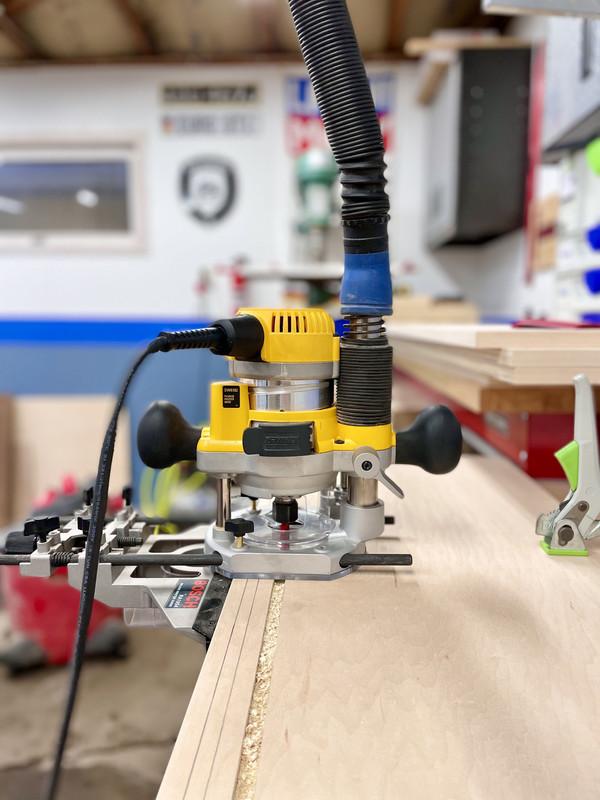
Thanks for sharing the router story. It's been a while since I've used mine out of the table; because of your story I'll watch a refresher video before I do.

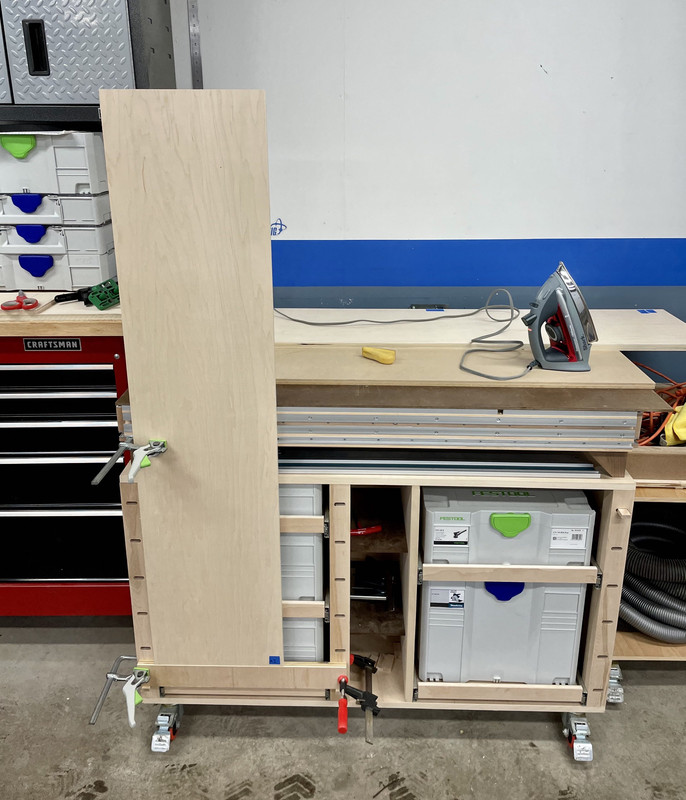
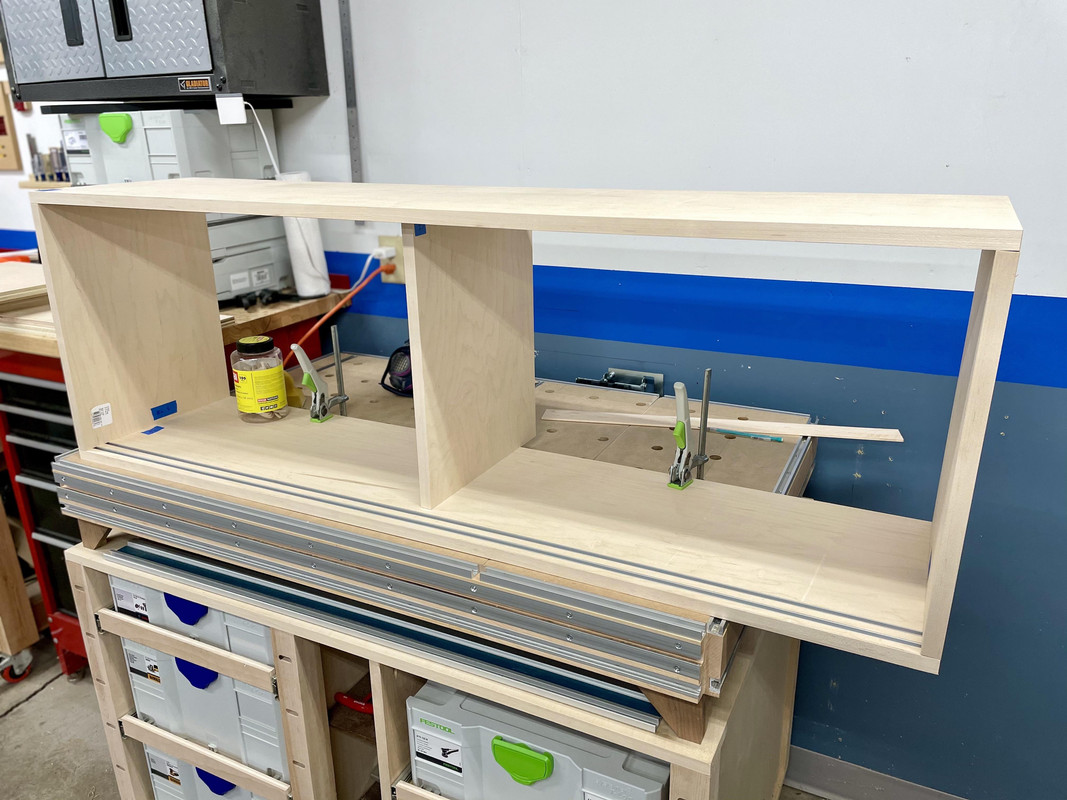
We shall see how the tracks work
I got the idea from
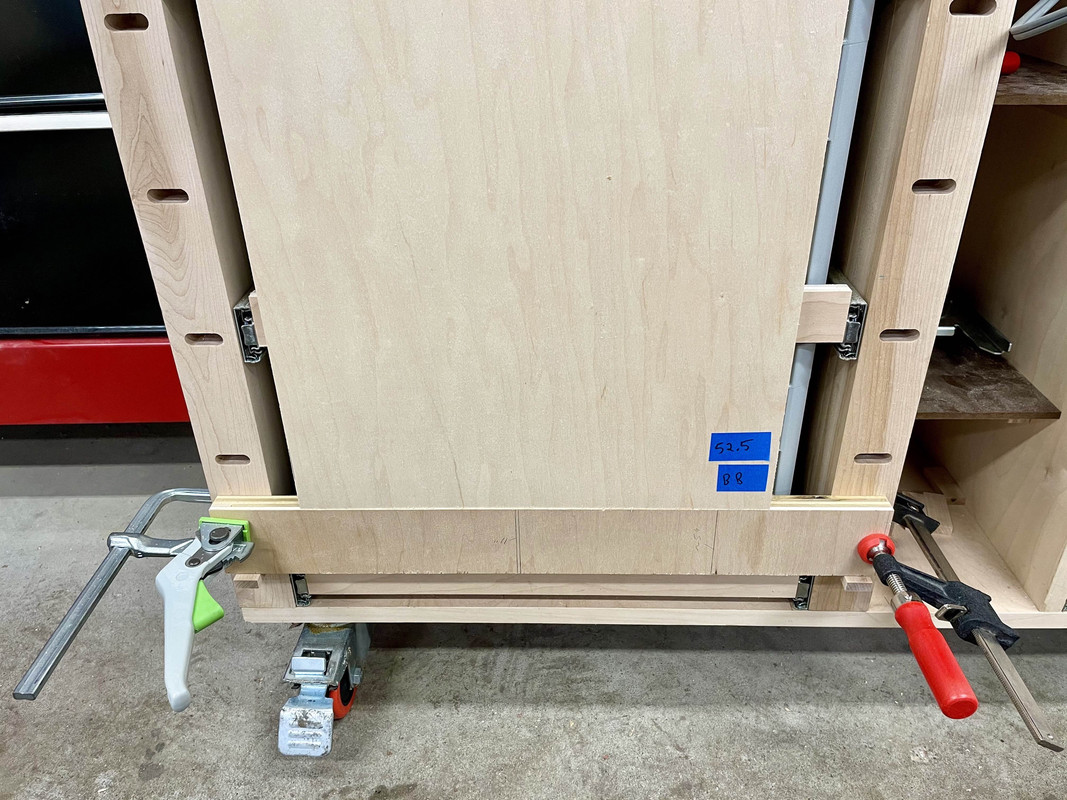
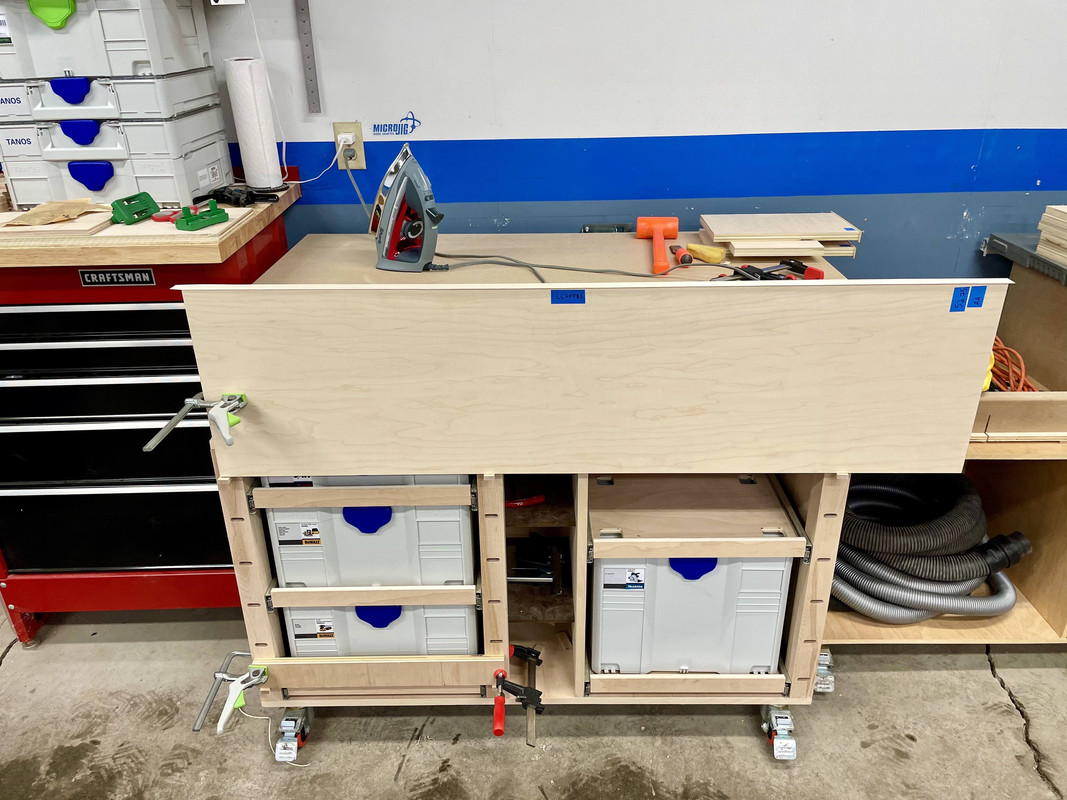
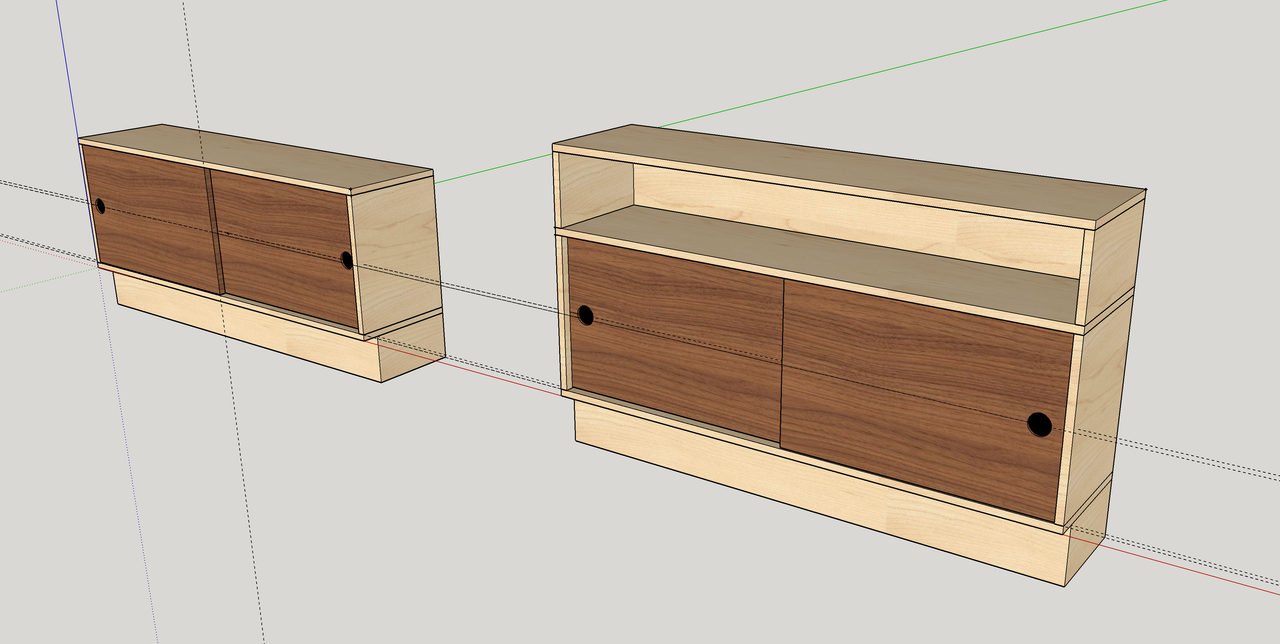
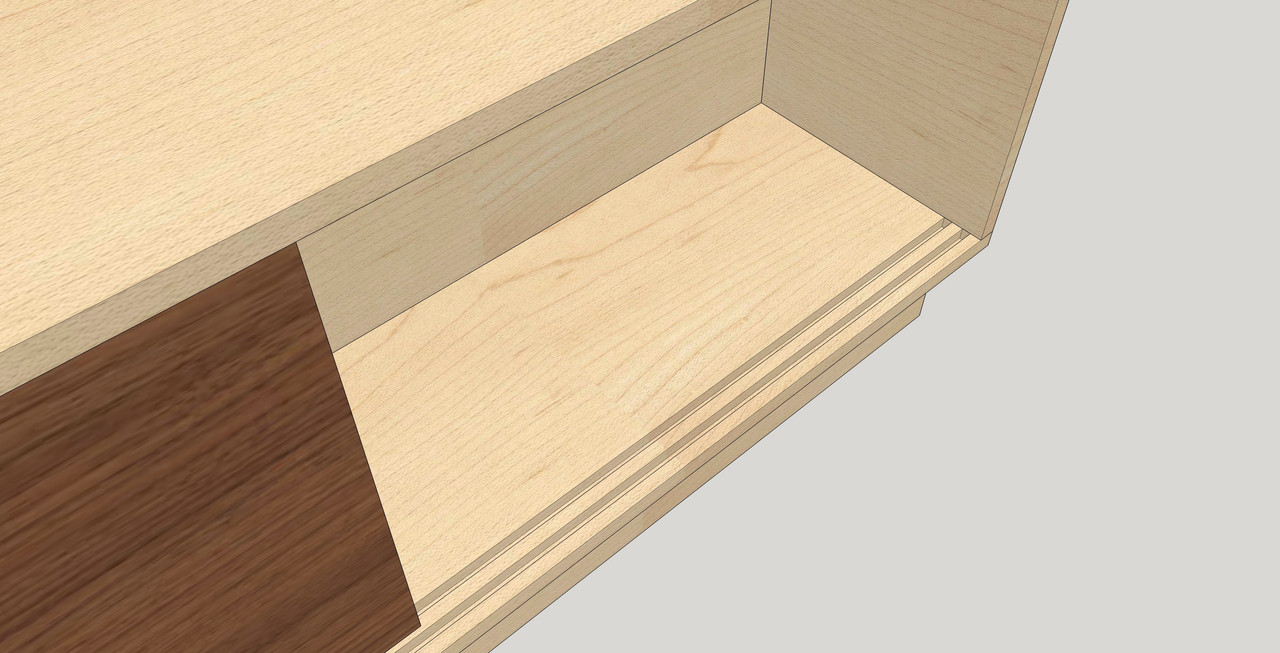
kwyjibo on his MCM credenza build. He used Hafele hardware with them, but I am going to attempt to use some strips of UHMW plastic as the "tabs" to ride in the channels. Mostly just to save a few bucks. This is something I noticed on some sliding doors at Room & Board a few years back. Hopefully I can pull it off.
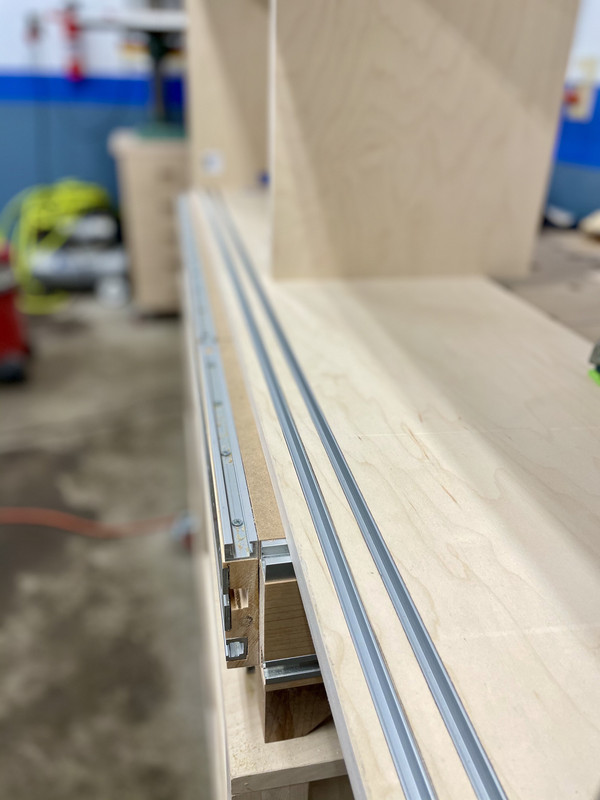
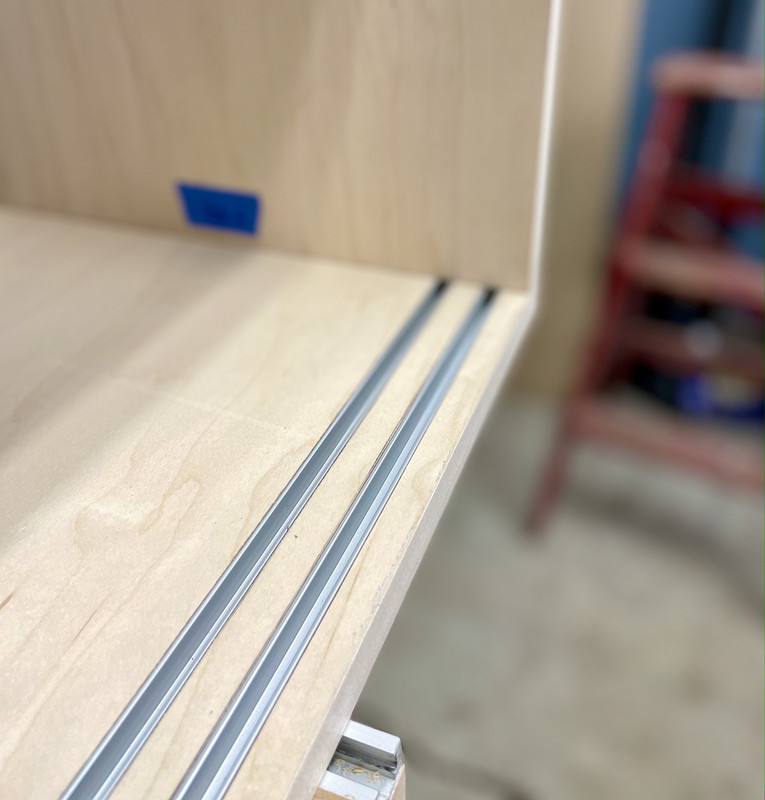
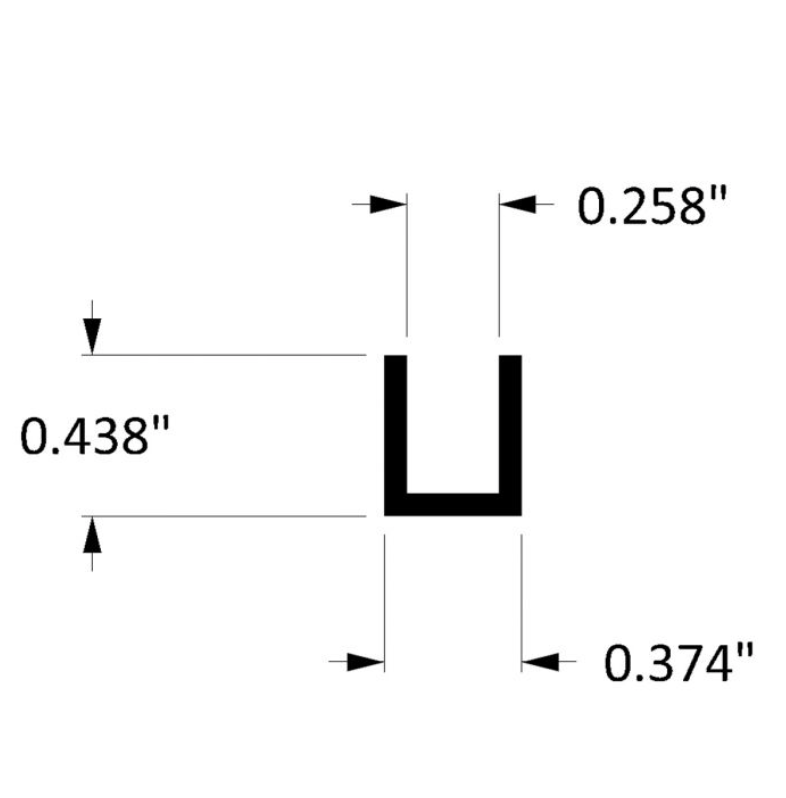
You are correct on the Orange Aluminum link. The specific extrusion I used was
OA7401-6CA with the following dimensions:
The "1/4" UHMW I got was too snug a fit so I have some figuring out to do there.
Kudos for stopping while you’re only (a bit) behind. It has taken me years to get to the point where I stop before I’m bashing my work apart and throwing tools at the wall.
Re: fixing slips:
1. If you can’t see it when installed, you can’t see it.
2. You can layer adhesive backed veneer in place to fill a gap. This is basically marquetry.
Re: heating
I’ve been in a similar spot,trying to glue up dining tables in a forty degree damp barn where the tite bond won’t dry. Secret: hang visquine tarps as if you’re making a spray booth. You’ll trap the warm air. Obviously, you still need to figure out how to add initial heat, but it’s effective.
Keep chugging,
Jake
Thanks,
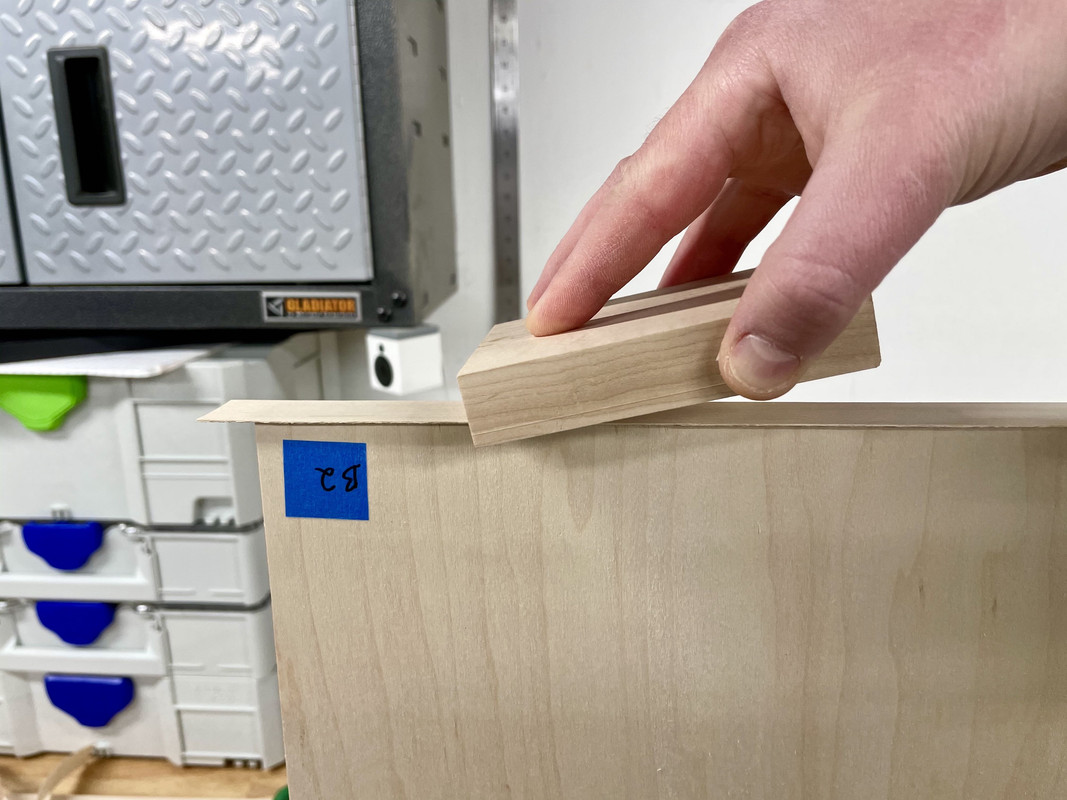
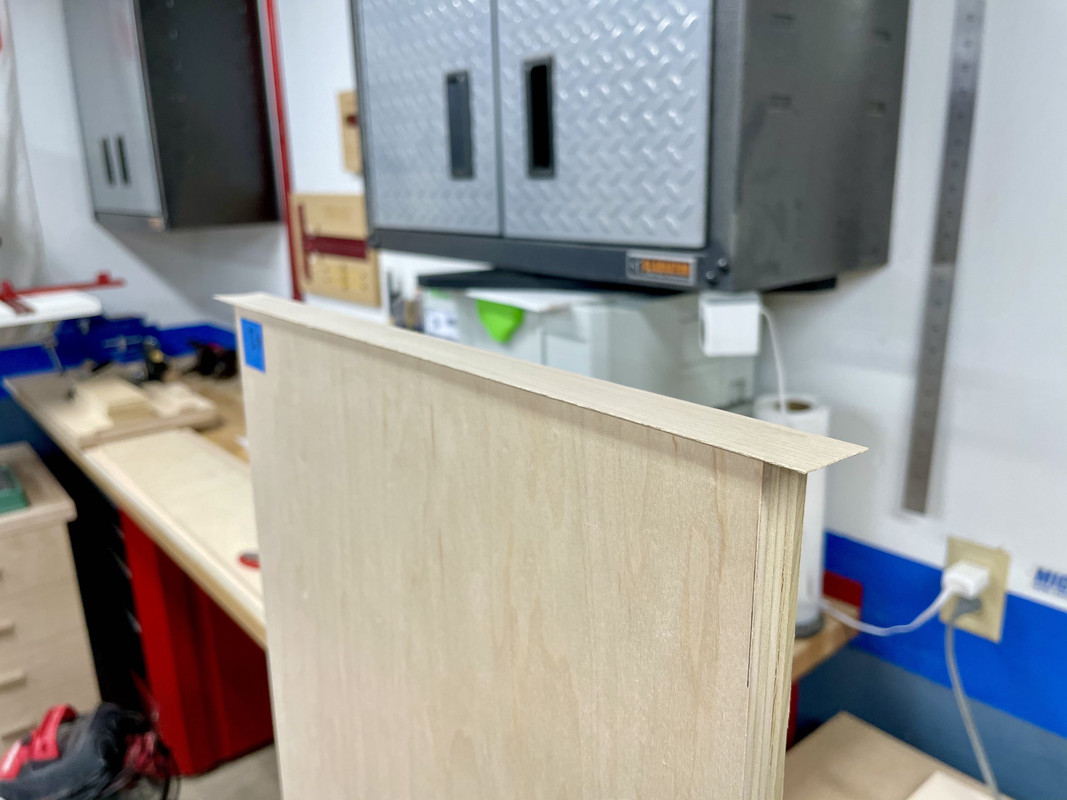
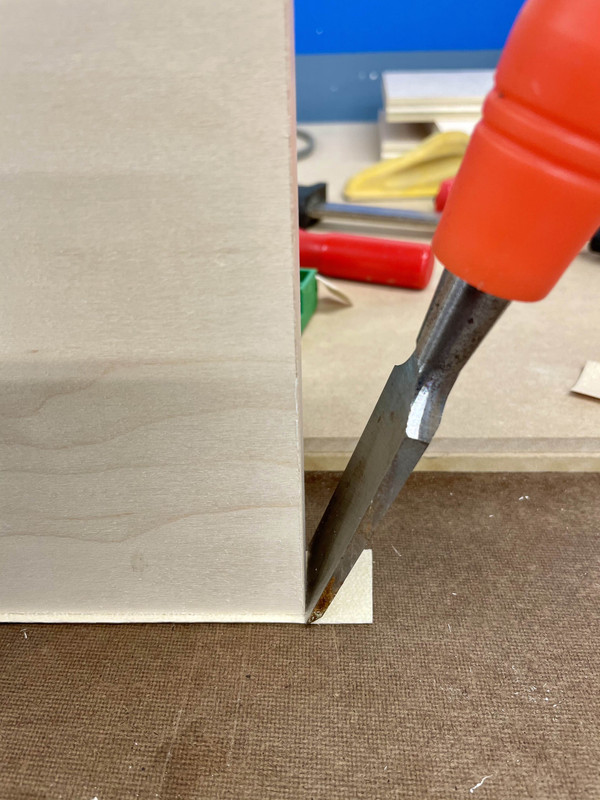
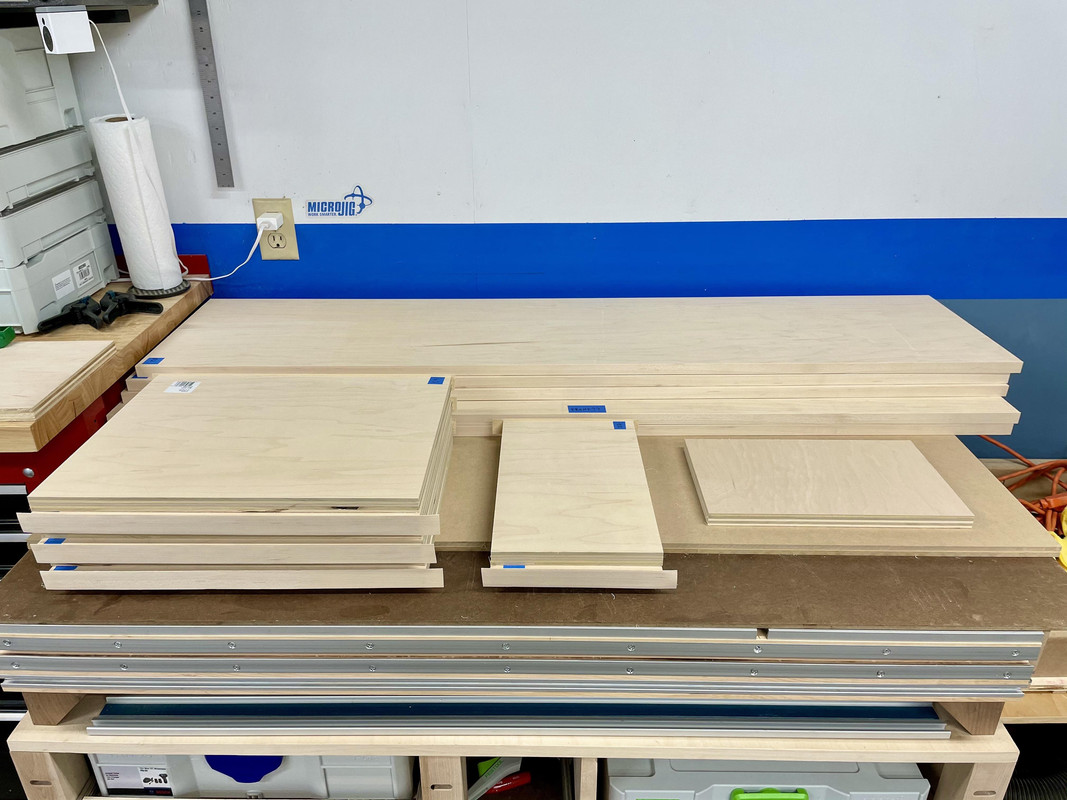
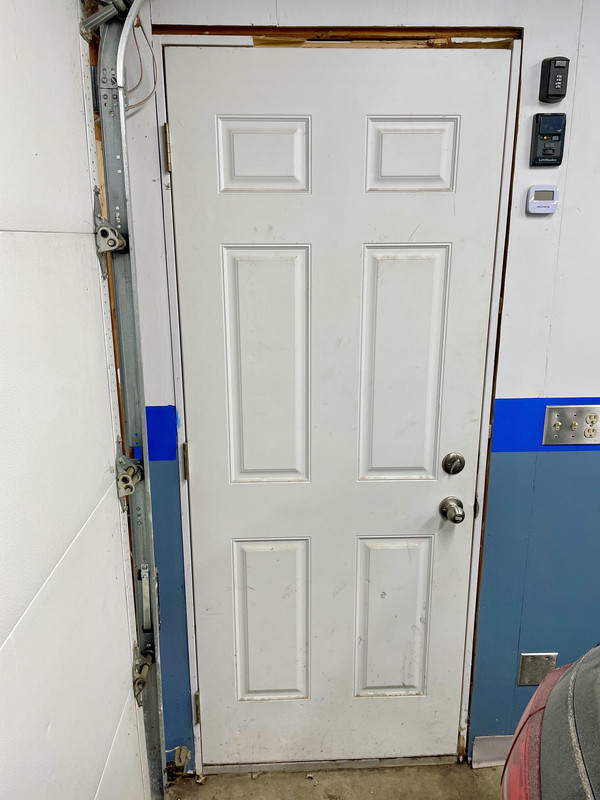
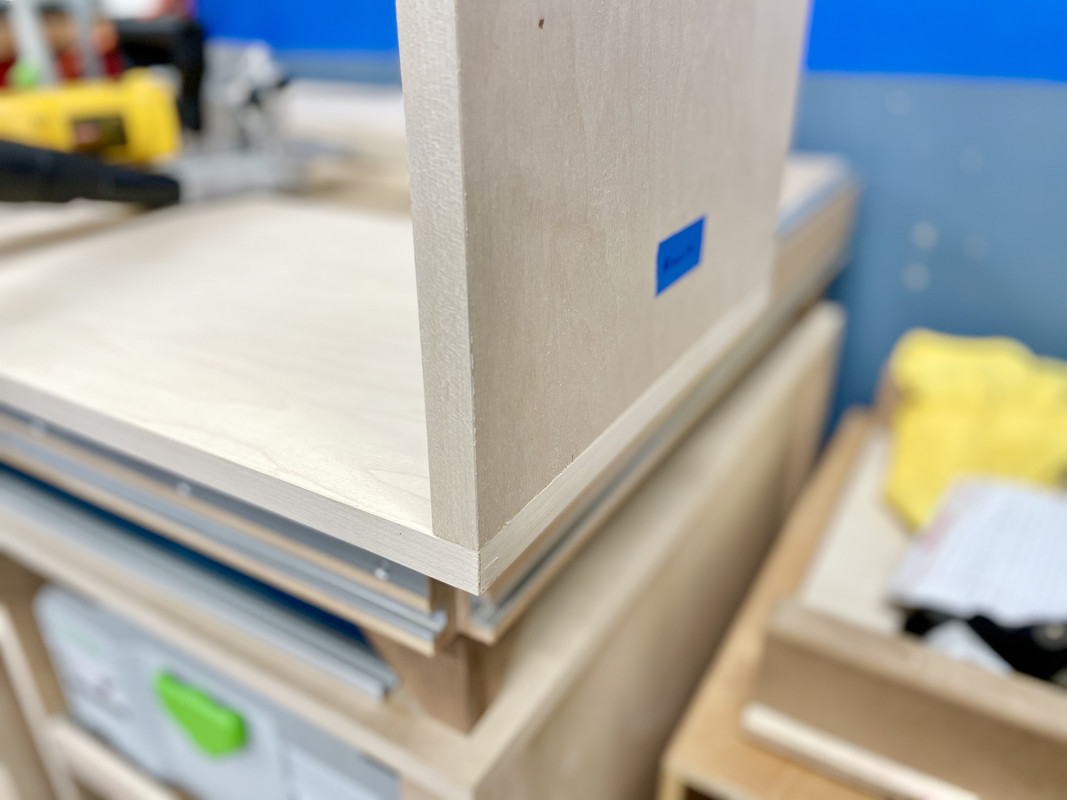
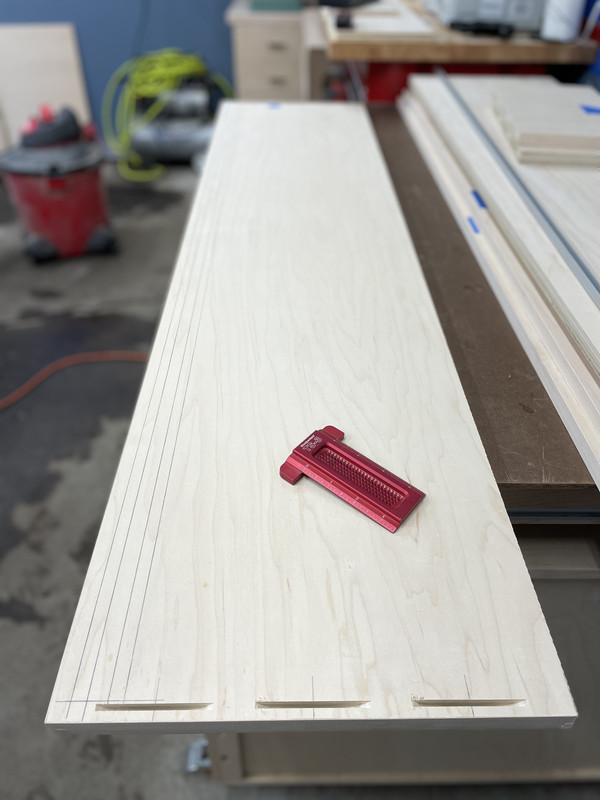
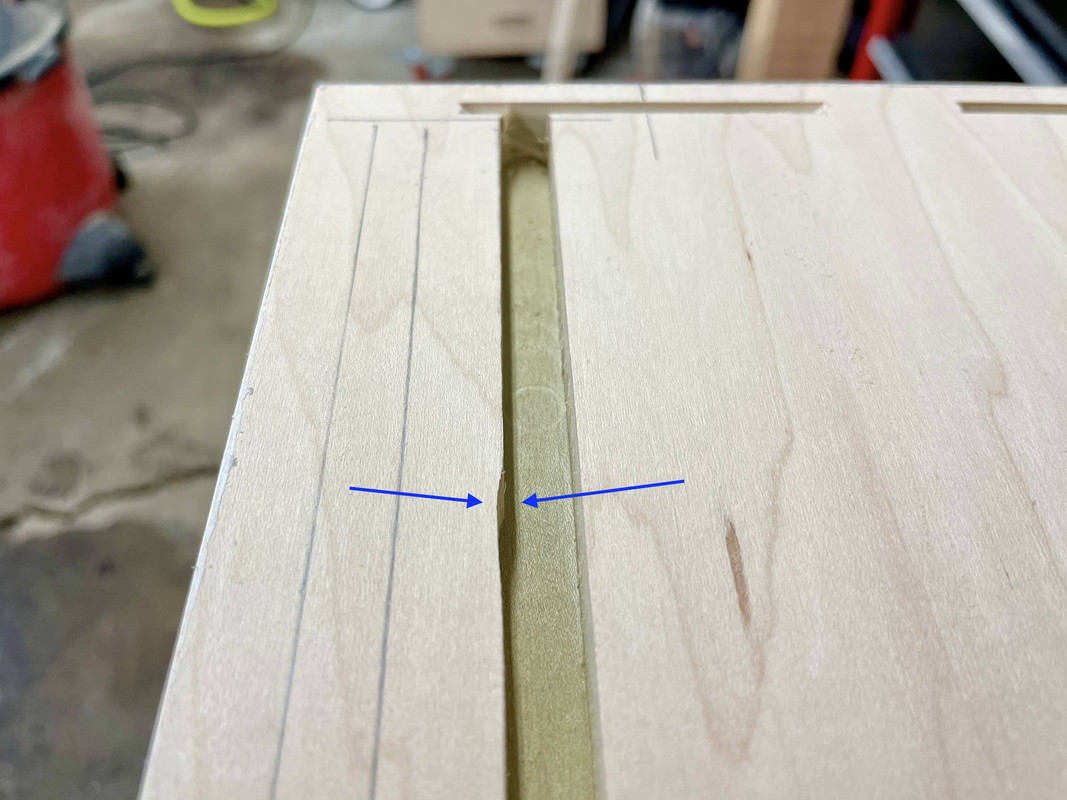
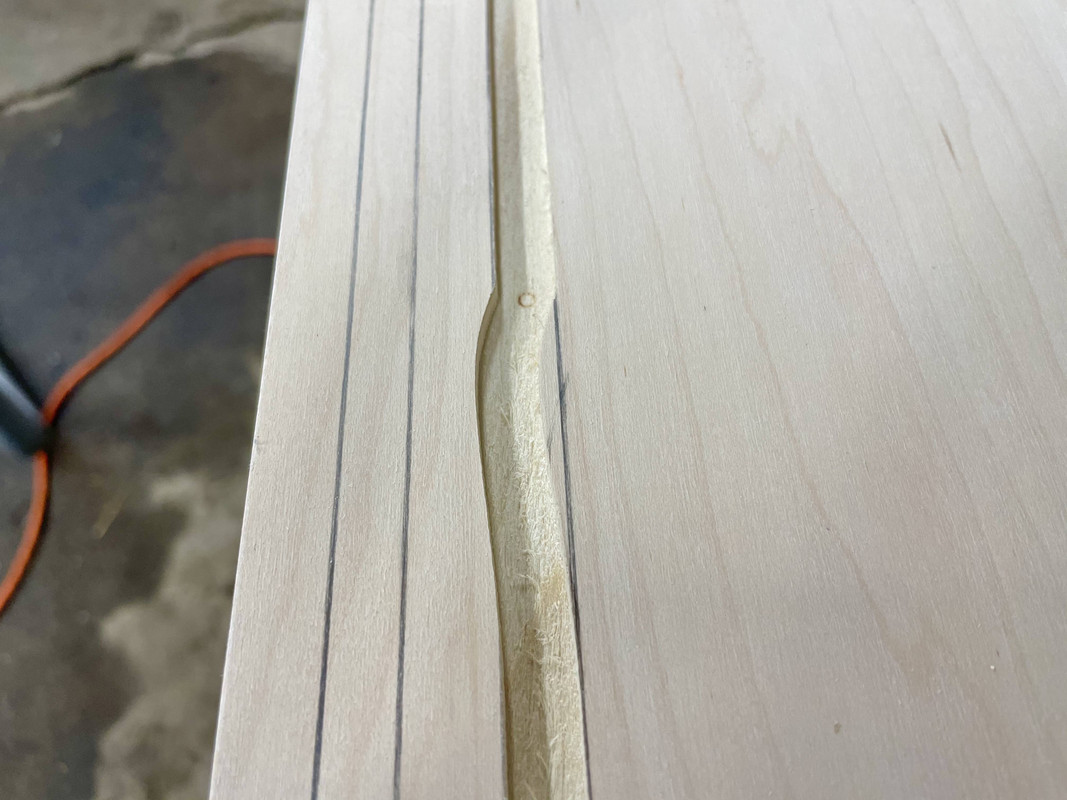
Jake. The smaller mistake is not very noticeable, although I might try glueing a "thin strip" in like you said and re-routing that section. The larger one, I think I have a plan for that. I cut the tops extra deep to leave room to scribe them to the wall, so I might flip that top around, and trim off the channel I accidentally routed. It will leave me barely any room to scribe and my biscuits will be in the wrong spot, but I'm often on the floor playing with my kid and I know if I look up into the cabinet and see a big groove and "slip" where there shouldn't be, it will bother me.
Nick I can see your bummed but I will be honest I had the same problem this past month when I was using my router. I did a climb cut and it had been so long I just thought the bit was dull. Faceslap.
I do have a rule though that if I am not in absolute peak mindest I don't usually use the power tools. Kinda of like if there is any alcohol in my system (which is very rare) I don't use power tools either. Don't want to be a Bubba.
Remember the difference between average and a craftsman is learning to hide your mistakes. Sometimes it can cause you to be very creative.
Even if you know those mistakes are there and no one else does. Eventually you will forget about them.
Bret
Thanks,
Bret. Yes I was frustrated but it happens. As mentioned above I have an idea of how to proceed and it doesn't ruin the project. More just disappointed I screwed up... as I'm sure you know the feeling after all the steps that precede an error... planning, sketchups, getting materials, all the cuts that came before it, and to be honest even building the work bench to allow me to do this sort of project. Shop projects aren't as critical to me but since this is for the house and on display I really wanted to make it my best possible work.
I took your advice last night. I went out there again, moved the cars, dragged the benches out, starting planning some cuts. I realized again I was just determined to get something done but didn't really "want" to be working on it. So I packed everything back up and watched The Mandalorian instead. It was a better choice.
Nick, thanks for sharing the story with the mistakes. It’s so tempting to show off our highlight reels so sharing mistakes is what’s so refreshing about your thread and a few others.
I reread a lot of your thread to see evolution of tools and setup since I’m on a similar journey and it’s amazing how far you’ve come in 3 years. It’s not just that you’re making stuff and sharing ideas, but the process, designs and execution is at a high level (and you’re hard on yourself). I was chuckling (in a good way) about first use of the Kreg simple pocket hole jig in 2018. That should show you how fast you’ve advanced.
Thanks for sharing.
I think there's a LOT of truth in what you say about people presenting their best self online. Whether it's social media, YouTube, or even on forums like this. I definitely don't show most of my mistakes (or otherwise my posts would be twice as long

), but they are there. I like to learn and better myself on each project, and I think especially in a forum like this, sharing mistakes is an opportunity to learn from people who know more than you and are more experienced. And not just me, hopefully others on here can learn either from my mistakes or from what someone else has to say about them.
I was looking at old posts recently too, and I'll admit it did surprise me. It's easy to forget where you started, and forget to appreciate past progress vs. where you want to be. I'll try to be more mindful of that, and I appreciate the encouragement and kind words.
-----------------------------------------
At the end of the day this is a hobby and should be
fun, so I am going to wait until I feel like jumping back in! Which hopefully should be soon.